Elevate Your Holiday Feast: The Ultimate Homemade Turkey Gravy
Ever wondered what truly elevates a good Thanksgiving Turkey to an unforgettable culinary masterpiece? Often, it’s that velvety, rich, and deeply flavorful Turkey Gravy that ties the entire meal together. While store-bought options exist, there’s an unparalleled satisfaction and superior taste that comes from crafting your own. Beyond the exquisite flavor, making gravy from scratch means you control every ingredient, ensuring a wholesome addition to your holiday spread. This comprehensive guide will walk you through creating the perfect Turkey Gravy, transforming your ordinary poultry into an extraordinary experience your guests will rave about.
Ingredients & Kitchen Tools
Crafting the perfect gravy requires fresh, high-quality ingredients and a few fundamental kitchen tools.
- Turkey Roasting Drippings (2 cups): The rich, flavorful pan juices left after roasting your Thanksgiving Turkey. This is the heart of your gravy!
- Butter (4 tablespoons – unsalted): Provides a silky texture and enriches the flavor. Unsalted allows you to control the seasoning.
- All-Purpose Flour (1/4 cup): Our thickening agent, creating that desired velvety consistency.
- Chicken or Turkey Broth (2-3 cups – low sodium): Adds depth and ensures a smooth gravy. Low sodium allows for better seasoning control.
- Dry White Wine or Sherry (1/4 cup – optional): Enhances complexity and adds a subtle tang.
- Fresh Sage (1 tablespoon – finely chopped): Adds an aromatic, traditional holiday flavor. (Optional: Fresh Thyme or Rosemary work well too.)
- Salt & Freshly Ground Black Pepper (to taste): Essential for balancing and enhancing all the flavors.
- Kitchen Tools:
* Fat Separator: Crucial for separating the flavorful drippings from excess fat.
* Whisk: Essential for preventing lumps and achieving a smooth consistency.
* Saucepan (medium-sized): For cooking the gravy.
* Fine-Mesh Sieve: For straining out any lumps or herb remnants, ensuring a perfectly smooth gravy.
Prep Time & Cooking Schedule
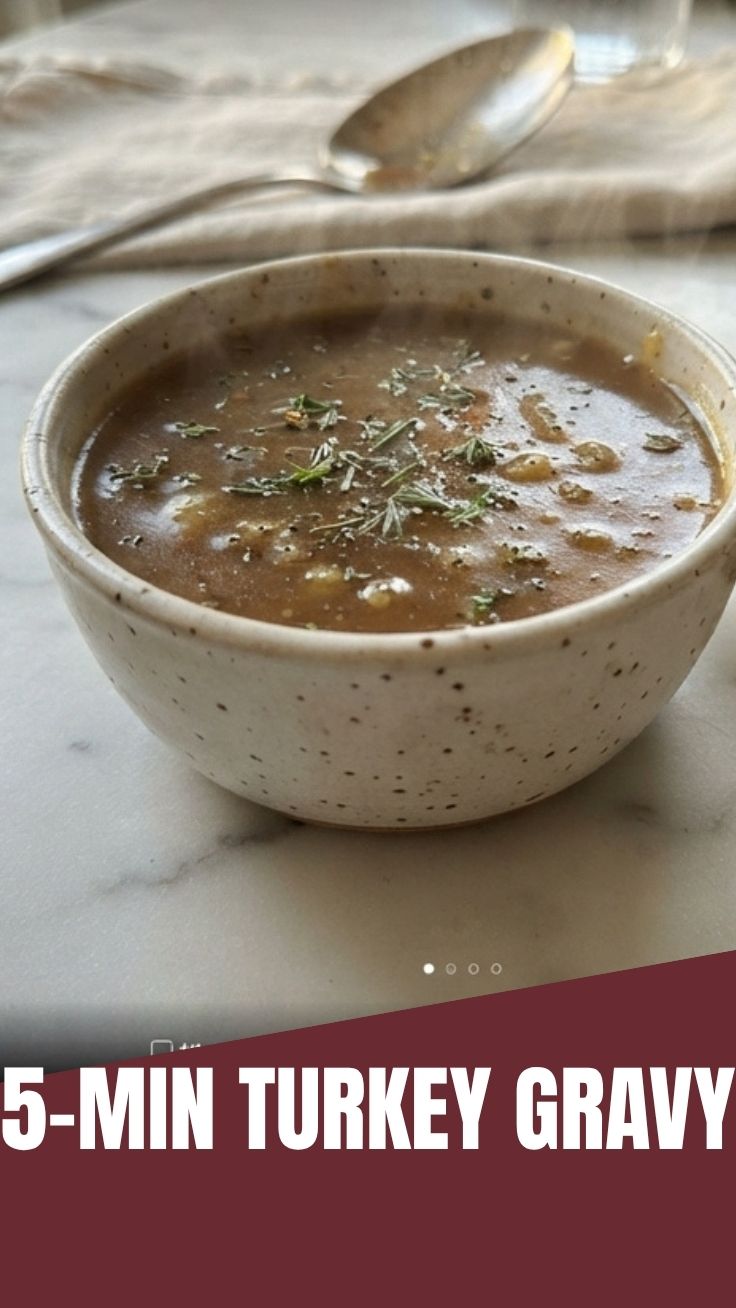
Planning is key for a stress-free holiday meal, and your gravy is no exception.
- Prep Time: 10 minutes (mostly for gathering ingredients and separating fat).
- Cook Time: 15-20 minutes
- Resting Time: 5 minutes (before serving, to allow flavors to meld).
The beauty of this Turkey Gravy recipe is that it’s best made after your Thanksgiving Turkey has finished roasting and is resting. This allows you access to those precious pan drippings while the turkey is cooling down before carving. You can also start preparing your mise en place (chopping herbs, measuring broth) while the turkey is in its final stages of cooking.
Step-by-Step Instructions
Follow these detailed steps to create a show-stopping Turkey Gravy that will earn you rave reviews.
1. Separate the Drippings: Once your Thanksgiving Turkey is out of the oven and resting, carefully pour all the pan drippings into a fat separator. Allow the fat to rise to the top. Slowly pour out the rich turkey juices (approximately 2 cups) into a bowl, leaving the excess fat behind. If you have less than 2 cups, top it up with chicken or turkey broth.
2. Make the Roux: In a medium saucepan, melt the butter over medium heat. Once melted, sprinkle in the flour and whisk continuously for 1-2 minutes until a smooth paste (roux) forms and turns a light golden color. This is crucial for eliminating a raw flour taste.
3. Incorporate Liquids: Slowly, a little at a time, whisk in the reserved turkey drippings until fully incorporated and no lumps remain. Gradually add the chicken or turkey broth, continuing to whisk until the mixture is smooth. If using, stir in the dry white wine or sherry now.
4. Simmer and Thicken: Bring the gravy to a gentle simmer over medium heat, stirring occasionally. As it simmers, it will begin to thicken. Let it cook for 5-7 minutes, or until it reaches your desired consistency. It should be thick enough to coat the back of a spoon.
5. Season and Finish: Stir in the fresh sage. Season generously with salt and freshly ground black pepper. Taste and adjust seasonings as needed. Remember, the drippings are already seasoned, so add salt cautiously.
6. Strain for Smoothness (Optional but Recommended): For a perfectly smooth Turkey Gravy, pour it through a fine-mesh sieve into a serving boat or bowl. This removes any small lumps or herb pieces, resulting in a professional finish.
Nutritional Benefits & Advantages
Beyond its incredible taste, this homemade gravy offers several advantages. By using natural turkey drippings, you’re tapping into the healthful fats and nutrients rendered from the turkey itself. You control the sodium content, avoiding the excessive salt often found in commercial gravies. Furthermore, the protein from the broth contributes to satiety, and a little gravy can add flavor without significantly impacting the overall calorie count of your meal, especially when made with quality ingredients.
Tips, Variations & Cooking Advice
- Herb Power: Experiment with other fresh herbs like thyme, rosemary, or a blend. Add them during the simmering stage for maximum flavor extraction.
- Richness Boost: For an even richer gravy, whisk in a tablespoon of cream or a knob of butter at the very end, just before serving.
- Gluten-Free Option: Substitute all-purpose flour with a gluten-free all-purpose flour blend or use cornstarch slurry (1 tablespoon cornstarch mixed with 2 tablespoons cold water) to thicken at the end. Add the slurry gradually to the simmering gravy until desired thickness is achieved.
- Make Ahead (Partially): You can prepare the roux and have your broth and drippings ready. Combine and simmer the gravy closer to serving time.
Common Mistakes to Avoid
- Lumpy Gravy: The main culprit is adding the liquid too quickly to the roux or not whisking constantly. Add liquids slowly, in small increments, whisking vigorously each time.
- Too Salty: Remember turkey drippings are already seasoned. Taste as you go and add salt gradually.
- Too Thin/Too Thick: Gravy thickens as it cools. If it’s too thin, simmer longer. If too thick, whisk in a little more broth until it reaches the desired consistency.
- Greasy Gravy: Not properly separating the fat from the drippings will result in a greasy, unappetizing gravy. A fat separator is your best friend here.
Storage & Meal Prep Tips
Leftover Turkey Gravy is a treasure!
- Refrigeration: Store in an airtight container in the refrigerator for up to 3-4 days.
- Freezing: For longer storage, freeze in airtight containers or freezer bags for up to 3 months. Thaw in the refrigerator overnight before reheating.
- Reheating: Gently reheat on the stovetop over low heat, whisking occasionally. If it’s too thick, add a splash of broth or water to reach the desired consistency. Avoid boiling rapidly, as this can affect the texture.
Conclusion
Mastering homemade Turkey Gravy is an essential skill for any home cook, transforming your Thanksgiving Turkey into a truly spectacular meal. With this guide, you now have all the tools and knowledge to create a rich, smooth, and incredibly flavorful gravy from scratch. Ditch the store-bought packets and embrace the delicious satisfaction of homemade perfection. Give this recipe a try this holiday season, and prepare to impress your family and friends with your culinary prowess! Share your gravy triumphs in the comments below!
FAQs
Q1: Can I make this gravy without turkey drippings?
A1: Yes, you can! Substitute the turkey drippings with an equal amount of good quality chicken or turkey broth, but you might want to add a bit more butter or even a touch of roasted chicken fat for extra richness.
Q2: My gravy is too lumpy. What can I do?
A2: Don’t panic! Pour the gravy through a fine-mesh sieve, pressing down on any lumps with the back of a spoon. Alternatively, an immersion blender can quickly smooth out lumps directly in the saucepan.
Q3: How can I make my gravy richer and darker?
A3: For a richer, darker gravy, consider browning your flour slightly longer during the roux stage (to a peanut butter color). You can also add a small amount of kitchen bouquet browning sauce or a dash of soy sauce (for umami, not salt) at the end.
Q4: Can I add fresh herbs to the gravy?
A4: Absolutely! Fresh herbs like sage, thyme, or rosemary enhance the flavor beautifully. Add them during the simmering stage, and if you prefer a silky consistency, strain them out before serving.
Q5: What if I don’t have a fat separator?
A5: No problem! Pour the drippings into a clear glass bowl or large measuring cup. Allow the fat to settle on top (it will form a distinct layer). Then, carefully spoon off the fat from the top, or use a turkey baster to suck the flavorful drippings from underneath the fat layer.