Unlock the Secret to Perfect Dinner Rolls: Your Guide to Homemade Bliss
Ever wished you could effortlessly pull warm, fluffy, golden Dinner Rolls straight from your own oven, filling your home with that irresistible aroma? The truth is, mastering homemade bread baking is not as daunting as it seems. This comprehensive guide will empower you to create unbelievably delicious dinner rolls from scratch, providing a rewarding culinary experience that store-bought options simply can’t match. Why settle for less when you can achieve bakery-quality results at home, impressing family and friends with your newfound baking prowess?
Ingredients & Kitchen Tools
To embark on your Dinner Rolls journey, gather the following:
- All-purpose flour (4 cups): The structural backbone of your rolls. Use unbleached for best results.
- Active dry yeast (2 ¼ teaspoons or 1 packet): The leavening agent that makes your rolls rise.
- Warm milk (1 cup): Activates the yeast. Aim for 105-115°F (40-46°C).
- Granulated sugar (¼ cup): Feeds the yeast and adds sweetness.
- Salt (1 teaspoon): Enhances flavor and controls yeast activity.
- Unsalted butter (¼ cup, melted): Adds richness and tenderness. Can substitute with neutral oil for dairy-free.
- Egg (1 large): For an enriched dough and an optional egg wash for a golden crust.
Kitchen Tools:
- Large mixing bowl: For combining ingredients and rising.
- Stand mixer with dough hook (optional): Makes kneading effortless.
- Measuring cups and spoons: For precise ingredient measurement.
- Whisk: To combine dry ingredients.
- Rubber spatula: For scraping down the bowl.
- Rolling pin: To shape the dough.
- 9×13 inch baking pan: For baking your rolls.
- Kitchen towel or plastic wrap: For covering the dough during rising.
- Pastry brush (optional): For applying egg wash or melted butter.
Prep Time & Cooking Schedule
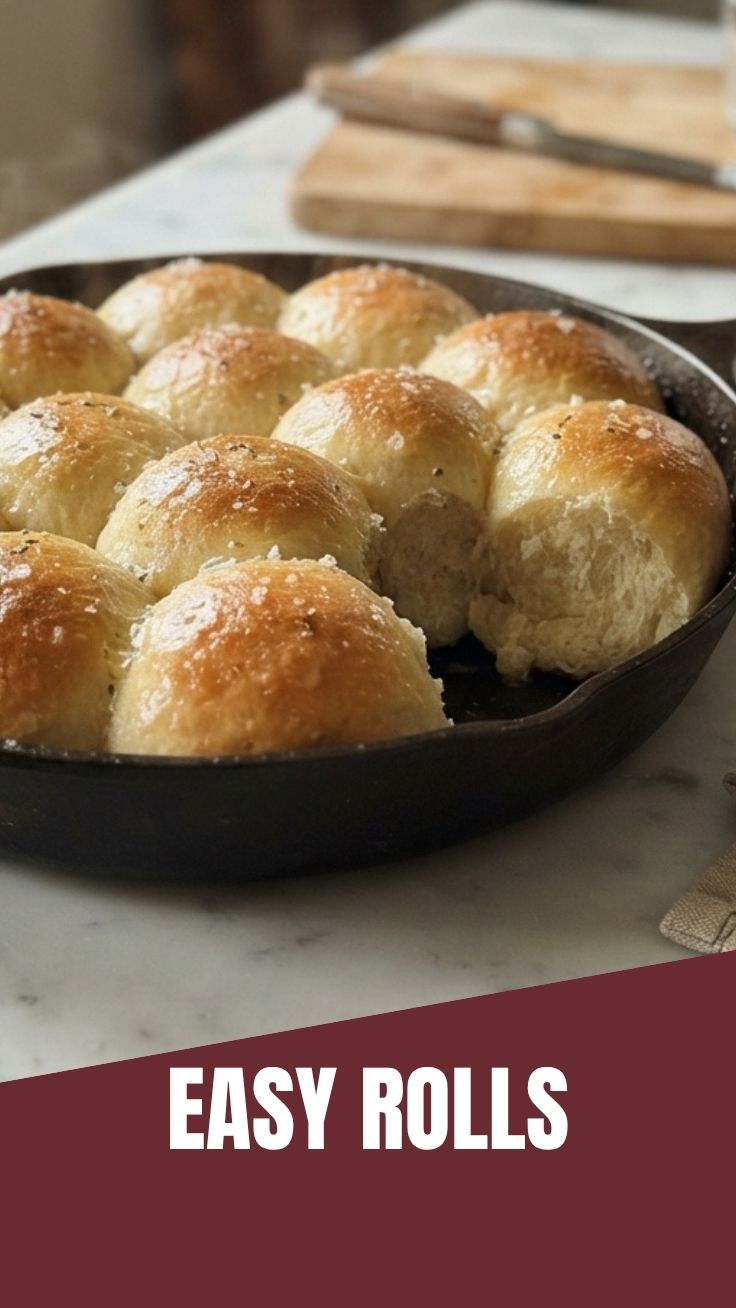
- Prep Time: 25 minutes (active working time)
- First Rise (Proofing): 1-1.5 hours
- Shaping Time: 15 minutes
- Second Rise (Proofing): 30-45 minutes
- Bake Time: 18-22 minutes
This schedule allows for ample rising time, crucial for light, airy rolls. Start in the late afternoon for warm rolls ready for dinner! Plan ahead, as the rising phases are largely hands-off, letting you focus on other tasks.
Step-by-Step Instructions
1. Activate the Yeast: In your large mixing bowl, combine the warm milk, sugar, and yeast. Whisk gently and let stand for 5-10 minutes until foamy. This confirms your yeast is active.
2. Combine Wet Ingredients: Add the melted butter and egg to the yeast mixture. Whisk until well combined.
3. Add Dry Ingredients: In a separate bowl, whisk together the flour and salt. Gradually add the dry mixture to the wet ingredients, mixing with a wooden spoon or a stand mixer with a dough hook on low speed until a shaggy dough forms.
4. Knead the Dough: Turn the dough out onto a lightly floured surface (or continue using the stand mixer). Knead for 8-10 minutes until the dough is smooth, elastic, and no longer sticky. This is a critical step for developing gluten, which gives your Dinner Rolls their characteristic chewiness and structure. For perfect results with bread baking, proper kneading is essential.
5. First Rise: Lightly grease your mixing bowl, place the dough inside, and turn it once to coat. Cover with a kitchen towel or plastic wrap and let rise in a warm, draft-free place for 1-1.5 hours, or until doubled in size.
6. Shape the Rolls: Gently punch down the risen dough to release air. Turn it out onto a lightly floured surface and divide it into 12 equal pieces. Roll each piece into a smooth ball. Arrange the balls in a lightly greased 9×13 inch baking pan.
7. Second Rise: Cover the pan again and let the rolls rise for another 30-45 minutes, or until noticeably puffy. Preheat your oven to 375°F (190°C) during this time.
8. Bake: (Optional: for a golden crust, brush the tops with an egg wash – 1 egg whisked with 1 tbsp water). Bake for 18-22 minutes, or until golden brown and cooked through.
9. Serve: Remove from the oven and, if desired, brush with a little melted butter for extra shine and flavor. Serve warm.
Nutritional Benefits & Advantages
Homemade Dinner Rolls offer more than just exquisite taste. By making them yourself, you control the ingredients, avoiding unwanted preservatives, artificial flavors, and excessive sodium often found in store-bought alternatives. Flour provides essential carbohydrates for energy, while milk contributes calcium and protein. The yeast, an active culture, aids in producing B vitamins during fermentation. Plus, the satisfaction of creating something delicious from scratch is a significant mental and emotional benefit!
Tips, Variations & Cooking Advice
- Flavor Boost: Add herbs like rosemary or garlic powder to the dough for savory rolls.
- Sweet Rolls: Incorporate a touch more sugar and a pinch of cinnamon for a sweeter treat.
- Dairy-Free: Substitute milk with warm water or a non-dairy alternative and use oil instead of butter.
- Whole Wheat: Replace up to half of the all-purpose flour with whole wheat flour for added fiber, though this may result in a slightly denser roll.
- Temperature Control: Always ensure your milk is warm (not hot!) to activate the yeast without killing it. A thermometer is your best friend.
- Don’t Over-Knead: While kneading is crucial, over-kneading can make the dough tough. Stop when it’s smooth and elastic.
Common Mistakes to Avoid
- Inactive Yeast: If your yeast doesn’t foam after 5-10 minutes with warm milk and sugar, discard it and start with fresh yeast.
- Too Much Flour: Adding too much flour results in dry, tough rolls. The dough should be slightly sticky before kneading.
- Skipping the Rises: Patience is key! Incomplete rising leads to dense, heavy rolls. Ensure the dough doubles in size in both rises.
- Oven Temperature Fluctuations: Use an oven thermometer to ensure accurate temperature, as inconsistent heat can affect baking.
Storage & Meal Prep Tips
Cooled Dinner Rolls can be stored in an airtight container at room temperature for 2-3 days. For longer storage, freeze them in a freezer-safe bag for up to 3 months. To reheat, simply warm them in a preheated oven (350°F/175°C) for 5-10 minutes, or microwave for 15-30 seconds until warm and soft. Freezing baked rolls is an excellent meal prep strategy, allowing you to have freshly baked-tasting bread whenever you desire.
Conclusion
Creating your own homemade Dinner Rolls is a truly rewarding experience, transforming simple ingredients into a comforting culinary masterpiece. The journey of bread baking, from activating the yeast to pulling golden rolls from the oven, is deeply satisfying and yields delicious results that far surpass anything store-bought. Don’t hesitate to give this recipe a try; you’ll be amazed at your own capabilities and the joy of sharing these warm, fluffy delights with loved ones. We encourage you to bake a batch, share your experiences in the comments below, and explore other exciting recipes on our blog!
FAQs
Q: Can I make the dough ahead of time?
A: Yes, you can prepare the dough up to the first rise, then punch it down, cover tightly, and refrigerate overnight. Let it come to room temperature for about an hour before shaping and continuing with the second rise.
Q: My rolls didn’t rise. What went wrong?
A: The most common culprit is inactive or dead yeast, often due to too-hot or too-cold liquid. Ensure your liquid is within the recommended temperature range (105-115°F/40-46°C).
Q: Can I use instant yeast instead of active dry yeast?
A: Yes, you can typically substitute instant yeast for active dry yeast 1:1. Instant yeast doesn’t require proofing; you can mix it directly with the dry ingredients.
Q: How do I get a soft crust on my rolls?
A: Brush the baked rolls with melted butter immediately after taking them out of the oven. This adds flavor and keeps the crust soft.
Q: Why are my rolls tough?
A: This usually indicates too much flour was added, or the dough was kneaded too vigorously or for too long. Aim for a dough that is elastic but still soft.