Master the Art of Homemade Red Velvet Cake: A Culinary Deep Dive
Ever wonder what makes a classic Red Velvet Cake so irresistibly enchanting? Is it the captivating crimson hue, the subtle cocoa notes, or the tangy embrace of its cream cheese frosting? While store-bought versions offer convenience, there’s an unparalleled satisfaction in creating this iconic dessert from scratch in your own kitchen. This comprehensive guide will not only demystify the process but also empower you to bake a Red Velvet Cake that’s moist, flavorful, and truly legendary. Beyond the sheer joy of baking, understanding the nuances of homemade recipes allows for ingredient control, dietary adjustments, and a truly personalized culinary experience that store-bought options simply can’t match.
Ingredients & Kitchen Tools
- All-Purpose Flour (2 ½ cups): Provides structure. Ensure it’s sifted for a light, airy crumb.
- Granulated Sugar (1 ½ cups): Sweetens the cake and aids in browning.
- Unsweetened Cocoa Powder (2 tablespoons): The subtle chocolatey backbone of red velvet. Use high-quality cocoa for best flavor.
- Baking Soda (1 teaspoon): The leavening agent that reacts with the vinegar and buttermilk for lift.
- Salt (1 teaspoon): Balances sweetness and enhances other flavors.
- Buttermilk (1 cup): Adds tenderness and moisture, and its acidity reacts with baking soda. If unavailable, combine 1 cup milk with 1 tablespoon lemon juice or white vinegar; let sit for 5 minutes.
- Vegetable Oil (1 cup): Contributes to the cake’s moistness. Can substitute with neutral-flavored oil like canola or grapeseed.
- Large Eggs (2, room temperature): Act as emulsifiers and binders. Room temperature eggs incorporate better into the batter.
- Red Food Coloring (1-2 ounces liquid or gel): Essential for the iconic red hue. Gel coloring offers a more vibrant color with less liquid.
- White Vinegar (1 teaspoon): Reacts with baking soda for leavening and tenderness.
- Vanilla Extract (1 teaspoon): Enhances the overall flavor profile.
- For the cream cheese frosting:
* Unsalted Butter (1 stick / ½ cup, softened): Provides richness and structure to the frosting.
* Cream Cheese (8 ounces, softened): The star of the frosting, offering its signature tangy flavor. Use full-fat for best results.
* Powdered Sugar (3-4 cups, sifted): Sweetens and thickens the frosting. Sifting prevents lumps.
* Vanilla Extract (1 teaspoon): Complements the cream cheese flavor.
Kitchen Tools: Two 8 or 9-inch round cake pans, mixing bowls (large and medium), electric mixer (stand or hand-held), whisk, rubber spatula, measuring cups and spoons, sifter, cooling rack.
Prep Time & Cooking Schedule
- Prep Time: 25 minutes
- Bake Time: 28-35 minutes
- Cooling Time: 1-2 hours (crucial before frosting!)
- Total Active Time: Approximately 1 hour
- Total Passive Time: 1-2 hours
Plan to start your Red Velvet Cake baking project with ample cooling time in mind. The cake layers must be completely cool before applying the cream cheese frosting; otherwise, it will melt and slide off, creating a messy rather than magnificent dessert.
Step-by-Step Instructions
1. Preheat & Prep: Preheat oven to 350°F (175°C). Grease and flour two 8 or 9-inch round cake pans. Line bottoms with parchment paper if desired for easy release.
2. Dry Ingredients: In a large bowl, whisk together the sifted flour, granulated sugar, cocoa powder, baking soda, and salt. Ensure all dry ingredients are thoroughly combined to prevent lumps.
3. Wet Ingredients: In a separate medium bowl, whisk together the buttermilk, vegetable oil, room temperature eggs, red food coloring, white vinegar, and vanilla extract until well combined and the color is consistent.
4. Combine: Gradually add the wet ingredients to the dry ingredients, mixing on low speed with an electric mixer until just combined. Be careful not to overmix, as this can lead to a tough cake. Scrape down the sides of the bowl to ensure no dry pockets remain.
5. Bake: Divide the batter evenly between the two prepared cake pans. Bake for 28-35 minutes, or until a wooden skewer inserted into the center comes out clean.
6. Cool: Let the cake layers cool in their pans on a wire rack for 10-15 minutes before inverting them onto the rack to cool completely. This is a critical step for a structurally sound Red Velvet Cake.
7. Make the Frosting: While the cakes cool, prepare the cream cheese frosting. In a large bowl, beat the softened butter and softened cream cheese with an electric mixer until light and fluffy. Gradually add the sifted powdered sugar, one cup at a time, beating until smooth and lump-free. Stir in the vanilla extract.
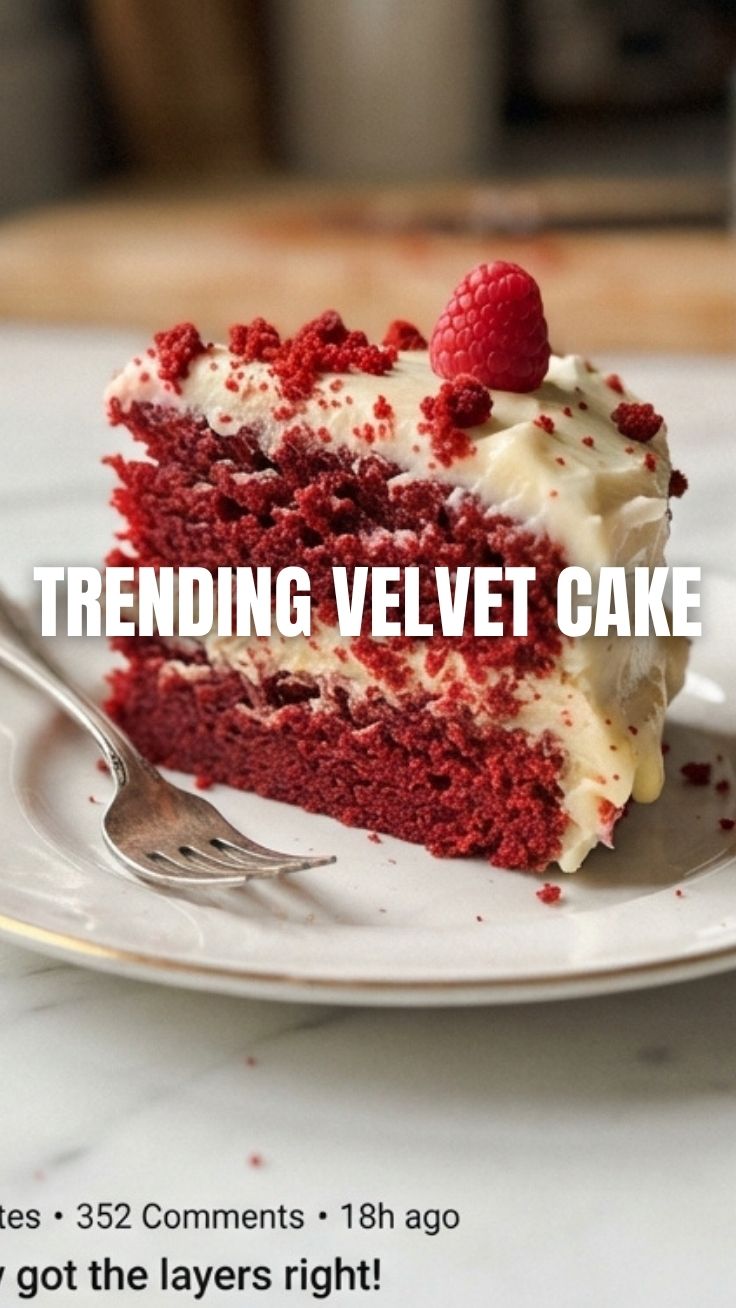
8. Assemble: Once the cake layers are completely cool, place one layer on your serving plate or cake stand. Spread a generous amount of cream cheese frosting evenly over the top. Place the second cake layer on top and frost the top and sides of the entire cake. Decorate as desired.
Nutritional Benefits & Advantages
While a classic dessert, homemade Red Velvet Cake offers control over ingredient quality. Buttermilk provides probiotics (though baking diminishes some benefits), and eggs contribute protein. Making it at home allows you to choose organic ingredients, reduce artificial additives sometimes found in store-bought cakes, and control sugar levels to a degree. For those with specific dietary needs, homemade allows for easier substitution of ingredients.
Tips, Variations & Cooking Advice
- Flavor Boost: Add a pinch of instant espresso powder to the cocoa for a deeper chocolate note without tasting overtly coffee-like.
- Gluten-Free: Substitute the all-purpose flour with a 1:1 gluten-free baking flour blend.
- Dairy-Free: Use a dairy-free buttermilk substitute (e.g., almond milk + lemon juice) and dairy-free cream cheese and butter for the frosting.
- Bundt Cake: This recipe can also be baked in a well-greased and floured bundt pan. Increase baking time to 45-55 minutes and check for doneness.
- Cupcakes: Divide batter into lined cupcake tins, baking for 18-22 minutes.
- Zesting: A little orange or lemon zest in the batter offers a bright counterpoint to the richness.
Common Mistakes to Avoid
- Overmixing the Batter: Leads to a tough, dense cake. Mix only until ingredients are just combined.
- Not Sifting Dry Ingredients: Can result in lumps in your cake batter.
- Not Cooling Cakes Completely Before Frosting: The cardinal sin of cake baking! Warm cake melts the frosting, creating a slip-and-slide mess.
- Using Cold Cream Cheese/Butter for Frosting: Will result in lumpy frosting. Ensure both are softened to room temperature for a smooth, creamy texture.
- Too Much Food Coloring: While tempting for a vibrant red, excessive liquid food coloring can affect the cake’s texture or leave an aftertaste. Gel coloring is often preferred for intensity.
Storage & Meal Prep Tips
Store leftover Red Velvet Cake in an airtight container at room temperature for up to 2 days, or in the refrigerator for up to 5 days due to the cream cheese frosting. For longer storage, slices or whole layers can be wrapped tightly in plastic wrap and then foil, then frozen for up to 2-3 months. Thaw frozen cake in the refrigerator overnight before serving. To reheat, allow slices to come to room temperature for optimal texture, or gently warm in the microwave for a few seconds.
Conclusion
Crafting a homemade Red Velvet Cake is more than just following a recipe; it’s about understanding the subtle science behind the vibrant color and luscious texture. From the careful balance of cocoa and buttermilk to the delightful tang of the cream cheese frosting, every step contributes to a truly exceptional dessert. We hope this guide inspires you to embrace the joy of baking and create a show-stopping Red Velvet Cake that delights all who taste it. Don’t be shy – bake your masterpiece, share your results, and tell us your favorite part of this classic recipe in the comments below!
FAQs
Q1: Can I use regular milk instead of buttermilk?
A1: Yes, you can make a buttermilk substitute by adding 1 tablespoon of lemon juice or white vinegar to 1 cup of regular milk. Let it sit for 5-10 minutes until it slightly curdles.
Q2: My cake layers are sticking to the pan. What went wrong?
A2: This usually happens if the pans weren’t greased and floured properly, or if you tried to remove the cakes while they were still warm. Ensure thorough preparation and allow ample cooling time.
Q3: How can I achieve a super vibrant red color?
A3: Using gel food coloring is often key for a vibrant red without adding too much liquid to the batter. Start with the recommended amount and add more if needed, a few drops at a time.
Q4: Can I make the cream cheese frosting less sweet?
A4: Absolutely! You can start with 2.5-3 cups of powdered sugar and taste, adding more as needed to reach your desired sweetness and consistency. Ensure it remains thick enough to frost.
Q5: My frosting is too runny/too thick. How can I fix it?
A5: If your frosting is too runny, add more sifted powdered sugar a tablespoon at a time until it reaches the desired consistency. If it’s too thick, add a teaspoon of milk or cream at a time until it loosens up.