Unlock the Secret to Creamy Perfection: Your Guide to Exquisite Homemade Vanilla Ice Cream
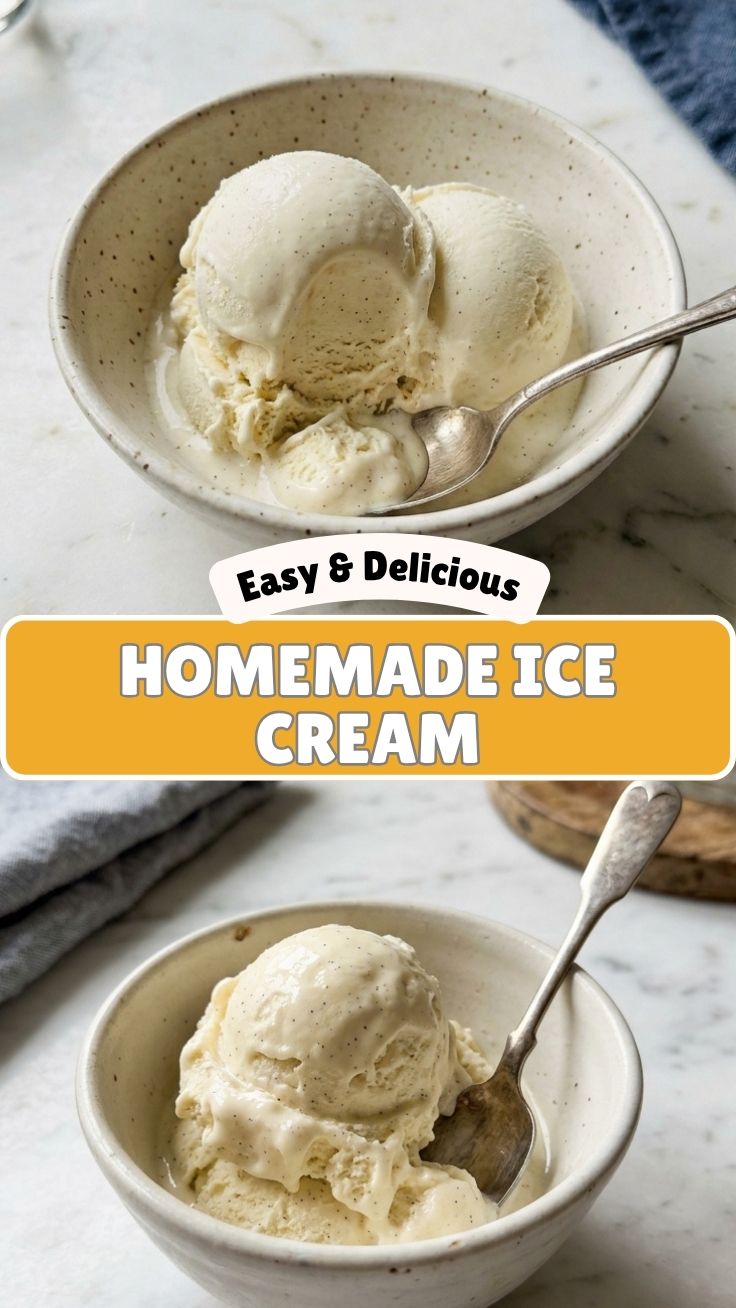
Have you ever savored a spoonful of ice cream so intensely rich and flavorful that it transported you? That sensation, often elusive in store-bought options, is precisely what awaits when you master the art of making Homemade Ice Cream (Vanilla). Beyond the sheer joy of creating something delicious from scratch, there’s an unparalleled satisfaction in controlling every ingredient, ensuring pure, unadulterated taste. Forget artificial flavors and stabilizers; this guide will walk you through crafting a truly exceptional dessert experience. And for those keen on exploring more, our collection of Ice Cream Recipes offers a gateway to endless frozen delights.
Ingredients & Kitchen Tools
Crafting the perfect vanilla ice cream requires a few key components and reliable equipment.
- Heavy Cream (2 cups): The backbone of our creamy texture, choose full-fat for the richest result.
- Whole Milk (1 cup): Complements the cream, adding body without excessive richness.
- Granulated Sugar (¾ cup): Sweetens and helps prevent ice crystal formation. Adjust to your sweetness preference.
- Egg Yolks (5 large): The secret to a silky, custard-like base. Provides structure and richness.
- Vanilla Bean (1 pod): For an authentic, intense vanilla flavor. Split lengthwise and scrape out the seeds.
- Pure Vanilla Extract (1 teaspoon): Enhances the vanilla bean’s aroma and adds depth. Use good quality extract.
- Pinch of Salt: Balances the sweetness and brings out the vanilla flavor.
- Large Saucepan: For heating the dairy mixture and tempering the egg yolks.
- Whisk: Essential for combining ingredients and tempering.
- Fine-Mesh Sieve: To strain the custard base, ensuring a smooth, lump-free ice cream.
- Large Bowl (ice bath): To quickly cool the custard base.
- Ice Cream Maker: Crucial for churning and achieving that classic ice cream texture.
- Airtight Container: For storing your freshly made ice cream in the freezer.
Prep Time & Cooking Schedule
- Prep Time: 20 minutes (active preparation for custard)
- Cook Time: 10-15 minutes (custard preparation on stovetop)
- Chilling Time: 4-6 hours (minimum, or overnight for best results – crucial for flavor development and churning)
- Churning Time: 20-30 minutes (varies by ice cream maker)
- Freezing/Ripening Time: 2-4 hours (for firming up after churning)
Plan your day accordingly! The chilling time is the most significant, so starting your custard the day before you plan to churn is often ideal.
Step-by-Step Instructions
Embark on this culinary journey to create an unforgettable Homemade Ice Cream (Vanilla) experience. Precision and patience are your best allies here.
1. Prepare the Vanilla: Split the vanilla bean lengthwise and scrape out the seeds with the back of a knife. Add both the scraped seeds and the pod to a large saucepan.
2. Infuse the Dairy: In the saucepan, combine the heavy cream, whole milk, and half of the granulated sugar (3/8 cup) with the vanilla seeds and pod. Heat over medium heat, stirring occasionally, until it just begins to simmer around the edges – do not boil. Remove from heat and let steep for 15-20 minutes to infuse the vanilla flavor.
3. Whisk the Yolks: While the dairy is steeping, whisk the egg yolks with the remaining granulated sugar in a separate bowl until pale yellow and slightly thickened (this is called “ribbon stage”).
4. Temper the Yolks: Gradually ladle about a cup of the warm cream mixture into the egg yolk mixture, whisking constantly. This slowly raises the temperature of the yolks without scrambling them. Once tempered, pour the entire egg yolk mixture back into the saucepan with the remaining cream.
5. Cook the Custard: Return the saucepan to medium-low heat. Cook, stirring constantly with a wooden spoon or spatula, until the mixture thickens enough to coat the back of the spoon (nappe). It should reach about 175-180°F (80-82°C). Do not boil, or the custard will curdle.
6. Strain and Chill: Remove the vanilla bean pod from the custard. Pour the hot custard through a fine-mesh sieve into a clean bowl placed over an ice bath. Stir occasionally until the custard cools completely. Once cool, stir in the pure vanilla extract and the pinch of salt. Cover the bowl with plastic wrap, ensuring the wrap touches the surface of the custard to prevent a skin from forming. Refrigerate for at least 4-6 hours, or preferably overnight. This chilling step is crucial for achieving a superior texture when making any of your favorite Ice Cream Recipes.
7. Churn the Ice Cream: Once thoroughly chilled, pour the custard into your ice cream maker’s frozen bowl and churn according to the manufacturer’s instructions, usually 20-30 minutes, until it reaches the consistency of soft-serve ice cream.
8. Freeze to Firm: Transfer the soft ice cream to an airtight container. Press plastic wrap directly onto the surface to minimize ice crystals, then cover with a lid. Freeze for at least 2-4 hours, or until firm enough to scoop.
Nutritional Benefits & Advantages
Beyond its delicious taste, this Homemade Ice Cream (Vanilla) offers some notable advantages. Using fresh, whole ingredients means you avoid the high-fructose corn syrup, artificial flavors, and stabilizers often found in commercial ice creams. Milk and cream provide essential calcium and vitamin D, crucial for bone health. Egg yolks add valuable protein and choline, which supports brain function. While it remains an indulgent treat, making it at home allows for mindful portion control and ingredient selection, letting you enjoy a classic dessert with greater peace of mind.
Tips, Variations & Cooking Advice
- Flavor Boost: For an even more intense vanilla, scrape a second vanilla bean into the custard.
- Dairy-Free: Substitute full-fat coconut milk or a high-quality cashew cream for the dairy. Note that the texture will be slightly different.
- Egg-Free/Philadelphia Style: Omit the egg yolks and increase the heavy cream to 3 cups and milk to 1.5 cups. This results in a lighter, less custardy texture.
- Sugar Adjustment: If using a very sweet vanilla bean, you might reduce the sugar slightly. Taste the chilled custard before churning.
- Salted Caramel Swirl: During the last few minutes of churning, drizzle in some homemade or high-quality store-bought salted caramel sauce.
- Chocolate Chip: Fold in miniature chocolate chips or shaved dark chocolate after churning.
Common Mistakes to Avoid
- Not Chilling Long Enough: This is perhaps the biggest culprit for icy, poorly textured ice cream. The custard MUST be thoroughly chilled.
- Overcooking the Custard: If the custard boils or cooks too long at a high temperature, the eggs will scramble, resulting in a lumpy texture. Heat gently and stir constantly.
- Not Straining: Skipping the sieve can leave you with bits of coagulated egg or vanilla bean debris. Always strain!
- Overfilling the Ice Cream Maker: Most machines require space for expansion. Follow your manufacturer’s guidelines.
- Using a Warm Freezer Bowl: Ensure your ice cream maker’s bowl is frozen solid, typically 24 hours in advance.
Storage & Meal Prep Tips
Your Homemade Ice Cream (Vanilla) is best enjoyed within a week. Store it in an airtight freezer-safe container to prevent freezer burn and keep it fresh. Press a layer of plastic wrap directly onto the surface of the ice cream before sealing the container – this greatly minimizes ice crystal formation. When ready to serve, let it sit on the counter for 5-10 minutes to soften slightly for easier scooping. This specific recipe doesn’t lend itself to “meal prep” in the traditional sense, but preparing the custard a day ahead significantly streamlines the process on serving day.
Conclusion
Crafting Homemade Ice Cream (Vanilla) is more than just making a dessert; it’s an experience, a journey into the heart of classic culinary art. With simple, pure ingredients and a bit of patience, you can achieve a truly sublime frozen treat that far surpasses anything store-bought. Don’t be shy; dive into the world of Ice Cream Recipes – your taste buds will thank you. Now, go forth, churn some magic, and share your delightful creations with the world!
FAQs
Q1: Why are egg yolks necessary in vanilla ice cream?
A1: Egg yolks create a custard-style ice cream, providing a rich, creamy texture and helping to prevent the formation of large ice crystals, resulting in a smoother mouthfeel.
Q2: Can I make this without an ice cream maker?
A2: While challenging, you can. Pour the chilled custard into a shallow freezer-safe pan. Freeze for 30-45 minutes, then remove and whisk vigorously. Repeat this process every 30 minutes for 3-4 hours until creamy.
Q3: How can I prevent my homemade ice cream from becoming too icy?
A3: Ensure your custard is thoroughly chilled before churning, don’t over-churn, and store in an airtight container with plastic wrap pressed directly on the surface to minimize air exposure. A splash of alcohol (like vodka) can also help lower the freezing point, making it softer.
Q4: What’s the best way to temper egg yolks without scrambling them?
A4: Slowly whisk a small amount of hot liquid into the egg yolks first (this is “tempering”) before adding the warmed yolks back into the main pot. Always keep the heat low and stir constantly when cooking the custard.
Q5: How long does homemade ice cream last in the freezer?
A5: For optimal taste and texture, homemade ice cream is best consumed within 1-2 weeks. After that, it can develop ice crystals and lose some of its fresh flavor.