Unlock the Magic of Homemade Baking: Your Ultimate Guide to Irresistible Cinnamon Rolls
Ever wondered what makes bakery-fresh Cinnamon Rolls so enchanting? Is it the fluffy dough, the warm, fragrant spice, or the gooey glaze that melts in your mouth? While store-bought versions offer convenience, there’s an unparalleled joy and satisfaction in crafting these delightful treats in your own kitchen. Beyond the sheer pleasure of baking, mastering homemade Cinnamon Rolls allows you to control the quality of ingredients, personalize flavors, and fill your home with the intoxicating aroma of freshly baked goods. This comprehensive guide will walk you through every step, ensuring your homemade creations are even better than the bakery’s best. We’ll delve into the nuances of dough, the art of the perfect filling featuring aromatic Cinnamon, and the secrets to an irresistible glaze.
Ingredients & Kitchen Tools
To embark on your delectable journey to homemade Cinnamon Rolls, gather these essentials:
- All-Purpose Flour (5-6 cups): The backbone of your dough, providing structure. (Use more for dusting if needed).
- Active Dry Yeast (2 ¼ teaspoons or 1 packet): The leavening agent that makes your rolls rise.
- Granulated Sugar (½ cup + ¼ cup for filling): Sweetness for the dough and a key component of the filling.
- Salt (1 teaspoon for dough + ½ teaspoon for filling): Balances flavors and enhances sweetness.
- Milk (1 cup, warmed to 105-115°F/40-46°C): Activates the yeast and adds richness. (Any milk, dairy or non-dairy, works).
- Unsalted Butter (½ cup, melted for dough + ½ cup, softened for filling + 4 tbsp softened for glaze): Adds richness, flavor, and tenderness. (Use a high-quality butter for best results).
- Eggs (2 large, at room temperature): Contribute to richness, color, and structure.
- Brown Sugar (1 cup, packed for filling): Provides a deeper, caramel-like sweetness. (Light or dark brown sugar works).
- Ground Cinnamon (2 tablespoons for filling): The star spice of our rolls, providing warmth and aroma. (Freshly ground is always best).
- Vanilla Extract (1 teaspoon for glaze): Enhances the overall flavor profile of the glaze.
- Powdered Sugar (2 cups for glaze): Forms the base of our sweet, smooth glaze.
- Cream Cheese (4 oz, softened for glaze): Adds tang and creaminess to the glaze. (Full-fat for best texture).
Kitchen Tools:
- Large Mixing Bowl: For combining and proofing your dough.
- Stand Mixer with Dough Hook (optional but recommended): Simplifies the kneading process.
- Measuring Cups & Spoons: For accurate ingredient portions.
- Rolling Pin: To achieve an even thickness for your dough.
- 9×13 Inch Baking Pan: The ideal size for baking a batch of rolls.
- Whisk: For combining dry ingredients and making the glaze.
- Rubber Spatula: For scraping and folding ingredients.
- Pastry Brush: To evenly spread melted butter.
- Plastic Wrap or Clean Kitchen Towel: For covering the dough during proofing.
Prep Time & Cooking Schedule
- Prep Time: 45 minutes
- Proofing Time: 2-3 hours (first rise) + 30-45 minutes (second rise)
- Cook Time: 25-30 minutes
- Total Time: Approximately 3.5 – 4.5 hours (including rising)
This recipe requires patience due to the dough’s proofing times, but the hands-on active time is manageable. Plan to start in the morning for a delightful afternoon treat or begin in the afternoon for a warm evening dessert. The resting times are crucial for the dough to develop flavor and achieve its signature fluffy texture.
Step-by-Step Instructions
1. Activate Yeast: In a large bowl, whisk together warm milk, 1 tablespoon of granulated sugar, and yeast. Let it sit for 5-10 minutes until foamy, indicating the yeast is active.
2. Combine Dough Ingredients: Add the remaining granulated sugar, melted butter, eggs, and salt to the yeast mixture. Gradually add the flour, 1 cup at a time, mixing until a shaggy dough forms.
3. Knead the Dough: If using a stand mixer, attach the dough hook and knead on medium-low speed for 8-10 minutes until the dough is smooth and elastic. If kneading by hand, turn the dough onto a lightly floured surface and knead for 10-12 minutes.
4. First Rise: Place the dough in a lightly greased bowl, turn once to coat, and cover with plastic wrap or a clean kitchen towel. Let it rise in a warm place for 1.5-2 hours, or until doubled in size.
5. Prepare Filling: While the dough rises, combine softened butter, brown sugar, and ground Cinnamon in a small bowl. Mix until well combined.
6. Roll Out Dough: Once the dough has doubled, punch it down gently to release air. Turn it onto a lightly floured surface and roll it into a large rectangle, approximately 16×20 inches.
7. Spread Filling: Evenly spread the Cinnamon sugar filling over the entire surface of the dough, leaving a small border on one of the long edges.
8. Roll and Slice: Starting from the long edge opposite the border, tightly roll the dough into a log. Using a sharp knife or unflavored dental floss, cut the log into 12-15 equal slices, about 1.5 inches thick. This careful technique will ensure perfect, swirl-filled Cinnamon Rolls.
9. Second Rise: Arrange the sliced rolls in a lightly greased 9×13 inch baking pan, leaving a little space between them. Cover and let rise in a warm place for 30-45 minutes, or until puffy.
10. Bake: Preheat your oven to 375°F (190°C). Bake the rolls for 25-30 minutes, or until golden brown and cooked through.
11. Prepare Glaze: While the rolls bake, whisk together softened cream cheese, powdered sugar, melted butter, and vanilla extract until smooth and creamy.
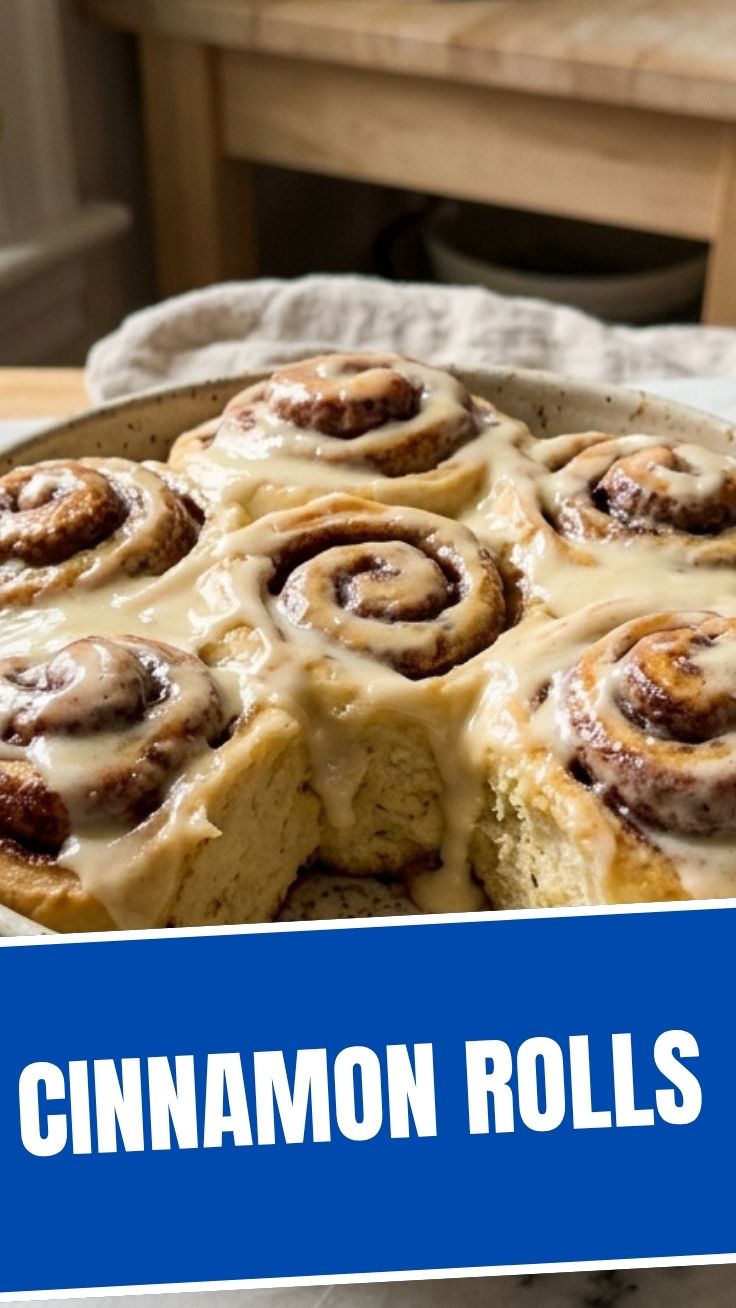
12. Glaze and Serve: Once baked, remove the Cinnamon Rolls from the oven and let them cool for 5-10 minutes. Drizzle generously with the cream cheese glaze and serve warm.
Nutritional Benefits & Advantages
While Cinnamon Rolls are undeniably a treat, baking them at home gives you control over the ingredients. You can opt for whole-wheat flour for added fiber, reduce sugar content, or use healthier fats. The star spice, Cinnamon, is known for its antioxidant properties and potential to help regulate blood sugar levels. Enjoying them in moderation as part of a balanced diet can provide a delightful energy boost and a comforting culinary experience.
Tips, Variations & Cooking Advice
- Overnight Rolls: Prepare the dough and roll it out with the filling. Place the sliced rolls in the baking dish, cover tightly, and refrigerate overnight. In the morning, let them come to room temperature for 30-45 minutes before baking.
- Spice It Up: Add a pinch of nutmeg, cardamom, or allspice to the filling for a more complex flavor profile.
- Nutty Twist: Sprinkle chopped pecans or walnuts over the filling before rolling for added crunch.
- Citrus Zest: A teaspoon of orange or lemon zest in the dough or glaze can brighten the flavors.
- Gluten-Free Version: Use a 1:1 gluten-free baking flour blend, but be aware the texture might be slightly different.
- Dairy-Free: Substitute dairy milk with almond or soy milk, butter with vegan butter sticks, and cream cheese with a dairy-free cream cheese alternative.
Common Mistakes to Avoid
- Over-Kneading: Can result in tough rolls. Stop kneading once the dough is smooth and elastic.
- Under-Proofing: Leads to dense, small rolls. Ensure the dough has doubled in size during both proofing stages.
- Over-Baking: Dries out the rolls. Bake until golden brown, but don’t let them become too dark.
- Cold Ingredients: Using cold milk or eggs can hinder yeast activation and proper dough development.
- Not Spreading Filling Evenly: Results in some rolls having more spice than others. Spread the filling from edge to edge (leaving one border).
Storage & Meal Prep Tips
Leftover Cinnamon Rolls can be stored in an airtight container at room temperature for up to 2-3 days. For longer storage, refrigerate for up to a week. To freeze, place unglazed rolls in an airtight container or freezer bag for up to 2-3 months. Thaw in the refrigerator overnight before rewarming. Reheat individual rolls in the microwave for 15-30 seconds or in an oven at 300°F (150°C) for 10-15 minutes until warm and soft.
Conclusion
Creating homemade Cinnamon Rolls is a rewarding experience that fills your home with warmth and an irresistible aroma. By following this detailed guide, you’ll master the art of soft, fluffy dough, a perfectly spiced Cinnamon filling, and a luscious cream cheese glaze. Don’t be afraid to experiment with variations to make them truly your own. Share your baking triumphs with us in the comments below, and let the magic of homemade baking transform your kitchen!
FAQs
Q1: My dough isn’t rising. What went wrong?
A1: This usually indicates inactive yeast. Ensure your milk is the correct temperature (105-115°F) and check the expiry date of your yeast.
Q2: Can I make the dough in advance?
A2: Yes, you can refrigerate the dough after the first rise for up to 24 hours. Just let it come to room temperature and lightly proof before rolling.
Q3: How do I get perfectly even slices?
A3: Use unflavored dental floss! Slide it under the log, cross the ends over the top, and pull to cut clean, precise rolls.
Q4: My rolls are dry. What can I do next time?
A4: Dry rolls are often a result of over-baking or not enough fat in the dough. Ensure accurate baking times and consider adding a little extra butter or an egg yolk to the dough.
Q5: Can I substitute the cream cheese in the glaze?
A5: Absolutely! For a simpler glaze, combine powdered sugar, milk (or water), and a touch of vanilla extract.