The Ultimate Guide to Fudgy Brownies: A Home Baker’s Dream
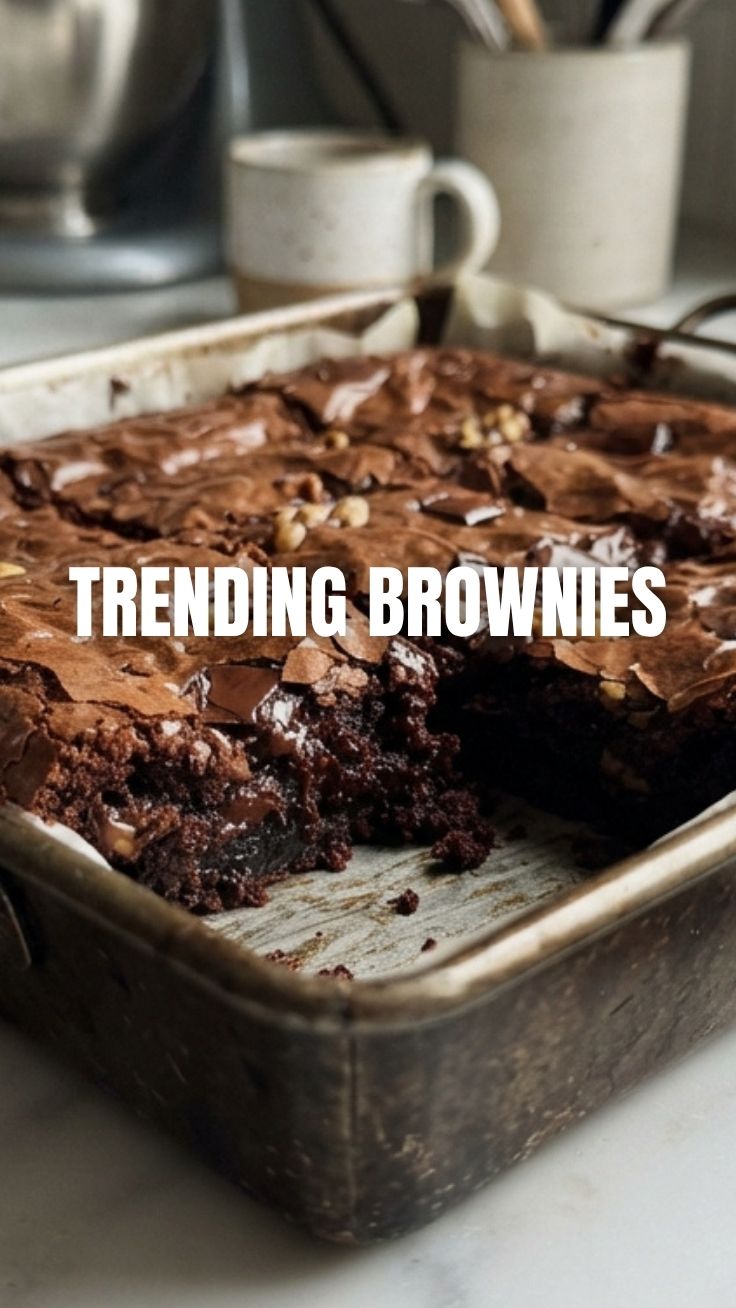
Ever found yourself craving that perfect square of rich, decadent chocolate, with a crackly top and a gooey, fudgy center? If so, you’re not alone! While store-bought options can be tempting, there’s an unparalleled satisfaction and a superior flavor profile that comes from baking your own Brownies right in your own kitchen. This isn’t just about mixing ingredients; it’s about creating a moment of pure bliss, a comforting treat that’s both deeply rewarding to make and utterly delicious to devour. And for those looking for straightforward, delectable desserts, especially with the prevalence of Easy Brownie Recipes, you’re in the right place to elevate your baking game.
Ingredients & Kitchen Tools
Crafting the perfect batch of Brownies requires a few key ingredients and tools. Here’s what you’ll need:
- Unsalted Butter (1 cup / 226g): Essential for richness and flavor. Using unsalted butter allows you to control the salt content.
- Granulated Sugar (2 cups / 400g): Provides sweetness and a tender crumb.
- Light Brown Sugar (1/2 cup / 100g): Adds moisture and a subtle caramel note.
- Large Eggs (4): Binds the ingredients, provides structure, and contributes to fudginess.
- Vanilla Extract (2 teaspoons): Enhances the chocolate flavor. Opt for pure vanilla extract for the best taste.
- All-Purpose Flour (1 cup / 125g): The main dry ingredient, providing structure. Sifting ensures a lighter texture.
- Unsweetened Cocoa Powder (3/4 cup / 75g): The star of our brownies, delivering intense chocolate flavor. Dutch-processed cocoa works well for a darker, milder chocolate profile.
- Salt (1/2 teaspoon): Balances sweetness and enhances all flavors.
- Chocolate Chips or Chunks (1 cup / 170g): Optional, but highly recommended for extra pockets of melted chocolate. Use bittersweet or semi-sweet.
- 9×13 inch Baking Pan: A standard size for brownies. Metal pans conduct heat more evenly than glass.
- Parchment Paper: Prevents sticking and makes it easy to lift the brownies out of the pan.
- Large Mixing Bowls (2): For wet and dry ingredients.
- Whisk: For combining dry ingredients.
- Rubber Spatula: For folding and scraping.
- Saucepan: For melting butter and sugars.
- Oven Thermometer (Optional): To ensure your oven is at the correct temperature.
Prep Time & Cooking Schedule
- Prep Time: 15 minutes
- Cook Time: 25-30 minutes
- Resting Time: 1-2 hours (crucial for optimal fudgy texture and clean cuts)
This recipe is ideal for a weekend baking project or a mid-week pick-me-up. The minimal prep time means you can get these in the oven quickly, and while the resting time requires patience, it’s a vital step for achieving that signature fudgy consistency. Plan to bake these ahead of time if you’re serving them for a gathering.
Step-by-Step Instructions
1. Preheat & Prep: Preheat your oven to 350°F (175°C). Line a 9×13 inch baking pan with parchment paper, leaving an overhang on the sides for easy removal, and lightly grease the exposed sides.
2. Melt Butter & Sugars: In a medium saucepan over low heat, melt the unsalted butter. Once melted, remove from heat and stir in the granulated sugar and light brown sugar until combined. The mixture should be warm, not hot. This step helps dissolve the sugar, contributing to the glossy top of perfectly fudgy Brownies.
3. Incorporate Wet Ingredients: Transfer the butter-sugar mixture to a large mixing bowl. Whisk in the eggs one at a time, ensuring each is fully incorporated before adding the next. Stir in the vanilla extract. Continue whisking for about 1-2 minutes until the mixture is light in color and slightly thickened – this aeration is key for the crackly top.
4. Combine Dry Ingredients: In a separate medium bowl, whisk together the all-purpose flour, unsweetened cocoa powder, and salt.
5. Fold in Dry Ingredients: Gently add the dry ingredient mixture to the wet ingredients. Fold with a rubber spatula until just combined. Be careful not to overmix, as this can lead to tough brownies. If using, fold in the chocolate chips or chunks now.
6. Bake: Pour the batter evenly into the prepared baking pan. Bake for 25-30 minutes, or until a toothpick inserted into the center comes out with moist crumbs, but no wet batter. Overbaking will result in dry cakes, so keep a close eye on them – a hallmark of any good Easy Brownie Recipes.
7. Cool & Serve: Let the brownies cool completely in the pan on a wire rack before lifting them out using the parchment paper overhang. This cooling period is essential for allowing them to set and develop their signature fudgy texture. Slice into squares and enjoy!
Nutritional Benefits & Advantages
While Brownies are undoubtedly a treat, they do offer some surprising benefits. Dark cocoa powder, a primary ingredient, is rich in antioxidants, which can help combat free radicals in the body. The eggs provide protein, and the butter offers essential fatty acids. Baking at home also gives you complete control over the quality of ingredients, allowing you to choose organic dairy or ethically sourced chocolate.
Tips Variations & Cooking Advice
- Salt Enhancement: A sprinkle of flaky sea salt on top before baking elevates the chocolate flavor beautifully.
- Flavor Boosts: Add a teaspoon of espresso powder to the batter to deepen the chocolate taste without making it coffee-flavored. A dash of cinnamon or cayenne pepper can also add a subtle warmth.
- Nutty Goodness: Fold in toasted chopped walnuts or pecans for added texture and flavor.
- Swirl It: Swirl in a dollop of peanut butter or cream cheese for a marbled effect and extra creaminess.
- Gluten-Free: Substitute the all-purpose flour with a 1:1 gluten-free baking flour blend.
- Less Sweet: You can reduce the sugar by up to 1/4 cup without significantly impacting the texture, although it will be less sweet.
Common Mistakes to Avoid
- Overmixing the Batter: This develops the gluten in the flour, leading to tough, cakey brownies instead of fudgy ones. Mix only until just combined.
- Overbaking: The most common culprit for dry, crumbly brownies. A toothpick should come out with moist crumbs, not completely clean.
- Cutting Too Soon: Patience is key! Cutting warm brownies results in a messy, crumbling disaster. Allow them to cool completely (1-2 hours, or even chill in the fridge) for clean, perfect squares.
- Incorrect Pan Size: Using a pan too large will result in thin, dry brownies, while a pan too small will lead to undercooked centers. Stick to the 9×13 inch pan.
Storage & Meal Prep Tips
Store leftover Brownies at room temperature in an airtight container for up to 3-4 days. For longer storage, you can freeze them. Wrap individual squares tightly in plastic wrap, then place them in an airtight freezer-safe bag or container for up to 3 months. Thaw frozen brownies at room temperature for several hours or microwave briefly for a warm, gooey treat.
Conclusion
Baking your own batch of fudgy Brownies is more than just following a recipe; it’s an experience in creating pure, unadulterated joy. From the rich aroma filling your kitchen to the first bite of that perfectly dense, chocolatey square, the results are truly rewarding. With this comprehensive guide and a focus on both precision and embracing the simplicity of Easy Brownie Recipes, you’re now equipped to bake a batch that will impress everyone, including yourself. Don’t hesitate to give this recipe a try and share your delicious creations in the comments below! Happy baking!
FAQs
Q1: Why are my brownies cakey instead of fudgy?
A1: This is usually due to overmixing the batter or overbaking. Mix ingredients only until just combined to avoid developing gluten, and pull them from the oven when a toothpick comes out with moist crumbs, not completely clean.
Q2: Can I use a different type of chocolate?
A2: Absolutely! While unsweetened cocoa powder is essential, you can experiment with different types of chocolate chips (milk, dark, white) or even chopped chocolate bars for varying flavor profiles.
Q3: How do I get that perfect crackly top?
A3: The crackly top often comes from dissolving the sugar properly in the melted butter and whisking the eggs into the warm sugar mixture until light and airy. Don’t skip this aeration step!
Q4: Can I make these in a different sized pan?
A4: You can, but you’ll need to adjust baking times. For an 8×8 inch pan, the baking time might be slightly longer (around 30-35 minutes), but always monitor closely with a toothpick test.
Q5: What’s the best way to cut clean squares?
A5: The key is letting them cool completely, preferably chilling them in the refrigerator for at least an hour. Use a sharp, non-serrated knife, wiping it clean between each cut.