Unlock the Secret to the Ultimate Homemade Decadent Chocolate Cake!
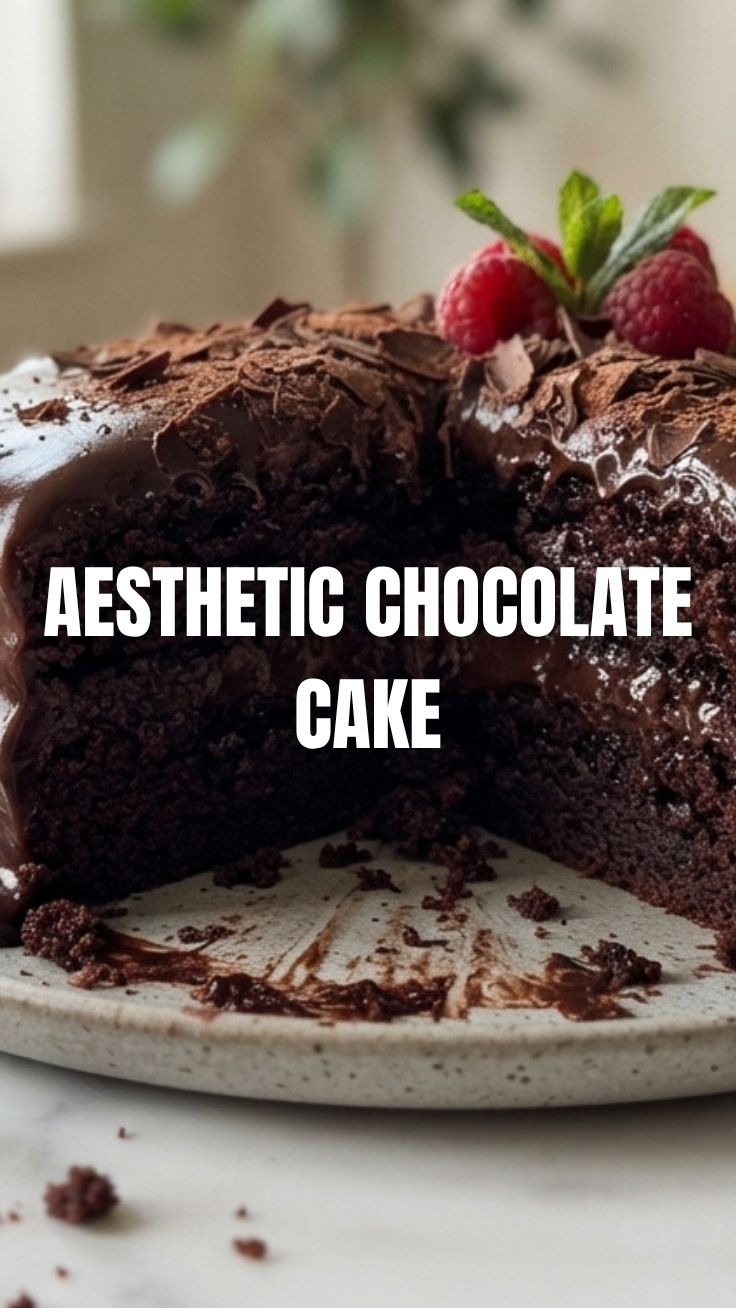
Ever wondered how to create a show-stopping dessert that’s rich, moist, and utterly irresistible right in your own kitchen? Preparing a homemade Chocolate Cake is not just about baking; it’s about crafting an experience, a moment of pure bliss that store-bought versions simply can’t replicate. Imagine the aroma filling your home, the anticipation building, and that first delectable bite of a perfectly baked dessert, generously embraced by a velvety smooth Frosting. This guide will walk you through every step, ensuring your chocolate creation is nothing short of spectacular, making you the undisputed dessert champion among your friends and family. This recipe isn’t just a guide; it’s a journey to mastering the art of the perfect chocolate indulgence.
Ingredients & Kitchen Tools
Crafting the perfect confection requires precision and the right tools. Here’s what you’ll need:
- All-Purpose Flour (2 cups): The backbone of your cake, providing structure and texture. Sifting ensures a light, airy crumb.
- Granulated Sugar (2 cups): For sweetness and moisture. Don’t skimp, as it helps create that desirable tender texture.
- Unsweetened Cocoa Powder (¾ cup): The star of our show, delivering that deep, rich chocolate flavor. Opt for Dutch-processed for a darker color and milder taste.
- Baking Soda (2 tsp): A leavening agent that helps the cake rise. Essential for a fluffy texture.
- Baking Powder (1 tsp): Another leavening agent, working in conjunction with baking soda for optimal lift.
- Salt (1 tsp): Balances the sweetness and enhances the chocolate flavor.
- Large Eggs (2): Act as a binder and add richness and moisture. Ensure they are at room temperature.
- Whole Milk (1 cup): Contributes to the cake’s moistness and provides liquid for activation of leavening agents.
- Vegetable Oil (½ cup): Keeps the cake incredibly moist and tender. Can substitute with canola oil or melted butter.
- Vanilla Extract (2 tsp): A flavor enhancer that complements the chocolate beautifully. Use pure vanilla for best results.
- Boiling Water (1 cup): Activates the cocoa powder, deepening the chocolate flavor and contributing to a moist crumb.
- Unsalted Butter (1 stick / ½ cup): For greasing the pans and for the Frosting.
- Powdered Sugar (4 cups): The foundation of our smooth, melt-in-your-mouth Frosting.
- Heavy Cream (½ cup): Essential for achieving the right consistency and richness in the Frosting.
- Mixing Bowls (2 large): For dry and wet ingredients.
- Electric Mixer (stand or hand-held): For efficient mixing of both batter and Frosting.
- 9-inch Round Cake Pans (2): The standard size for a layer cake.
- Parchment Paper: Prevents sticking and ensures easy release of cakes.
- Wire Rack: For cooling the cakes completely.
- Spatula/Whisk: For combining ingredients.
- Measuring Cups & Spoons: For accurate ingredient quantities.
Prep Time & Cooking Schedule
- Prep Time: 25 minutes
- Cook Time: 30-35 minutes
- Cooling Time: 1 hour
- Frosting & Assembly Time: 20 minutes
This schedule allows you to have a beautiful, ready-to-serve cake in just under 2.5 hours. The cooling time is crucial; trying to frost a warm cake will lead to a melty mess!
Step-by-Step Instructions
1. Preheat & Prepare: Preheat your oven to 350°F (175°C). Grease and flour two 9-inch round cake pans. Line the bottoms with parchment paper for easy removal. This preparation is key to ensuring your cakes don’t stick.
2. Combine Dry Ingredients: In a large mixing bowl, whisk together the flour, sugar, cocoa powder, baking soda, baking powder, and salt. Ensure there are no lumps for a smooth batter.
3. Mix Wet Ingredients: In a separate medium bowl, whisk together the eggs, milk, vegetable oil, and vanilla extract until well combined.
4. Combine & Add Boiling Water: Gradually add the wet ingredients to the dry ingredients, mixing on low speed with an electric mixer until just combined. Do not overmix. Carefully stir in the boiling water until the batter is smooth and a bit thin. This is a common technique for a moist Chocolate Cake.
5. Bake: Divide the batter evenly between the prepared cake pans. Bake for 30-35 minutes, or until a wooden skewer inserted into the center comes out clean.
6. Cool: Let the cakes cool in the pans for 10 minutes before inverting them onto a wire rack to cool completely. This prevents them from breaking.
7. Prepare the Frosting: While the cakes cool, beat the softened butter until creamy. Gradually add the powdered sugar, alternating with heavy cream and vanilla extract, until the Frosting is smooth, fluffy, and spreadable. Adjust cream for desired consistency.
8. Assemble & Frost: Once the cakes are completely cool, level them if necessary. Place one cake layer on your serving plate or cake stand. Spread a generous layer of Frosting evenly over the top. Place the second cake layer on top and repeat with the remaining Frosting, covering the sides as well. Decorate as desired.
Nutritional Benefits & Advantages
While a slice of this delightful dessert is undoubtedly an indulgence, cocoa powder, its primary flavor component, is rich in antioxidants called flavonoids. These compounds have been linked to improved heart health and reduced inflammation. Eggs provide protein, essential vitamins, and minerals. Opting for homemade means you control the quality of ingredients, avoiding artificial preservatives and excessive additives often found in store-bought options. Enjoying a homemade treat also offers the psychological benefit of comfort and satisfaction derived from creating something wonderful with your own hands.
Tips Variations & Cooking Advice
- Flavor Boost: Add a teaspoon of instant espresso powder to the batter to deepen and intensify the chocolate flavor without making it taste like coffee.
- Dairy-Free Option: Substitute whole milk with a non-dairy milk like almond or oat milk, and use a plant-based butter for the cake and Frosting.
- Gluten-Free: Swap all-purpose flour for a high-quality gluten-free all-purpose flour blend (ensure it contains xanthan gum).
- Ganache Drizzle: For an extra touch of decadence, warm some heavy cream and pour over chopped chocolate chips to create a simple ganache to drizzle over the frosted cake.
- Portion Control: Slice the cake into smaller pieces to manage portion sizes, or bake in cupcake liners for individual servings.
Common Mistakes to Avoid
- Overmixing the Batter: This develops gluten too much, leading to a tough, dry cake. Mix until just combined.
- Opening the Oven Door Too Early: This can cause the cake to sink in the middle. Resist the urge until at least two-thirds of the baking time has passed.
- Not Cooling Cakes Completely: Applying Frosting to warm cakes will melt it, making it impossible to decorate nicely. Be patient!
- Ignoring Room Temperature Ingredients: Especially for butter and eggs, this helps create a smoother, more emulsified batter and Frosting.
- Incorrect Pan Preparation: Skimping on greasing and flouring can lead to cakes sticking and tearing when removed.
Storage & Meal Prep Tips
Store leftover cake, covered tightly with plastic wrap or in an airtight container, at room temperature for up to 3 days, or in the refrigerator for up to 5 days. For longer storage, slices can be individually wrapped and frozen for up to 2-3 months. Thaw in the refrigerator overnight or at room temperature for a few hours before serving. When reheating, bringing it to room temperature is usually sufficient to maintain its delightful texture and flavor.
Conclusion
Creating a homemade Chocolate Cake is a rewarding experience that yields delicious results. With this comprehensive guide, you have all the tools and knowledge to bake a moist, flavorful cake that will impress everyone. The secret truly lies in a good recipe and a perfectly smooth Frosting. Don’t be afraid to experiment, and most importantly, enjoy the process! Share your chocolate creations in the comments below, or tell us your favorite tips for baking the ultimate chocolate dessert!
FAQs
Q1: Can I make this cake into cupcakes?
A1: Yes, simply divide the batter into cupcake liners, filling each about two-thirds full. Bake for 18-22 minutes, or until a toothpick comes out clean.
Q2: My cake is sinking in the middle. What went wrong?
A2: This can happen if the oven door was opened too early, the cake was underbaked, or too much leavening agent was used. Ensure your oven temperature is accurate and bake until a skewer comes out clean.
Q3: How can I make the Frosting less sweet?
A3: You can reduce the powdered sugar slightly or add a pinch of salt to balance the sweetness. A tablespoon of unsweetened cocoa powder can also cut the sweetness and add a deeper chocolate flavor, if desired.
Q4: Can I prepare the cake batter ahead of time?
A4: It’s best to bake the cake batter immediately after mixing, as the leavening agents start working once wet ingredients are added. However, you can mix dry and wet ingredients separately beforehand and combine them just before baking.
Q5: What’s the best way to ensure moistness?
A5: Do not overbake the cake; rely on the skewer test. Using oil in the batter also contributes significantly to a moist crumb, as does the boiling water.