Decadent Deliciousness Without the Fuss: Your Guide to the Ultimate No-Bake Cheesecake
Ever dreamt of sinking your teeth into a rich, creamy, and utterly delightful cheesecake without the stress of a hot oven or a complicated water bath? What if I told you that dream is not only achievable but incredibly simple with our incredible No Bake Cheesecake recipe? Preparing this classic confection at home is not just about saving time; it’s about crafting an exquisite dessert that genuinely impresses with minimal effort, making it the ideal treat for any occasion. This guide will walk you through every step, ensuring your Easy Cheesecake experience is nothing short of spectacular.
Ingredients & Kitchen Tools
Gathering your mise en place is the first step to culinary success! Here’s what you’ll need:
- Cream Cheese (2x 8oz blocks, full-fat): Softened at room temperature for a smooth, lump-free filling.
- Granulated Sugar (½ cup): Provides essential sweetness.
- Heavy Cream (1 ½ cups, cold): Whipped to stiff peaks for an airy, luscious texture.
- Vanilla Extract (1 tsp): Enhances the overall flavor profile.
- Graham Cracker Crumbs (1 ½ cups): Forms the sturdy, buttery crust.
- Unsalted Butter (6 tbsp, melted): Binds the crust together.
- Salt (Pinch): Balances the sweetness in the crust.
- Optional Toppings: Fresh berries, chocolate syrup, caramel sauce, whipped cream to elevate your creation.
Kitchen Tools:
- 9-inch Springform Pan: Essential for easy removal of your cheesecake.
- Electric Mixer (Handheld or Stand): For whipping cream and blending the filling.
- Mixing Bowls (at least 2): For crust and filling preparation.
- Rubber Spatula: For scraping and folding.
- Measuring Cups & Spoons: For accurate ingredient quantities.
- Small Saucepan or Microwave-safe Bowl: For melting butter.
Prep Time & Cooking Schedule
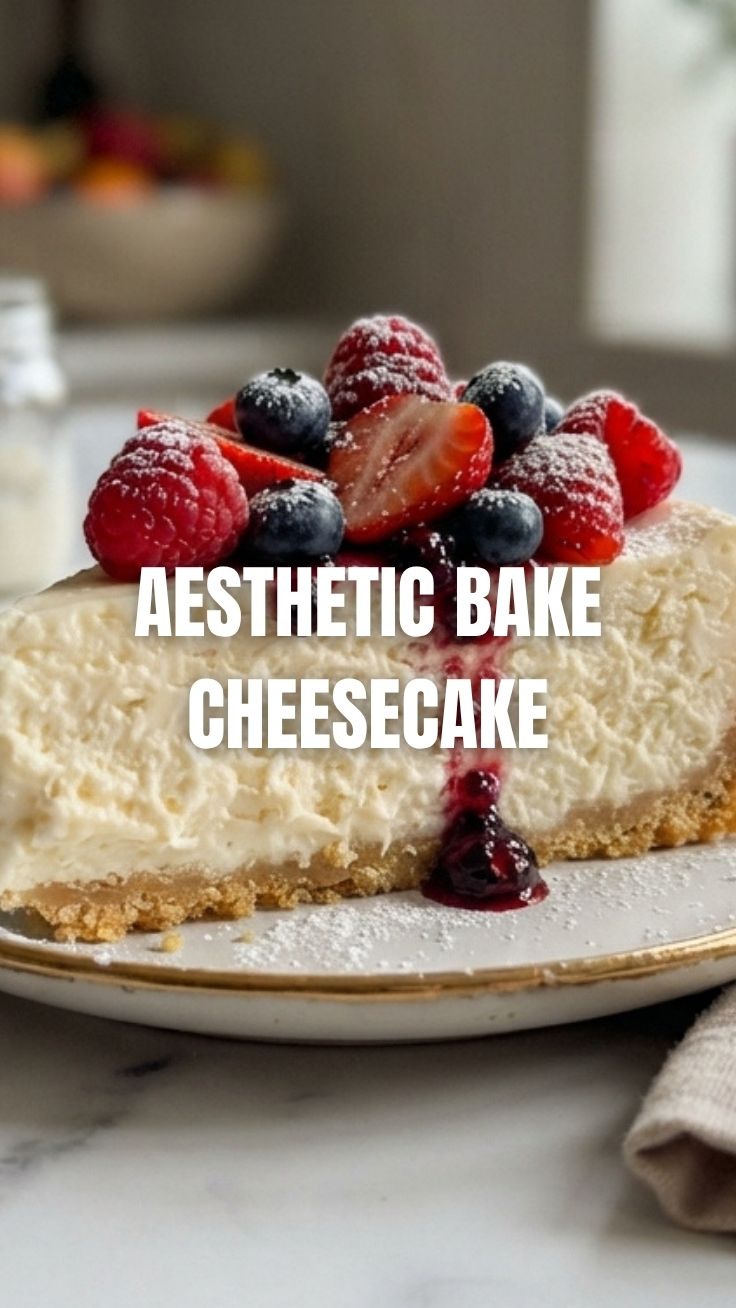
The beauty of a no-bake dessert lies in its minimal hands-on time, allowing for stress-free meal planning.
- Prep Time: 20-25 minutes (This includes softening cream cheese and melting butter).
- Chilling Time: Minimum 4 hours, preferably overnight. This is crucial for the cheesecake to set properly and develop its rich texture. Plan to make this dessert ahead of time for best results. No actual “cooking time” is involved beyond melting the butter.
Step-by-Step Instructions
Let’s get baking (without the bake)! Follow these simple steps for a flawless No Bake Cheesecake:
1. Prepare the Crust: In a medium bowl, combine graham cracker crumbs, melted butter, and a pinch of salt until well mixed. Press this mixture firmly into the bottom of your 9-inch springform pan. Use the bottom of a glass or your fingers to create an even, compact layer. Place in the refrigerator to chill while you prepare the filling.
2. Whip the Cream: In a large, clean mixing bowl with an electric mixer (or stand mixer with whisk attachment), beat the cold heavy cream on medium-high speed until stiff peaks form. Be careful not to overbeat, as it can turn grainy. Set aside.
3. Create the Filling: In another large bowl, beat the softened cream cheese with the granulated sugar until completely smooth and creamy, with no lumps. This is key for a truly luscious texture. Stir in the vanilla extract.
4. Combine & Fold: Gently fold the whipped heavy cream into the cream cheese mixture until just combined. Use a rubber spatula and a delicate hand to maintain the airiness of the whipped cream. Overmixing here can deflate the filling.
5. Assemble the Cheesecake: Pour the creamy filling over the chilled crust in the springform pan. Use your spatula to smooth the top.
6. Chill Thoroughly: Cover the springform pan loosely with plastic wrap and refrigerate for at least 4 hours, or ideally overnight, until the Easy Cheesecake is firm and fully set.
7. Serve: Once chilled, carefully remove the sides of the springform pan. Garnish with your desired toppings and serve immediately.
Nutritional Benefits & Advantages
While a cheesecake is undoubtedly a treat, our No Bake Cheesecake offers some notable advantages. The fresh dairy in cream cheese provides calcium and protein. Using real cream delivers healthy fats that contribute to satiety. Compared to baked versions, it often requires less added sugar, and the preparation method avoids the potential for over-browning or drying out common in oven-baked desserts, preserving more delicate ingredients like fresh cream.
Tips, Variations & Cooking Advice
- Zest it Up: Add lemon or orange zest to the cream cheese filling for a bright, citrusy lift.
- Chocolate Lover’s Dream: Fold in mini chocolate chips or a swirl of melted chocolate into the filling.
- Fruity Twist: Incorporate pureed fruit (like strawberry or raspberry) into the filling or use as a vibrant topping.
- Gluten-Free: Use gluten-free graham cracker crumbs or a crushed gluten-free cookie alternative for the crust.
- Individual Servings: Press crust into muffin liners and top with the filling for mini cheesecakes, reducing chilling time slightly.
- Dairy-Free: Substitute dairy cream cheese with a plant-based alternative and heavy cream with full-fat coconut cream (chilled overnight for a thicker cream).
Common Mistakes to Avoid
- Not Softening Cream Cheese: This leads to a lumpy filling. Always bring cream cheese to room temperature.
- Overbeating Whipped Cream: Results in a grainy texture. Stop beating once stiff peaks form.
- Not Chilling Long Enough: The most common mistake! An insufficiently chilled cheesecake will be too soft and won’t hold its shape. Patience is key!
- Using a Warm Pan for the Crust: Ensure your springform pan is cool before pressing in the crust to prevent the butter from melting out.
Storage & Meal Prep Tips
Your delicious No Bake Cheesecake can be stored, covered loosely with plastic wrap, in the refrigerator for up to 3-4 days. For longer storage, you can freeze individual slices or the entire cheesecake (without fresh fruit toppings) for up to 1-2 months. Wrap tightly in plastic wrap and then foil. Thaw in the refrigerator overnight before serving to maintain its creamy texture.
Conclusion
Creating a gourmet dessert truly doesn’t get easier or more rewarding than with this exquisite No Bake Cheesecake. Its velvety texture, rich flavor, and effortless preparation make it a standout for any occasion, proving that sometimes, the simplest methods yield the most profound culinary delight. We encourage you to whip up this Easy Cheesecake and savor every delectable bite. Share your creations and topping inspirations in the comments below – we can’t wait to see your masterpieces!
FAQs
Q1: Can I use store-bought whipped cream instead of whipping my own?
A1: While convenient, homemade whipped cream provides a much better texture and stability for the filling. Store-bought whipped cream often contains stabilizers that can affect the final consistency.
Q2: My crust seems too crumbly. What went wrong?
A2: This usually means there wasn’t enough melted butter to bind the crumbs. Ensure the butter is thoroughly incorporated, and press the mixture firmly into the pan.
Q3: Can I add fruit to the cheesecake filling?
A3: Yes, but be mindful of moisture content. If adding fresh fruit, pat it very dry. For pureed fruit, consider reducing it slightly on the stovetop to thicken before incorporating.
Q4: How do I get clean slices?
A4: For perfect slices, chill the cheesecake thoroughly. Run a sharp knife under hot water, wipe it clean, and make one swift cut. Clean the knife between each slice.