The Ultimate Homemade S’mores Experience: Bring the Campfire Indoors!
Ever wondered how to capture that magical campfire feeling without leaving the comfort of your home? The irresistible allure of perfectly toasted marshmallows, rich chocolate, and crisp graham crackers isn’t just for outdoor adventures anymore. Today, we’re diving into the delightful world of homemade S’mores (Campfire), a treat that evokes nostalgia and pure joy. Mastering this classic treat at home is not only incredibly satisfying but also surprisingly simple, allowing you to indulge in this beloved dessert whenever the craving strikes, rain or shine. Forget about smoke in your eyes; we’ll show you how to achieve that idyllic char and melt, making every bite a heavenly experience. Plus, with our expert tips on marshmallow roasting, you’ll be a s’mores master in no time.
Ingredients & Kitchen Tools
To embark on your homemade s’mores journey, gather these essentials:
- Graham Crackers: 1 box (standard honey or cinnamon works best). These provide the essential crispy base and top.
- Milk Chocolate Bars: 6 large (Hershey’s milk chocolate bars are traditional, but any good quality milk chocolate will do). Break them into individual squares.
- Large Marshmallows: 1 bag (standard size, not mini). The larger size allows for a more even melt and a satisfyingly gooey center.
- Baking Sheet: For arrangement and easy transfer.
- Parchment Paper or Silicone Mat: To prevent sticking and make cleanup a breeze.
- Broiler-Safe Rack: Optional, if using a broiler for roasting.
- Long Skewers or Metal Tongs: If using a stovetop or open flame for marshmallow roasting.
- Small Saucepan: For a “melted chocolate” variation (optional).
- Whisk: If melting chocolate (optional).
Prep Time & Cooking Schedule
- Prep Time: 5 minutes
- Cook Time: 2-5 minutes (depending on method)
- Resting Time: 1 minute (just to let the chocolate melt a little more)
This recipe is designed for instant gratification! The quick prep and cook times make it a perfect spontaneous treat or a last-minute dessert for guests. No lengthy marinating or complex steps here – just pure deliciousness in minutes.
Step-by-Step Instructions
1. Prepare Your Station: Lay out a piece of parchment paper on your baking sheet. Break your graham crackers in half, creating squares. Place one square half chocolate on top for each s’more you plan to make.
2. Arrange Marshmallows: Place a large marshmallow on top of each chocolate-topped graham cracker. You can also place marshmallows directly on a broiler-safe rack if you prefer to toast them separately for better control.
3. Choose Your Roasting Method:
* Oven Broiler (Safest & Easiest Indoors): Preheat your broiler to high. Place the baking sheet with prepared s’mores about 4-6 inches from the heat source. Watch constantly! Marshmallows can burn quickly. Broil for 1-2 minutes, or until the marshmallows are golden brown and gooey.
* Kitchen Torch: If you have a kitchen torch, carefully toast each marshmallow until it’s beautifully caramelized. This offers excellent control over the char.
* Stovetop (Gas Burner): Carefully hold a marshmallow with tongs or a skewer over a low gas flame, rotating it for even marshmallow roasting. Be extremely cautious and keep ample distance from flammable materials.
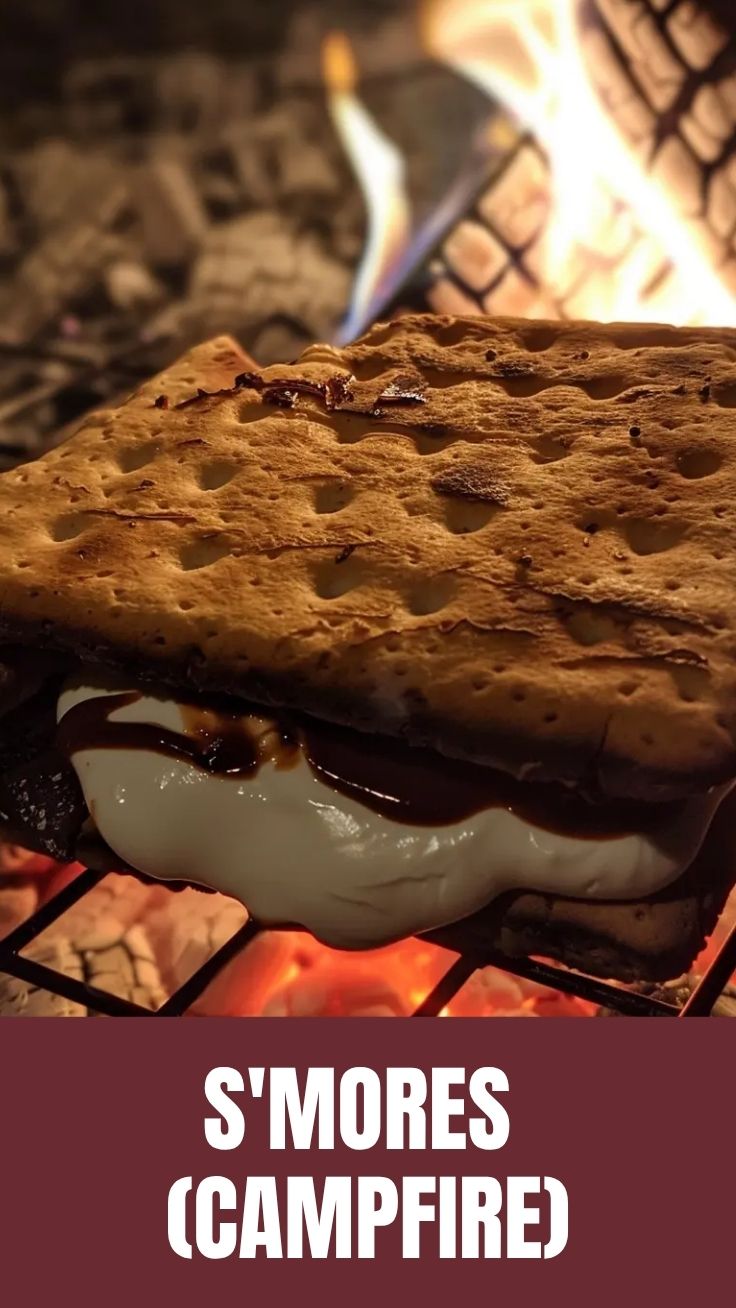
4. Assemble Your S’mores: Once the marshmallows are perfectly toasted, immediately place another graham cracker half on top, gently pressing down to sandwich the melted chocolate and gooey marshmallow. This is where the magic of homemade S’mores (Campfire) truly comes alive!
5. Serve & Enjoy: Serve warm and indulge in the ultimate sweet treat!
Nutritional Benefits & Advantages
While s’mores are undoubtedly a treat, they do offer some small advantages. Graham crackers provide a source of whole grains, and dark chocolate (if you choose to substitute) contains antioxidants. Marshmallows, while sugary, offer a simple comfort food experience. The real advantage here lies in portion control and knowing exactly what ingredients are used when you make them from scratch. Plus, the joy and comfort of a homemade s’more can be a mood booster!
Tips Variations & Cooking Advice
- Chocolate Swap: Experiment with dark chocolate, white chocolate, peanut butter cups, or even flavored chocolate bars for unique twists.
- Graham Cracker Alternatives: Try digestive biscuits, shortbread, or even chocolate chip cookies for a different textural experience.
- Fruit Infusion: Add a thin slice of banana or strawberry before or after roasting the marshmallow for a fresh counterpoint.
- Spice It Up: A tiny sprinkle of flaky sea salt or a dash of cinnamon on the chocolate before toasting can elevate the flavors.
- Dairy-Free/Gluten-Free: Use gluten-free graham crackers and
dairy-free chocolate. Ensure your marshmallows are gelatin-free if opting for a vegetarian version.
- Melted Chocolate Base: For an extra gooey experience, you can melt chocolate in a small bowl in the microwave or over a double boiler, then spread it onto the graham cracker before adding the marshmallow.
Common Mistakes to Avoid
- Not Watching the Broiler: Marshmallows go from perfectly golden to burnt in seconds. Stay vigilant!
- Overcrowding the Baking Sheet: Give your marshmallows space to expand and brown evenly.
- Using Old Marshmallows: Stale marshmallows won’t toast as effectively or become as gooey.
- Uneven Roasting: Rotate your marshmallows frequently, especially over an open flame, for that ideal, uniform golden-brown hue.
- Not Warming the Chocolate: If your chocolate is too cold, it won’t melt properly with the heat from the marshmallow. Ensure it’s at room temperature or slightly warmed.
Storage & Meal Prep Tips
S’mores are best enjoyed immediately after assembly for optimal gooiness and warmth. Storing leftovers is not recommended as the marshmallow hardens and the crackers can become soggy. This is truly a “make-and-eat” delight! For meal prep, you can pre-break graham crackers and chocolate, keeping them ready for quick assembly.
Conclusion
Bringing the delightful experience of S’mores (Campfire) into your home is an easy and incredibly rewarding culinary adventure. Whether you’re craving a taste of summer nostalgia or simply need a quick, comforting treat, mastering your indoor marshmallow roasting skills opens up a world of delicious possibilities. We encourage you to try this simple yet heavenly recipe and share your perfectly toasted creations with us. Get creative with variations, and most importantly, savor every gooey, chocolatey bite!
FAQs
Q1: Can I use a microwave to toast the marshmallows?
A1: While a microwave will make marshmallows puff up, it won’t give them that desirable golden-brown, caramelized crust. For the best result, use a broiler, torch, or stovetop.
Q2: My marshmallows burned quickly under the broiler. What did I do wrong?
A2: The broiler is very intense! Ensure your rack is 4-6 inches from the heat source and, most importantly, watch them constantly. Even a few extra seconds can lead to burning.
Q3: What’s the best way to clean sticky marshmallow residue?
A3: If marshmallow gets on your baking sheet or utensils, let them soak in hot, soapy water for a few minutes. The heat will help dissolve the sugar, making cleanup much easier.
Q4: Can I use different types of chocolate?
A4: Absolutely! While milk chocolate is traditional, feel free to experiment with dark chocolate, white chocolate, or even flavored chocolate bars to find your favorite combination.
Q5: What if I don’t have graham crackers?
A5: Digestive biscuits, shortbread, or even a sturdy cookie like a chocolate chip cookie can make excellent substitutes. Just make sure they are firm enough to hold the s’more together.