Unlock the Secret to Irresistible Homemade Peanut Butter Cookies
Ever wonder what makes a truly unforgettable cookie? Is it the perfect balance of sweet and savory, the chewy center, or the slightly crisp edges? If you’re a fan of classic comfort, then you’re in for a treat! Discovering the joy of baking Peanut Butter Cookies from scratch is not just about a delicious dessert; it’s about crafting pure happiness in your kitchen. There’s something incredibly satisfying about transforming simple ingredients into a beloved treat, and mastering this peanut butter cookie recipe will become a cherished skill. Preparing these at home offers unparalleled freshness, customizable ingredients, and that undeniable scent of baked goods wafting through your home.
Ingredients & Kitchen Tools
Gather your culinary arsenal! Here’s what you’ll need for these delightful cookies:
- 1 cup (2 sticks) unsalted butter, softened: Essential for a rich, tender crumb. Unsalted butter allows you to control the salt content.
- 1 cup creamy peanut butter: The star of the show! Use good quality creamy peanut butter for the best flavor and texture. Avoid natural peanut butter with oil separation as it can alter consistency.
- 1 cup granulated sugar: Provides sweetness and contributes to crisp edges.
- 1 cup packed light brown sugar: Adds moisture, chewiness, and a deeper, caramelized flavor.
- 2 large eggs: Binders that provide structure and richness.
- 2 ½ cups all-purpose flour: The foundational dry ingredient, giving structure to the cookies.
- 1 teaspoon baking soda: Leavening agent that helps the cookies rise and spread.
- ½ teaspoon salt: Enhances the flavors of the other ingredients and balances sweetness.
- 1 teaspoon vanilla extract: A flavor enhancer that complements the peanut butter beautifully.
- Optional: ½ cup chocolate chips or chopped peanuts: For added texture and flavor variations.
- Baking sheets: Essential for baking multiple cookies at once.
- Parchment paper or silicone baking mats: Prevents sticking and makes cleanup easier.
- Electric mixer (stand or hand-held): For thoroughly creaming butter and sugars.
- Mixing bowls: For combining wet and dry ingredients.
- Measuring cups and spoons: For precise ingredient measurements.
- Rubber spatula: For scraping down bowls and folding ingredients.
- Cookie scoop (1.5-inch): Ensures uniform cookie size for even baking.
- Fork: For making the classic crosshatch pattern.
Prep Time & Cooking Schedule
- Prep Time: 15 minutes
- Chill Time (Optional but Recommended): 30 minutes (helps prevent spreading and deepens flavor)
- Cook Time: 10-12 minutes per batch
- Resting Time: 5 minutes after baking for cookies to set
Plan to have about an hour from start to finish, including the chilling (which is highly recommended for best results). The chilling period not only firms up the dough, making it easier to handle, but also allows the flavors to meld, resulting in a more robust cookie.
Step-by-Step Instructions
Ready to bake? Follow these clear steps to create perfect Peanut Butter Cookies:
1. Preheat Oven & Prepare Baking Sheets: Preheat your oven to 350°F (175°C). Line two baking sheets with parchment paper or silicone baking mats.
2. Cream Wet Ingredients: In a large mixing bowl, using an electric mixer, cream together the softened butter, creamy peanut butter, granulated sugar, and brown sugar on medium speed until light and fluffy, about 2-3 minutes. Scrape down the sides of the bowl as needed.
3. Add Eggs & Vanilla: Beat in the eggs one at a time, incorporating each fully before adding the next. Stir in the vanilla extract. The mixture will be smooth and well-combined.
4. Combine Dry Ingredients: In a separate medium bowl, whisk together the all-purpose flour, baking soda, and salt.
5. Combine Wet & Dry: Gradually add the dry ingredients to the wet ingredients, mixing on low speed until just combined. Be careful not to overmix, as this can lead to dry, tough cookies. If using, fold in chocolate chips or chopped peanuts now.
6. Chill Dough (Optional but Recommended): Cover the dough and refrigerate for at least 30 minutes. This significantly improves the texture and helps prevent excessive spreading.
7. Portion & Shape: Scoop rounded tablespoons of dough (about 1.5 inches in diameter) and place them about 2 inches apart on the prepared baking sheets.
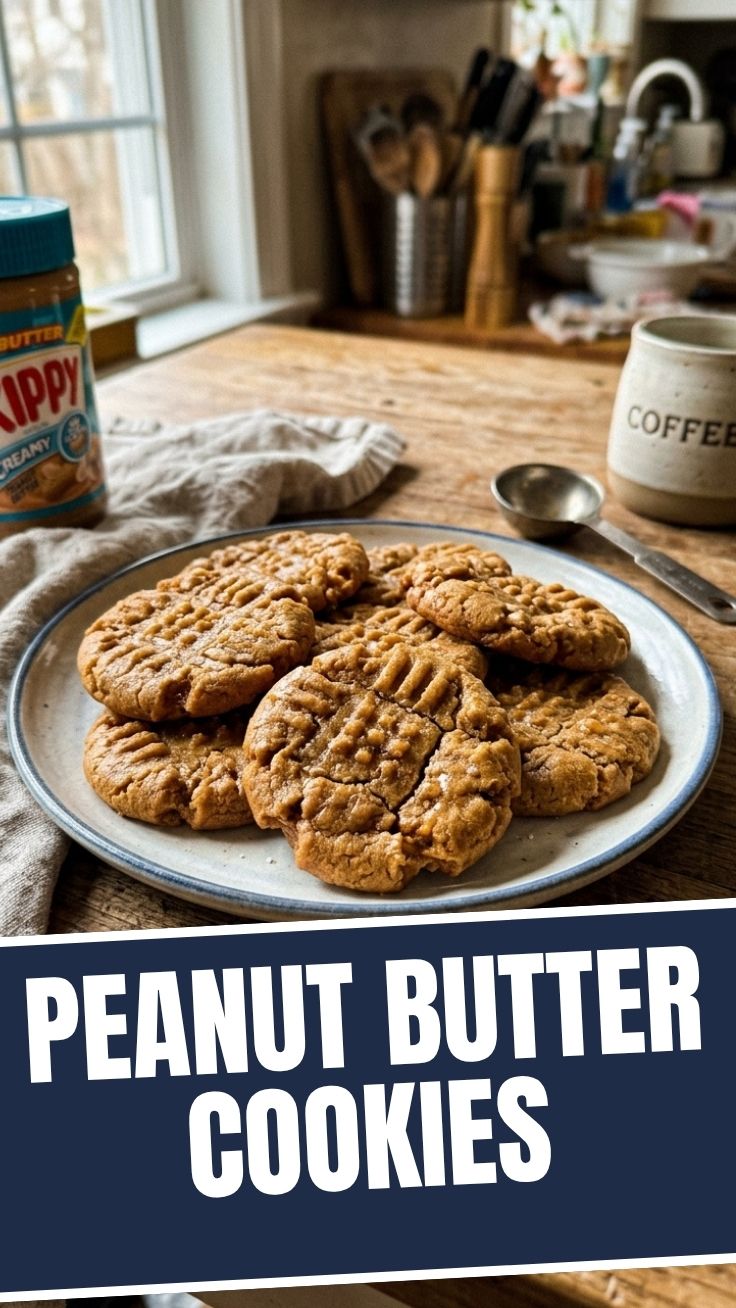
8. Create Crosshatch Pattern: Using a fork, gently press down on each dough ball in a crisscross pattern. This classic mark isn’t just for looks; it helps regulate the cookie’s spread and ensures even baking. This detailed Peanut Butter Cookies guide ensures each step is practically perfect.
9. Bake: Bake for 10-12 minutes, or until the edges are golden brown and the centers are just set but still look slightly soft. Do not overbake!
10. Cool: Remove the cookies from the oven and let them cool on the baking sheets for 5 minutes before transferring them to a wire rack to cool completely. Following this peanut butter cookie recipe will guarantee success every time.
Nutritional Benefits & Advantages
Beyond their incredible taste, homemade peanut butter cookies offer some noteworthy benefits. Peanuts are a good source of protein, healthy monounsaturated fats, and several vitamins and minerals like magnesium, potassium, and zinc. While these are still a treat, baking them at home allows you to control the sugar content and use high-quality ingredients, avoiding artificial additives often found in store-bought versions. They can provide a quick energy boost and are a satisfying snack in moderation.
Tips, Variations & Cooking Advice
- Crispy vs. Chewy: For crispier cookies, press them a bit thinner with the fork. For chewier, slightly underbake them and cool fully on the baking sheet to set.
- Gluten-Free: Substitute the all-purpose flour with a 1:1 gluten-free baking flour blend.
- Dairy-Free: Use a good quality plant-based butter alternative.
- Flavor Boosts: Add a pinch of cinnamon or nutmeg for a warming spice note. Swirl in a tablespoon of jam for PB&J cookies.
- Nutty Crunch: For extra texture, mix in ½ cup of finely chopped roasted peanuts into the dough.
- Portion Control: Make smaller cookies for easier portioning, just reduce baking time slightly.
Common Mistakes to Avoid
- Overmixing the Dough: This develops gluten too much, leading to tough, dry cookies. Mix until just combined.
- Not Chilling the Dough: Warm dough spreads too much, resulting in flat, crispy cookies. Chilling helps them maintain their shape and thickness.
- Overbaking: Cookies will continue to cook slightly on the hot baking sheet after removal. Take them out when the edges are golden and the centers still look a little soft.
- Using Natural Peanut Butter with Oil Separation: This can throw off the moisture balance in the dough. Stick to creamy, processed peanut butter for this recipe.
- Placing Dough on Hot Baking Sheets: Always use cool baking sheets for each batch, or the dough will start to melt too quickly.
Storage & Meal Prep Tips
Store baked Peanut Butter Cookies in an airtight container at room temperature for up to 5-7 days. To freeze, place cooled cookies in a single layer on a baking sheet until firm, then transfer to a freezer-safe bag or container for up to 3 months. Thaw at room temperature. You can also freeze portions of the raw dough: scoop balls, place on a parchment-lined tray, freeze until solid, then transfer to a freezer bag. Bake directly from frozen, adding an extra minute or two to the baking time.
Conclusion
Creating delicious homemade Peanut Butter Cookies is a truly rewarding experience, transforming simple pantry staples into a cherished treat. With this comprehensive guide, you’re well-equipped to bake a batch of perfect cookies that will delight everyone. Whether you’re a seasoned baker or just starting, this peanut butter cookie recipe promises satisfying results. Give it a try, and don’t forget to share your cookie creations with us! Happy baking!
FAQs
Q: Can I use crunchy peanut butter instead of creamy?
A: Yes, you can! Crunchy peanut butter will add extra texture and nutty bits to your cookies. The overall texture of the cookie might be slightly different, but it will still be delicious.
Q: My cookies spread too much. What went wrong?
A: Common culprits are warm butter, not chilling the dough, using a warm baking sheet, or too much baking soda. Ensure your butter is softened, not melted, chill the dough, and use cool baking sheets for each batch.
Q: How do I know when the cookies are done?
A: Look for golden brown edges and centers that are set but still look slightly soft. They will firm up as they cool. Err on the side of underbaking rather than overbaking for a chewier cookie.
Q: Can I reduce the sugar in this recipe?
A: While you can slightly reduce the sugar, it plays a crucial role in the cookie’s structure and texture, as well as sweetness. Reducing it significantly might alter the texture and potentially make them less palatable. Start by reducing by 1/4 cup and adjust from there.
Q: Why do my cookies taste dry?
A: Overmixing the dough and overbaking are the most common reasons for dry cookies. Mix the flour in until just combined, and remove the cookies from the oven when their edges are golden but their centers are still soft.