“`html
Are you tired of bland breakfasts and rushed mornings? Imagine waking up to a delicious, ready-to-eat meal that’s as nourishing as it is convenient. This exact sentiment is why mastering Overnight Oats is a game-changer for anyone aspiring to a healthier, more organized lifestyle. Preparing them at home not only saves you money but also gives you complete control over the ingredients, allowing for personalized, wholesome meals tailored to your taste and dietary needs. Delving into the world of Overnight Oats Recipes opens up a universe of flavors and textures, ensuring your breakfast never gets boring. Let’s explore how to create the perfect bowl that will revolutionize your mornings.
Ingredients & Kitchen Tools
- Rolled Oats (1/2 cup): The star of the show. Old-fashioned rolled oats are preferred over instant oats for a better texture; they soak up liquid without becoming mushy.
- Milk (3/4 cup): Almond milk, soy milk, oat milk, or dairy milk – choose your favorite. This is the liquid base that softens the oats.
- Chia Seeds (1 tbsp): A superfood powerhouse that helps thicken the mixture and adds omega-3s. Essential for that creamy consistency.
- Sweetener (1-2 tsp): Maple syrup, honey, agave nectar, or a sugar substitute. Adjust to your sweetness preference.
- Yogurt (1/4 cup, optional): Greek yogurt adds protein and extra creaminess. Plain or vanilla varieties work best.
- Fruit (1/4 cup, optional): Berries (fresh or frozen), sliced banana, or diced apples for natural sweetness and nutrients.
- Nuts/Seeds (1 tbsp, optional): Almonds, walnuts, pumpkin seeds, or flax seeds for crunch and healthy fats.
- Airtight Jar or Container: A mason jar (12-16 oz) is perfect for mixing, storing, and serving your oats.
- Spoon and Measuring Cups: For accurate ingredient proportions.
Prep Time & Cooking Schedule
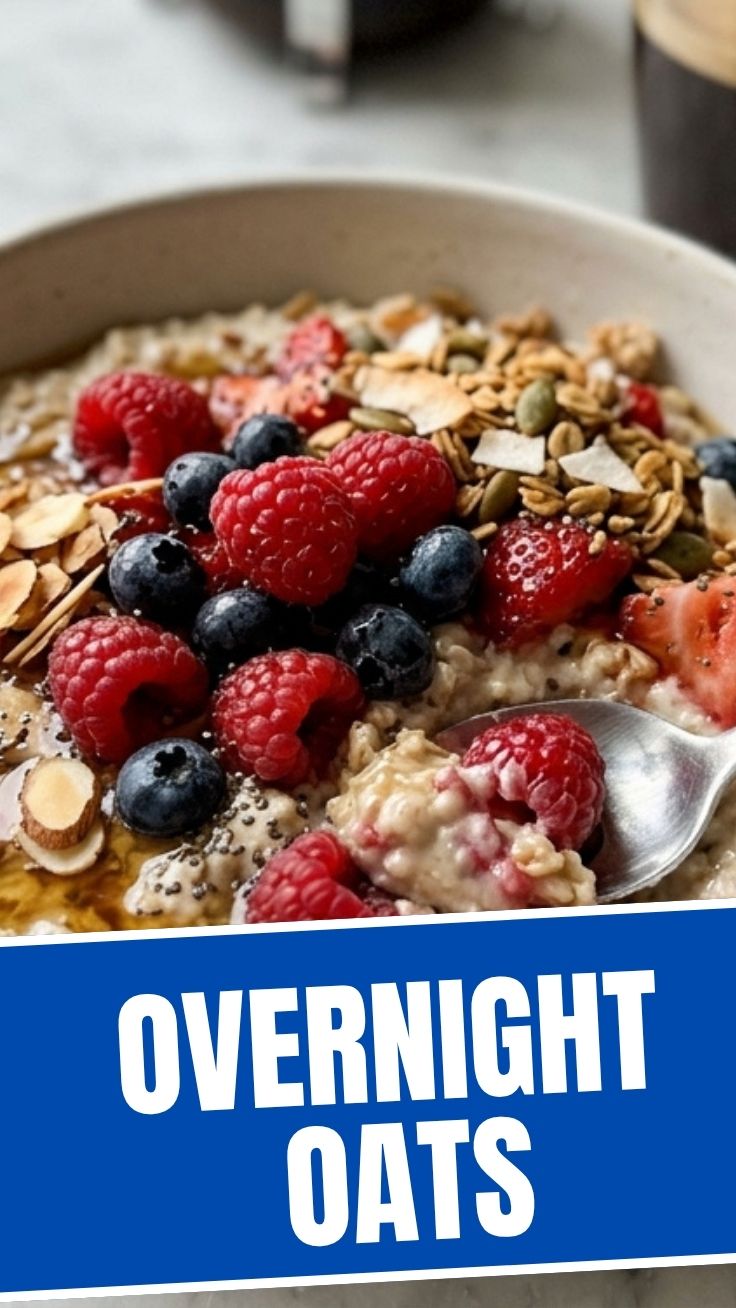
The beauty of Overnight Oats lies in their minimal active preparation. You’ll spend about 5 minutes of prep time in the evening. There’s no “cooking” in the traditional sense, as the oats gently soften overnight in the refrigerator. The resting time required is a minimum of 4 hours, but for best results and a fully developed creamy texture, 6-8 hours (or overnight) is ideal. This makes them the ultimate grab-and-go breakfast for busy mornings, as they’re ready to eat straight from the fridge.
Step-by-Step Instructions
- Gather Your Tools and Ingredients: Start by getting your chosen jar or container and all your measured ingredients ready. This streamlines the process.
- Combine Dry Ingredients: In your jar, add the rolled oats and chia seeds. Give them a quick stir to ensure even distribution.
- Add Wet Ingredients: Pour in your milk, sweetener, and optional yogurt. If you’re adding liquid flavorings like vanilla extract, now is the time.
- Mix Thoroughly: Use a spoon to stir everything together until well combined. Make sure there are no clumps of oats or chia seeds stuck at the bottom. This ensures all ingredients are properly hydrated.
- Seal and Refrigerate: Securely place the lid on your jar and transfer it to the refrigerator. Allow it to chill and thicken for a minimum of 4 hours, or ideally overnight. This extended soaking period is key to perfecting your Overnight Oats and achieving that delightful creamy texture.
- Personalize and Enjoy: The next morning, open your jar. If the consistency is too thick, add a splash more milk. Stir in your desired toppings like fresh fruit, nuts, seeds, or a dollop of nut butter. Get creative with your Overnight Oats Recipes and savor your perfectly prepped breakfast!
Nutritional Benefits & Advantages
This simple breakfast is a nutritional powerhouse. Oats are whole grains, rich in soluble fiber (beta-glucan), which is known to lower cholesterol and stabilize blood sugar levels, helping you feel full longer. Chia seeds provide an excellent source of omega-3 fatty acids, fiber, and protein. When you incorporate milk and optional yogurt, you boost the protein and calcium content. This combination makes for a naturally sustained energy release, preventing mid-morning sugar crashes. Furthermore, preparing your own allows you to control sugar content, avoiding the hidden sugars often found in commercially prepared breakfast items.
Tips Variations & Cooking Advice
- Flavor Combinations: Experiment with spices like cinnamon, nutmeg, or a pinch of cardamom. Add cocoa powder for a chocolatey treat, or a spoonful of pumpkin puree for a seasonal twist.
- Sweetener Adjustments: Try different natural sweeteners. Date paste or mashed banana can be great alternatives.
- Fruit Power: Incorporate frozen fruit! It slowly thaws overnight, releasing juices and enhancing flavor. Berries, cherries, and mango are excellent choices.
- Protein Boost: Stir in a scoop of protein powder with your dry ingredients before adding liquid for an extra muscle-building kick.
- Dietary Adaptations: For gluten-free oats, ensure you use certified gluten-free rolled oats. For a dairy-free version, use any plant-based milk and omit yogurt (or use a dairy-free yogurt alternative).
Common Mistakes to Avoid
- Using Instant Oats: Instant oats absorb liquid too quickly and become excessively mushy. Always opt for rolled or old-fashioned oats for the best texture.
- Not Mixing Thoroughly: If not stirred well, oats or chia seeds can clump at the bottom, leading to unevenly hydrated oats. Ensure everything is fully incorporated.
- Not Enough Liquid: The oats need ample liquid to soften properly. If your oats are too dry in the morning, gradually add a little more milk.
- Too Short Soaking Time: While 4 hours can work, less than that might leave your oats chewy rather than creamy. Aim for overnight refrigeration.
- Overloading with Toppings Too Early: Adding fresh fruit or nuts the night before can sometimes lead to soggy textures. It’s best to add these just before serving.
Storage & Meal Prep Tips
One of the greatest advantages of Overnight Oats is their excellent shelf life and suitability for meal prepping. Prepared oats can be stored in an airtight container in the refrigerator for up to 3-4 days. This means you can make a batch of 3-4 jars on Sunday night and have delicious, healthy breakfasts ready for most of your week! Always double-check visually and by smell before consuming. Reheating is generally not necessary or recommended, as they are meant to be eaten cold, but if you prefer a warm breakfast, you can gently heat them in the microwave for 30-60 seconds, stirring occasionally.
Conclusion
Embracing Overnight Oats is more than just making a simple meal; it’s adopting a habit that prioritizes convenience, nutrition, and personalized flavor. By following these guidelines, you’re well-equipped to create delicious and wholesome breakfasts that fit seamlessly into any schedule. From understanding the core ingredients to mastering advanced customization, you now have the tools to transform your mornings. We encourage you to try various Overnight Oats Recipes and share your unique creations! What’s your favorite topping combination? Let us know in the comments below.
FAQs
Q: Can I use instant oats instead of rolled oats?
A: While technically possible, instant oats will result in a much mushier texture due to their finer processing. Rolled oats are highly recommended for the best consistency.
Q: How long do overnight oats last in the fridge?
A: When stored in an airtight container, they can last for 3-4 days in the refrigerator, making them perfect for meal prepping.
Q: What if my oats are too thick or too thin in the morning?
A: If too thick, simply stir in a splash more milk to reach your desired consistency. If too thin, add a few more chia seeds the next time you prepare them, as chia seeds are excellent thickeners.
Q: Can I warm up overnight oats?
A: Absolutely! While typically enjoyed cold, you can warm them gently in the microwave for 30-60 seconds, stirring midway, if you prefer a warm breakfast.
Q: What are some good protein booster ideas?
A: Stir in a scoop of protein powder (vanilla or unflavored work best), add a dollop of Greek yogurt, or top with a spoonful of nut butter for an extra protein kick.
“`