Elevate Your Game Day: Mastering Homemade Nachos
Ever wondered how to create those irresistible, perfectly crafted Nachos that taste even better than your favorite restaurant’s? Forget the soggy, bland versions you might have encountered. Today, we’re diving deep into the art of making genuinely spectacular Nachos right in your own kitchen. Preparing this iconic dish at home isn’t just about saving money; it’s about customizing every layer to your exact preferences, ensuring fresh ingredients, and achieving that ideal balance of crispy, melty, and flavorful goodness. Get ready to impress your friends and family with a dish that’s a true crowd-pleaser, especially when you master the art of building truly Loaded nachos.
Ingredients & Kitchen Tools
To embark on your Nacho-making journey, gather these culinary essentials:
- Tortilla Chips (12 oz bag): Opt for thicker, sturdy restaurant-style chips that can hold up to generous toppings without breaking or becoming soggy. Look for yellow corn or blue corn for a nice visual variation.
- Ground Beef or Turkey (1 lb): Lean ground beef (80/20) for flavor, or ground turkey for a lighter alternative.
- Taco Seasoning (1 packet, 1 oz): A pre-mixed blend of spices for authentic Mexican flavor. You can also make your own with chili powder, cumin, paprika, garlic powder, and onion powder.
- Salsa (1 cup): Your favorite chunky or smooth salsa, mild, medium, or hot.
- Canned Black Beans (15 oz can, rinsed and drained): Adds fiber and a creamy texture.
- Canned Diced Green Chiles (4 oz can, drained): A subtle kick and earthy flavor.
- Shredded Cheese (2 cups): A blend of Monterey Jack and cheddar is ideal for melting. Pepper Jack adds a spicy twist.
- Jalapeños (fresh or pickled, sliced): For heat and a tangy crunch. Adjust to your spice preference.
- Avocado (1-2, diced): For creamy, healthy fat.
- Red Onion (1/2, finely diced): Adds a sharp, fresh bite.
- Cilantro (1/4 cup, chopped): Fresh herb for brightness and aroma.
- Sour Cream or Greek Yogurt (1/2 cup): For cooling and creaminess.
- Lime (1, cut into wedges): For a fresh squeeze of acidity.
Kitchen Tools:
- Large Baking Sheet: Essential for even chip distribution and baking.
- Large Skillet: For browning the meat.
- Cutting Board & Knife: For prepping fresh ingredients.
- Measuring Cups & Spoons: For accurate ingredient quantities.
- Spatula: For stirring and serving.
Prep Time & Cooking Schedule
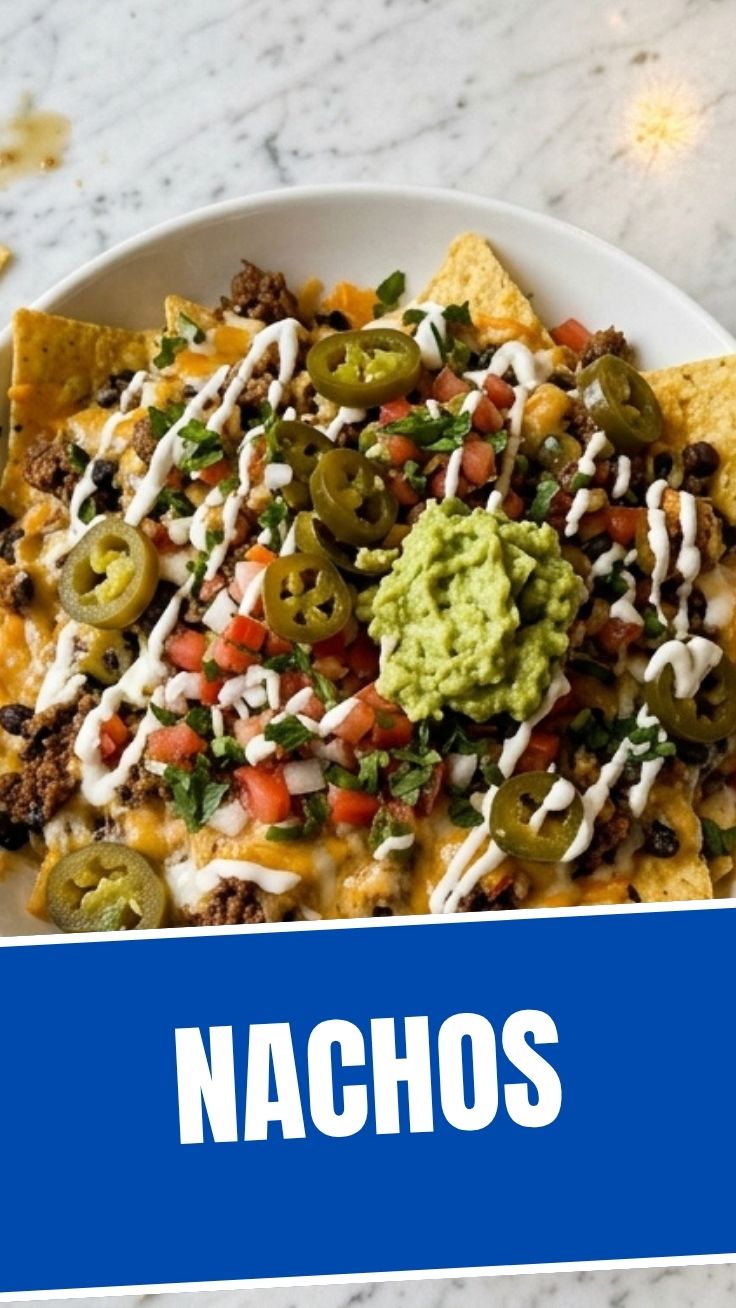
Our homemade Nacho masterpiece requires a minimal time commitment, making it perfect for last-minute gatherings or a quick weeknight treat.
- Prep Time: 15 minutes (this includes chopping veggies, opening cans, and pre-measuring)
- Cook Time: 20-25 minutes (browning meat, assembling, and baking)
- Total Time: Approximately 40 minutes
This schedule allows you to have a piping hot platter of delicious Nachos ready in under an hour. Plan to start preheating your oven as you begin browning the meat for maximum efficiency.
Step-by-Step Instructions
1. Preheat & Prepare Meat: Preheat your oven to 375°F (190°C). In a large skillet over medium-high heat, brown your ground beef or turkey, breaking it up with a spatula until no pink remains. Drain any excess grease. Stir in the taco seasoning and 1/4 cup of water, simmering for 2-3 minutes until slightly thickened.
2. Assemble the First Layer: Spread half of your tortilla chips in a single layer on your baking sheet. This ensures maximum crispiness.
3. Add First Toppings: Sprinkle half of the seasoned meat, half of the rinsed black beans, half of the diced green chiles, and half of the shredded cheese evenly over the chips.
4. Repeat Layers: Add the remaining half of the tortilla chips, followed by the rest of the seasoned meat, black beans, green chiles, and the final layer of shredded cheese. This layering technique is key to creating excellent Loaded nachos where every bite is packed with flavor.
5. Bake to Perfection: Bake for 10-15 minutes, or until the cheese is melted and bubbly and the chips are lightly toasted. Keep a close eye to prevent burning.
6. Garnish & Serve: Carefully remove the baking sheet from the oven. Top with salsa, diced avocado, red onion, cilantro, and dollops of sour cream or Greek yogurt. Serve immediately with lime wedges.
Nutritional Benefits & Advantages
Beyond their undeniable deliciousness, homemade Nachos can offer surprising nutritional benefits. By choosing lean ground meat, you get a good source of protein for muscle repair and satiety. Black beans contribute essential fiber, promoting digestive health and helping to regulate blood sugar. Avocados provide healthy monounsaturated fats, beneficial for heart health, while fresh vegetables like jalapeños, red onion, and cilantro add vitamins, minerals, and antioxidants. Making them at home allows you to control sodium levels and avoid excessive processed ingredients often found in commercial versions.
Tips Variations & Cooking Advice
- Veggie Power: For a vegetarian option, substitute the meat with grilled portobello mushrooms, crumbled firm tofu, or an extra can of black beans.
- Spice It Up: Add a pinch of cayenne pepper to your taco seasoning, or include finely diced habaneros for a fiery kick.
- Cheese Blends: Experiment with different cheese combinations. A touch of Cotija cheese crumbled on top after baking adds a salty, authentic touch.
- Protein Power-Ups: Consider adding shredded chicken, carnitas, or even a fried egg on top for a breakfast-for-dinner twist.
- Healthy Swaps: Use baked whole-wheat tortilla chips or even homemade sweet potato chips for a healthier base.
- Grilling: Instead of baking, you can cook nachos on a grill in a cast-iron skillet for a smoky flavor.
Common Mistakes to Avoid
- Overcrowding the Pan: Too many chips on one layer lead to uneven melting and soggy spots. Use two baking sheets if necessary.
- Skimping on Layers: One thin layer of toppings won’t cut it. Layering ensures every chip gets its share of cheesy, meaty, and veggie goodness.
- Using Thin Chips: Flimsy chips will crumble under the weight of the toppings. Invest in sturdy, restaurant-style chips.
- Adding Wet Toppings Before Baking: Salsa, sour cream, and guacamole should always be added AFTER baking to prevent the chips from getting soggy.
- Over-baking: Keep a close eye on the oven. Burnt cheese is a sad sight!
Storage & Meal Prep Tips
While Nachos are best enjoyed fresh, you can prep components ahead of time to make assembly a breeze. Cook and season your ground meat up to 3 days in advance and store it in an airtight container in the refrigerator. Chop all your fresh veggies (avocado excepted) and store them separately.
Leftover nachos are tricky due to potential sogginess. If you have any, store the cheese-and-meat-covered chips in an airtight container in the refrigerator for 1-2 days. Reheat in a preheated oven at 300°F (150°C) until warmed through and crisped up, about 5-10 minutes. Avoid the microwave, as it will make them even soggier. Add fresh toppings after reheating.
Conclusion
There you have it – a comprehensive guide to crafting undeniably delicious, homemade Nachos that will become your go-to recipe for any occasion. By following these steps and incorporating our expert tips, you’re not just making a dish; you’re creating a customizable culinary experience. Mastering the art of truly Loaded nachos elevates a simple snack into a satisfying meal or party centerpiece. Don’t be shy – get into the kitchen, experiment with your favorite toppings, and share your incredible creations with us! We’d love to hear how your Nacho adventures turn out!
FAQs
Q1: Can I make these nachos vegetarian?
A1: Absolutely! Replace the ground meat with an extra can of black beans, grilled portobello mushrooms, or seasoned crumbled firm tofu for a delicious vegetarian version.
Q2: How do I prevent my chips from getting soggy?
A2: The key is sturdy chips, layering, and adding all wet toppings (salsa, sour cream, guacamole) only after baking. Even heat distribution during baking also helps.
Q3: What’s the best cheese for nachos?
A3: A blend of Monterey Jack and cheddar is ideal for its meltability and flavor. Pepper Jack adds a nice kick, and a sprinkle of Cotija cheese after baking offers authentic saltiness.
Q4: Can I use different beans?
A4: Yes, pinto beans or even kidney beans (though less traditional) can be used in place of black beans. Ensure they are rinsed and drained thoroughly.
Q5: How can I make my nachos extra crispy?
A5: Ensure your oven is preheated, spread the chips in a single layer (using two baking sheets if needed), and don’t overload with too many wet toppings before baking. You can also lightly toast your chips in the oven for a few minutes before adding toppings.