Beyond the Box: Crafting Creamy, Dreamy Mashed Potatoes from Scratch
Ever wondered if truly exceptional Mashed Potatoes are within reach of the home cook? The answer is a resounding YES! Forget those instant flakes; today, we’re diving deep into the art and science of creating a side dish so rich, so velvety, it’ll steal the spotlight from any main course. Preparing this classic comfort food from scratch not only elevates your culinary skills but also allows you to control every ingredient, ensuring a healthier, more flavorful, and personalized experience. This isn’t just about mashing spuds; it’s about crafting an experience, a memory, and a dish that perfectly complements any meal. We’ll guide you through the process, transforming humble potatoes into an unforgettable side. Consider this your definitive guide to the perfect mashed potato recipe, packed with tips and tricks for exceptional results every time.
Ingredients & Kitchen Tools
Gathering the right components is the first step to culinary success.
2 lbs Russet or Yukon Gold Potatoes: Russets offer a fluffy texture; Yukon Golds provide a naturally buttery flavor and creamy consistency. Avoid waxy varieties like red or new potatoes, as they can become gummy.*
1/2 cup Warm Milk (Whole or 2%): Whole milk adds richness; warm milk incorporates more smoothly, preventing a temperature drop.*
1/4 cup Unsalted Butter, softened: Unsalted butter allows you to control the sodium levels. Softened butter emulsifies better.*
1 tsp Sea Salt, or to taste: Essential for seasoning. Start with less and add more to your preference.*
1/4 tsp Black Pepper, or to taste: Adds a subtle warmth and aroma.*
Optional: 1-2 tbsp Cream Cheese or Sour Cream: For extra tang and creaminess.*
Optional: Fresh Chives or Parsley, chopped: For garnish and a burst of freshness.*
Kitchen Tools:
Large Pot: For boiling the potatoes.*
Colander: For draining water.*
Potato Masher, Ricer, or Food Mill: A ricer or food mill yields the smoothest results, while a masher offers a slightly chunkier texture.*
Large Mixing Bowl: For combining ingredients.*
Measuring Cups and Spoons: For accurate ingredient portions.*
Rubber Spatula or Wooden Spoon: For mixing.*
Prep Time & Cooking Schedule
Achieving perfectly tender potatoes requires a mindful approach to timing.
- Prep Time: 15 minutes (Peeling and chopping potatoes)
- Cook Time: 20-25 minutes (Boiling potatoes)
- Resting Time: 5 minutes (Allows excess steam to escape, preventing wateriness)
Plan to start your Mashed Potatoes about 45 minutes before your meal is ready to ensure they are hot and ready to serve. The resting time for the potatoes is crucial, so don’t skip it!
Step-by-Step Instructions
Follow these simple steps for flawlessly fluffy and flavorful results:
1. Prepare the Potatoes: Peel the potatoes and cut them into 1-inch uniform pieces. This ensures even cooking. Rinse them under cold water to remove excess starch, which helps prevent gumminess.
2. Boil until Tender: Place the chopped potatoes in a large pot and cover them with cold water by about an inch. Add a generous pinch of salt to the water (this seasons the potatoes from the inside out). Bring to a boil, then reduce heat and simmer until the potatoes are fork-tender, about 15-20 minutes.
3. Drain and Steam Dry: Drain the potatoes thoroughly in a colander. Return the drained potatoes to the empty pot over low heat for 1-2 minutes, shaking gently. This crucial step helps to steam off any excess moisture, making your Mashed Potatoes light and fluffy.
4. Mash to Perfection: Using a potato ricer, food mill, or masher, mash the potatoes until smooth. If using a masher, be careful not to overwork them, as this can make them gluey.
5. Incorporate Dairy and Seasoning: Gently stir in the warm milk and softened butter until just combined. For an extra creamy texture and a touch of tang, fold in the cream cheese or sour cream at this stage. Season with salt and pepper to taste. Taste and adjust seasoning as needed – remember, under-seasoned mashed potatoes are bland.
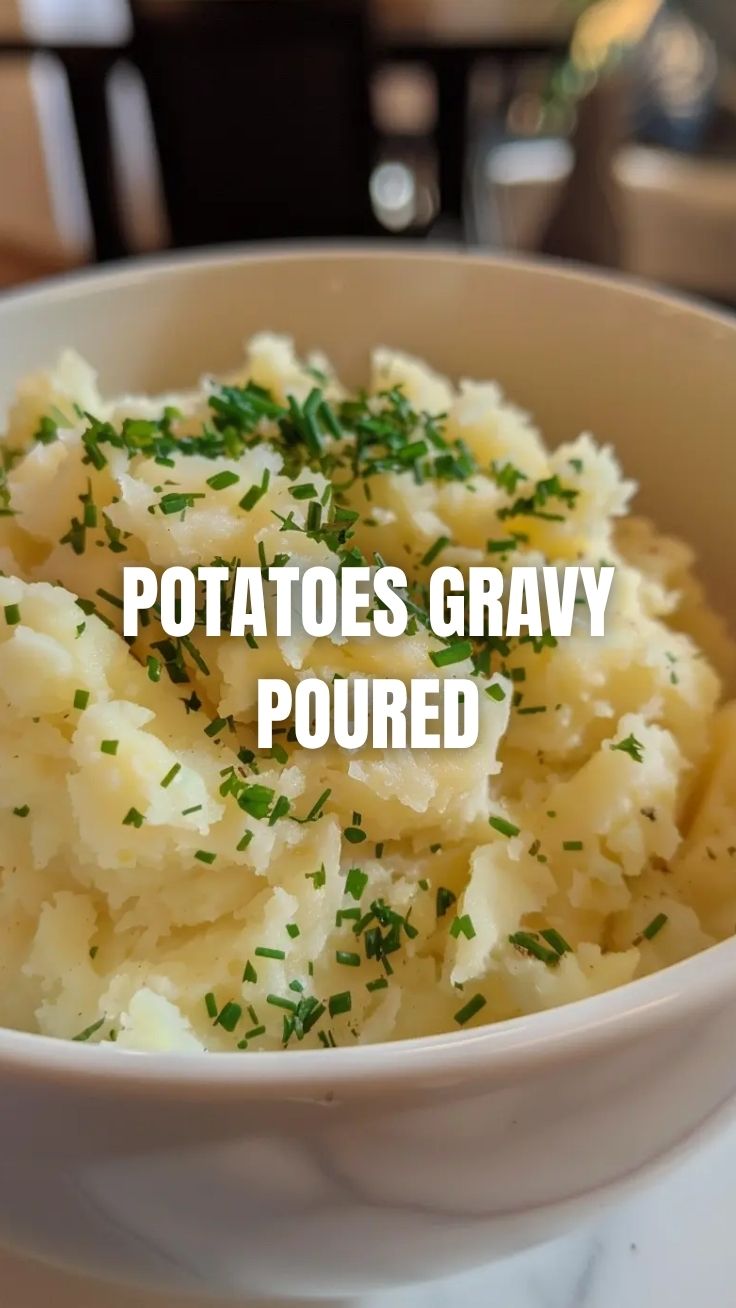
6. Serve Immediately: Garnish with fresh chives or parsley, if desired. Serve your homemade mashed potato recipe warm.
Nutritional Benefits & Advantages
Beyond their comforting appeal, homemade Mashed Potatoes offer several nutritional advantages. Potatoes are an excellent source of Vitamin C, potassium, and Vitamin B6. When prepared from scratch, you have complete control over the amount and type of fat (e.g., opting for heart-healthy olive oil instead of butter) and sodium, making them a much healthier alternative to processed versions. They are naturally gluten-free and can be easily adapted to be dairy-free, catering to various dietary needs.
Tips, Variations & Cooking Advice
- Garlic Infusion: Roast a head of garlic, then mash the cloves into your potatoes for a fragrant, savory twist.
- Herbaceous Delight: Incorporate fresh rosemary, thyme, or sage for an aromatic flavor profile.
- Cheesy Goodness: Stir in shredded Parmesan, cheddar, or Gruyère for a cheesy variation.
- Dairy-Free Option: Substitute regular milk and butter with unsweetened plant-based milk (almond, oat, or soy) and vegan butter.
- Whipped Potatoes: For an ultra-smooth, airy texture, use an electric mixer on low speed after mashing, adding warm milk and butter gradually. Be careful not to over-mix.
- Gravy Ready: Prepare your gravy while the potatoes are boiling for a cohesive meal.
Common Mistakes to Avoid
- Overcooking Potatoes: Leads to watery, bland mash. Cook until just tender.
- Under-Seasoning: Potatoes absorb a lot of salt. Always taste and adjust.
- Using Cold Dairy: Causes the potatoes to cool down and the fat to not emulsify properly, resulting in a less creamy texture.
- Over-Mashing: Releases too much starch, leading to a gummy, gluey consistency. Use a ricer or masher and work gently.
- Leaving Excess Water: Leads to a soupy, flavorless mash. Always steam dry after draining.
Storage & Meal Prep Tips
Leftover Mashed Potatoes can be a delightful treat. Store them in an airtight container in the refrigerator for up to 3-4 days. For longer storage, mashed potatoes freeze remarkably well. Allow them to cool completely, then portion into freezer-safe bags or containers for up to 2-3 months. Reheat gently on the stovetop over low heat, adding a splash of milk or cream to restore creaminess, or in the microwave. Avoid high heat, which can dry them out.
Conclusion
Mastering the art of homemade Mashed Potatoes is a culinary triumph that elevates any meal. By following these detailed steps and incorporating our expert tips, you can consistently achieve that coveted creamy, fluffy texture and rich, comforting flavor. From choosing the right potato to avoiding common pitfalls, you’re now equipped to create a side dish that truly shines. Don’t hesitate to experiment with variations and make this classic truly your own. We encourage you to try this mashed potato recipe, share your results with us, and savor the exceptional taste of truly homemade comfort.
FAQs
Q1: What are the best potatoes for mashing?
A1: Russet or Yukon Gold potatoes are ideal due to their high starch content, which results in a fluffy texture.
Q2: Can I make mashed potatoes ahead of time?
A2: Yes, you can prepare them a day in advance. Store in the refrigerator and reheat gently with a splash of milk or cream.
Q3: How do I prevent my mashed potatoes from becoming gummy?
A3: Don’t over-mash, avoid waxy potato varieties, and always steam-dry your cooked potatoes to remove excess moisture.
Q4: What’s the secret to extra creamy mashed potatoes?
A4: Use warm milk, softened butter, and a potato ricer for the smoothest texture. Adding a spoonful of cream cheese or sour cream also boosts creaminess.
Q5: Can I add herbs to my mashed potatoes?
A5: Absolutely! Fresh herbs like chives, parsley, rosemary, or thyme add wonderful flavor and visual appeal. Add them toward the end of the mashing process.