Quench Your Thirst with the Ultimate Homemade Lemonade Experience
Ever wondered what truly sets apart a refreshing glass of lemonade from a truly spectacular one? The answer, more often than not, lies in the homemade touch. Forget those overly sweet, artificially flavored concoctions. Today, we’re embarking on a delightful journey to craft the perfect Lemonade (Classic Homemade). There’s an unparalleled satisfaction in creating something so simple yet so incredibly delicious from scratch. This isn’t just a beverage; it’s a nostalgic taste of summer, a burst of sunshine in a glass, and the ultimate thirst-quencher. Plus, mastering this Homemade lemonade recipe means you’ll always have a delightful, customizable drink ready to impress.
Ingredients & Kitchen Tools
Gathering the right ingredients and tools is the first step to unlocking the magic of this refreshing drink.
- Fresh Lemons (8-10 medium-sized): The star of the show. Choose bright yellow, firm lemons with smooth, unblemished skin for maximum juice yield and vibrant flavor. Organic is a plus for zest.
- Granulated Sugar (1 cup, adjustable): Provides the sweetness. You can adjust this to your personal preference; consider using a little less if your lemons are naturally sweet or if you prefer a tarter drink.
- Filtered Cold Water (4-6 cups): The base of our lemonade. Filtered water ensures a clean, pure taste that won’t detract from the lemon’s natural zing. Adjust quantity for desired strength.
- Lemon Zester or Fine Grater: For extracting aromatic lemon zest, adding an extra layer of citrusy brightness.
- Large Heatproof Pitcher or Jar (at least 2-quart capacity): For mixing and serving your delightful concoction.
- Large Saucepan: To create the simple syrup.
- Strainer or Fine-Mesh Sieve: Essential for removing pulp and seeds, ensuring a smooth, enjoyable texture.
- Lemon Juicer (Manual or Electric): Makes juicing much easier and extracts maximum liquid.
- Long-Handled Spoon or Whisk: For stirring and dissolving the sugar.
Prep Time & Cooking Schedule
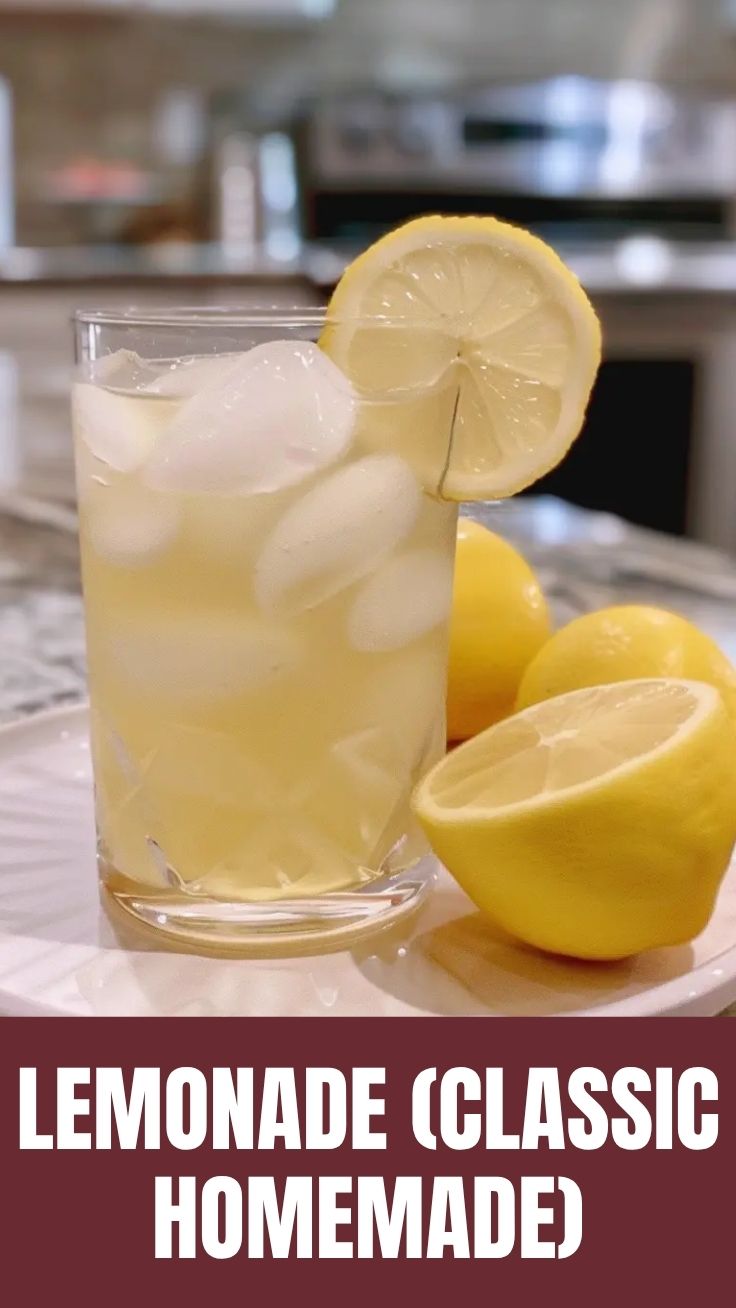
This Lemonade (Classic Homemade) is remarkably quick to prepare, making it an ideal last-minute treat.
- Prep Time: 15-20 minutes (mostly zesting and juicing lemons).
- Cook Time: 5-7 minutes (for the simple syrup).
- Chilling Time: At least 1 hour (for optimal flavor and refreshing chill).
Planning ahead? Prepare the simple syrup and lemon juice in advance, then combine them with cold water just before serving for the freshest taste.
Step-by-Step Instructions
Follow these simple steps for a truly exceptional Lemonade (Classic Homemade). Precision in these steps ensures a perfectly balanced taste.
1. Prepare the Simple Syrup: In a large saucepan, combine 1 cup of granulated sugar and 1 cup of filtered water. Bring the mixture to a gentle boil over medium heat, stirring constantly until the sugar is completely dissolved. This typically takes 3-5 minutes. Once dissolved, remove from heat and let it cool completely. This fundamental step is crucial for an exquisite mouthfeel in any Homemade lemonade recipe.
2. Zest the Lemons: While the simple syrup cools, carefully zest 2-3 of your lemons, avoiding the bitter white pith. Set aside the zest for an optional aromatic boost.
3. Juice the Lemons: Halve all your lemons and juice them thoroughly. You’ll need approximately 1 to 1.5 cups of fresh lemon juice. Strain the juice through a fine-mesh sieve or strainer to remove any seeds and excessive pulp.
4. Combine Ingredients: In your large pitcher or jar, combine the cooled simple syrup and the fresh, strained lemon juice.
5. Dilute and Stir: Add 3-5 cups of cold filtered water to the pitcher, depending on your preferred strength and tartness. Start with less water and add more gradually, tasting as you go. Stir well to ensure all ingredients are fully incorporated.
6. Chill and Serve: Refrigerate the lemonade for at least 1 hour before serving. This chilling time is essential for the flavors to meld and for the drink to reach its peak refreshment. Serve over ice, garnished with fresh lemon slices, mint sprigs, or even a sprinkle of the reserved lemon zest.
Nutritional Benefits & Advantages
Beyond its delightful taste, this Lemonade (Classic Homemade) offers several advantages. Lemons are a fantastic source of Vitamin C, an essential antioxidant that supports immune function and skin health. They also contain compounds that can aid in digestion. By making it at home, you control the sugar content, avoiding the excessive amounts often found in commercial beverages. This allows for a naturally lower-calorie and more wholesome hydration option.
Tips, Variations & Cooking Advice
- Sweetness Control: Adjust sugar in the simple syrup or add a natural sweetener like honey or agave nectar for a slight flavor variation.
- Flavor Infusions: Infuse your simple syrup with fresh herbs like mint, basil, or rosemary for unique twists. Berries (strawberries, raspberries) can also be muddled and added.
- Sparkling Lemonade: For a fizzy delight, substitute some or all of the still water with sparkling water or club soda just before serving.
- Dietary Adaptations: For a sugar-free version, use a sugar substitute in the simple syrup. Be sure to choose one that holds up well in heat.
- Freezing: Freeze leftover lemonade in ice cube trays for future use, or to prevent diluting your next glass.
Common Mistakes to Avoid
- Over-extracting Zest: When zesting, avoid the white pith directly underneath the skin as it can impart a bitter flavor.
- Not Cooling Simple Syrup: Adding hot simple syrup directly to cold lemon juice can affect the fresh taste and heat the other ingredients unnecessarily. Always allow it to cool.
- Insufficient Chilling: Lemonade served at room temperature lacks the refreshing punch that makes it so enjoyable. Ensure adequate chilling time.
- Ignoring Filtration: Skipping the straining step can lead to a pulpy drink, which some find unappealing.
Storage & Meal Prep Tips
Your Homemade lemonade recipe can be stored in an airtight pitcher or jar in the refrigerator for up to 5-7 days. The flavors may become more intense over time. For longer storage, freeze it in ice cube trays or freezer-safe containers for up to 3 months. Thaw in the refrigerator overnight or by running the container under cool water.
Conclusion
There’s nothing quite like a freshly made glass of Lemonade (Classic Homemade) to brighten your day and quench your thirst. This Homemade lemonade recipe is not just about combining ingredients; it’s about crafting an experience – simple, pure, and utterly delightful. We encourage you to try this recipe, experiment with the suggested variations, and personalize it to your taste. Share your creations with us in the comments below!
FAQs
Q1: Can I use bottled lemon juice instead of fresh?
A1: While you can, fresh lemon juice is highly recommended for the best flavor. Bottled juice often contains preservatives and lacks the vibrant, fresh taste of squeezed lemons.
Q2: How can I make my lemonade less tart or sweeter?
A2: To make it less tart, add more simple syrup or a touch more water. For a sweeter lemonade, increase the amount of sugar in your simple syrup by a quarter or half cup next time, or add a drizzle of honey or agave to taste.
Q3: What’s the best way to get the most juice from my lemons?
A3: Before juicing, gently roll the lemons on a countertop while applying pressure. You can also microwave them for 10-20 seconds to help break down the membranes, making them easier to juice.
Q4: Can I make a large batch for a party?
A4: Absolutely! Simply scale up the ingredient quantities proportionately. You can prepare the lemon juice and simple syrup ahead of time and combine them with water just before the event.
Q5: My lemonade tastes a bit bland. What went wrong?
A5: This usually means you need more lemon juice, less water, or a pinch of lemon zest to enhance the citrus notes. Ensure you used fresh, ripe lemons for optimal flavor.