Unlock the Secret to the Perfect Homemade Healthy Hummus: Creamy, Flavorful, and Effortless!
Are you tired of bland, store-bought spreads that lack that authentic, vibrant taste? Imagine diving into a bowl of velvety smooth, homemade Hummus, bursting with fresh flavors and a creamy texture that will make your taste buds sing. Preparing your own dips, like a delectable Guacamole or this chickpea delight, is not just about saving money; it’s about unlocking a world of culinary control, healthier ingredients, and unparalleled satisfaction. In this guide, we’ll walk you through crafting the ultimate homemade healthy hummus recipe, ensuring each spoonful is pure bliss.
Ingredients & Kitchen Tools
Crafting the perfect dip requires a few essential items. Here’s what you’ll need:
- 1 (15-ounce) can chickpeas (garbanzo beans): Rinsed and drained, reserving 1/4 cup of the liquid. The reserved liquid (aquafaba) helps achieve that silky consistency.
- 1/4 cup fresh lemon juice: About 1-2 lemons, depending on size. Freshly squeezed is non-negotiable for the brightest flavor.
- 1/4 cup tahini: Sesame paste. Look for a brand with a smooth, pourable consistency for the best results.
- 1 clove garlic: Minced. Adjust to your garlic preference; roasted garlic offers a milder taste.
- 2 tablespoons extra virgin olive oil: Plus more for drizzling. Choose a good quality oil for a richer flavor.
- 1/2 teaspoon ground cumin: Essential for that classic hummus aroma.
- Salt to taste: Start with 1/2 teaspoon and adjust.
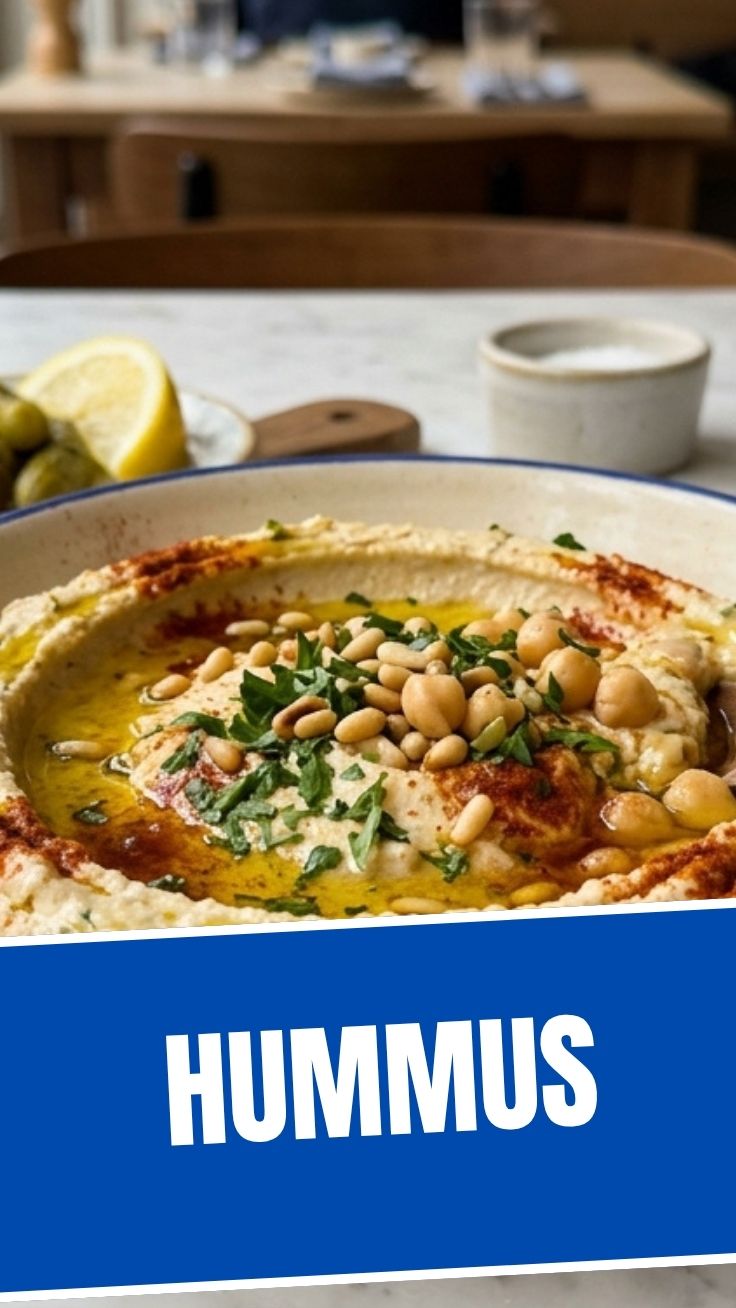
- Optional garnish: Paprika, chopped parsley, a few whole chickpeas, or an extra swirl of olive oil.
- Food processor: The star appliance for achieving that creamy texture. A high-speed blender can also work.
- Spatula: For scraping down the sides of the food processor.
- Measuring cups and spoons: For accurate ingredient proportions.
Prep Time & Cooking Schedule
This recipe is wonderfully quick, making it perfect for last-minute gatherings or meal prepping throughout the week.
- Prep Time: 10 minutes
- Cook Time: 0 minutes (unless you choose to roast garlic, which adds about 30-40 minutes)
- Resting Time: 15 minutes (optional, but allows flavors to meld beautifully)
Plan to have all your ingredients ready and measured before you start blending. The entire process, from opening the can to a ready-to-serve bowl, takes remarkably little time.
Step-by-Step Instructions
Follow these simple steps to create your irresistibly smooth Hummus:
1. Prepare the Chickpeas: Drain and rinse the can of chickpeas thoroughly. For an extra smooth texture, you can painstakingly remove the skins from each chickpea (this is optional but highly recommended for a truly restaurant-quality dip). Reserve 1/4 cup of the aquafaba (chickpea liquid).
2. Combine Ingredients: In the bowl of your food processor, combine the tahini and lemon juice. Process for 1-2 minutes until the mixture lightens in color and becomes thick and creamy. This emulsification step is crucial for smooth hummus.
3. Add Flavor Base: Add the minced garlic and ground cumin to the tahini-lemon mixture. Process for another 30 seconds.
4. Incorporate Chickpeas: Add the drained chickpeas to the food processor. Process for 3-5 minutes, scraping down the sides occasionally. The mixture will be thick and paste-like at first.
5. Achieve Creaminess: With the food processor running, slowly drizzle in the reserved chickpea liquid (aquafaba) and the 2 tablespoons of olive oil. Continue processing until the hummus is incredibly smooth and creamy. If it’s still too thick, add a tablespoon more of cold water or aquafaba until desired consistency is reached.
6. Season and Serve: Taste and adjust salt as needed. Transfer the healthy hummus to a serving bowl, drizzle with a little extra virgin olive oil, and garnish with paprika, parsley, or whole chickpeas. Serve immediately with pita bread, fresh vegetables, or as a spread. This creamy dip pairs wonderfully with other fresh preparations, like a vibrant Guacamole.
Nutritional Benefits & Advantages
This homemade healthy hummus is a nutritional powerhouse! Chickpeas are an excellent source of plant-based protein and dietary fiber, promoting satiety and aiding digestion. Tahini provides healthy fats (monounsaturated and polyunsaturated) and essential minerals like calcium, magnesium, and iron. Lemon juice adds a boost of Vitamin C, an important antioxidant. Low in saturated fat and naturally gluten-free, this dip is a fantastic addition to any healthy eating plan, supporting heart health and providing sustained energy.
Tips, Variations & Cooking Advice
- Flavor Boosts: For a smoky flavor, roast the garlic before adding it. Incorporate roasted red peppers or sun-dried tomatoes for a sweet and tangy twist.
- Spicier Kick: Add a pinch of cayenne pepper or a dash of hot sauce.
- Herbaceous Hummus: Blend in fresh cilantro, basil, or mint for a vibrant herby version.
- Oil-Free Option: For a completely oil-free hummus, omit the olive oil in the recipe and use extra aquafaba or water to achieve the desired consistency.
- Texture Control: If you prefer a chunkier hummus, process for less time. For extra creaminess, try soaking dried chickpeas overnight and cooking them until very tender.
Common Mistakes to Avoid
- Not Enough Tahini: Skipping or skimping on tahini will result in a less authentic and less flavorful hummus. It’s crucial for the unique taste and texture.
- Insufficient Processing: Don’t rush the blending! Processing for several minutes is essential for achieving that ultra-smooth, creamy consistency.
- Cold Ingredients: Using cold chickpeas directly from the can can make it harder to blend smoothly. Room temperature ingredients blend more easily.
- Too Much Water Too Soon: Add the aquafaba or water gradually. It’s easier to add more liquid than to remove it!
Storage & Meal Prep Tips
Leftover healthy hummus can be stored in an airtight container in the refrigerator for up to 5-7 days. To prevent a “skin” from forming on top, you can drizzle a thin layer of olive oil over the surface before sealing the container. While you can freeze hummus, the texture may become slightly grainy upon thawing. If freezing, allow it to thaw slowly in the refrigerator and stir well before serving, adding a splash of water or olive oil if needed to restore creaminess. It’s perfect for meal prepping a week’s worth of healthy snacks or light lunches.
Conclusion
Making your own creamy, healthy Hummus is a rewarding culinary experience that will elevate your snacking and mealtime routines. With simple ingredients and a food processor, you can create a dip that’s far superior to anything store-bought, packed with flavor, and bursting with nutritional benefits. Whether enjoyed with crisp veggies, warm pita, or as a delightful companion to a fresh Guacamole, this recipe is a true crowd-pleaser. Give it a try, experiment with variations, and discover the joy of homemade goodness! Share your creations and favorite pairings in the comments below!
FAQs
Q1: Can I make hummus without tahini?
A1: While tahini is a key ingredient for authentic hummus flavor and texture, you can technically omit it. However, the result will be different in taste and consistency. Some people substitute it with nut butters like almond butter for a different flavor profile.
Q2: What if my hummus is too thick or too thin?
A2: If it’s too thick, gradually add more reserved chickpea liquid (aquafaba) or cold water, one tablespoon at a time, while processing until you reach your desired consistency. If it’s too thin, unfortunately, it’s harder to fix; you could try adding a few more chickpeas or a spoonful of tahini, but it’s best to add liquid cautiously.
Q3: Can I use dried chickpeas instead of canned?
A3: Absolutely! Soaking dried chickpeas overnight and then cooking them until very tender will yield an even creamier hummus with a superior flavor. Just be sure to reserve some of the cooking liquid, as it’s an excellent substitute for aquafaba.
Q4: How can I make my hummus taste less garlicky?
A4: If you find raw garlic too pungent, try roasting the garlic clove before adding it to the food processor. Roasting mellows the flavor significantly and adds a wonderful sweetness. You can also start with half a clove and increase if desired.