From Garden to Gourmet: Unlocking Authentic Hatch Green Chile at Home
Are you tired of bland, uninspired meals, longing for a burst of vibrant flavor that transports you straight to the Southwest? Imagine savoring the smoky, slightly sweet, and perfectly spicy essence of Hatch Green Chile, painstakingly roasted and prepared in your own kitchen. This isn’t just about cooking; it’s about an experience, a connection to culinary tradition, and the immense satisfaction of creating something truly exceptional from scratch. Learning to prepare authentic Hatch Green Chile from fresh peppers is an invaluable skill, opening up a world of delicious possibilities for your weekly menu, especially when exploring diverse Green Chile Recipes. It allows for complete control over the spice level, freshness, and the nuanced flavors that mass-produced alternatives simply can’t replicate. Dive in as we transform humble green chiles into a versatile, flavor-packed staple.
Ingredients & Kitchen Tools
Gathering your supplies is the first step to culinary success. Here’s a comprehensive list:
- Fresh Hatch Green Chiles (2-3 lbs): Opt for firm, unblemished chiles. This is our star ingredient!
- Olive Oil (1 tbsp): For roasting, providing a slight sheen and helping with charring.
- Sea Salt (to taste): Enhances the natural flavors.
- Garlic (3-4 cloves, minced): Adds aromatic depth.
- Cilantro (1/4 cup, chopped): Fresh, bright counterpoint. Optional, but highly recommended.
- Lime Juice (1 tbsp): A squeeze of acidity to balance the flavors.
- Large Baking Sheet: For even roasting in the oven.
- Tongs: Essential for turning chiles safely during roasting.
- Airtight Container or Ziploc Bags: For storage.
- Cutting Board & Sharp Knife: For prepping and mincing.
- Food Processor (optional): For a smoother, more consistent texture. Alternatively, a good old-fashioned knife works for dicing.
Prep Time & Cooking Schedule
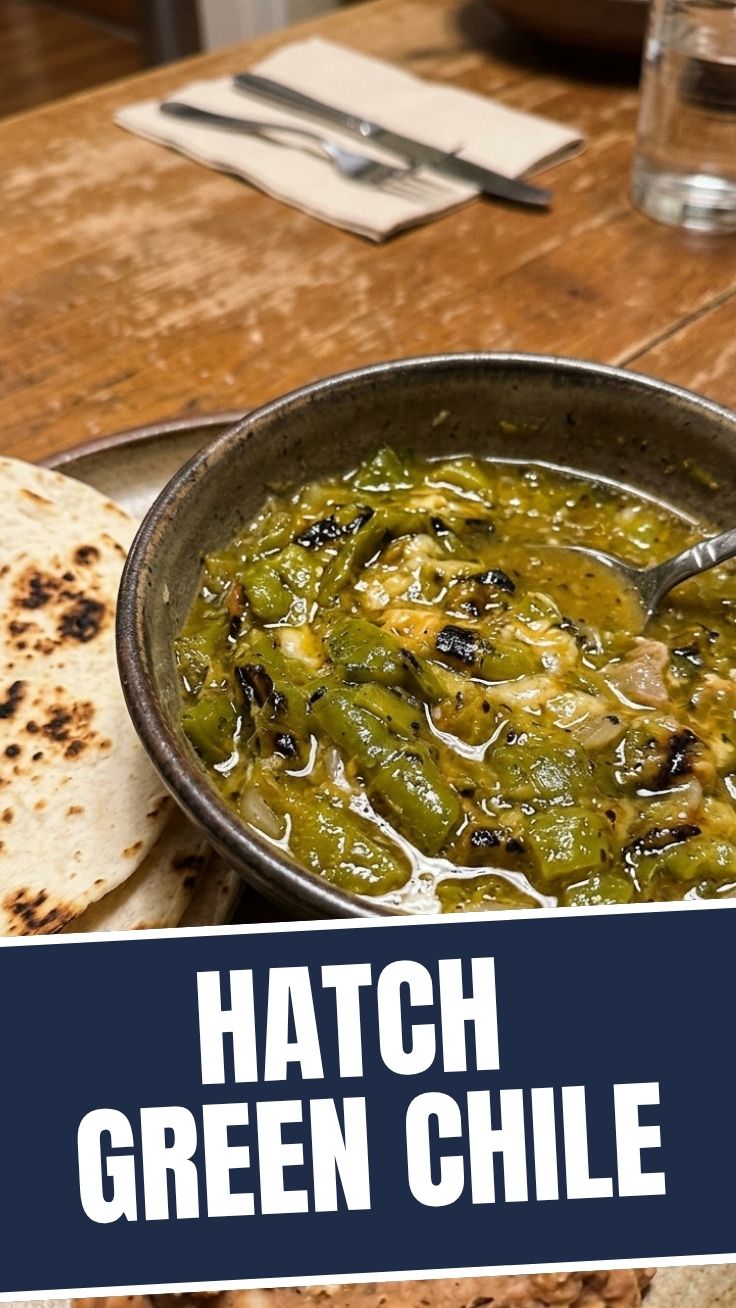
Achieving perfectly roasted Hatch Green Chile requires a bit of patience and strategic planning.
- Prep Time: 10 minutes (Washing and drying chiles).
- Roasting Time: 20-30 minutes (Depending on oven and desired char).
- Steaming Time: 15-20 minutes (Crucial for easy peeling).
- Peeling & Processing Time: 20-30 minutes.
Plan for approximately 1 hour and 15 minutes from start to finish. The steaming and peeling are the most hands-on parts, but the aroma filling your kitchen will make it all worthwhile.
Step-by-Step Instructions
Follow these detailed steps to master the art of homemade Hatch Green Chile:
1. Preheat & Prepare: Preheat your oven to 400°F (200°C). Wash and thoroughly dry the Hatch Green Chile. This prevents steaming instead of roasting. Lightly coat the chiles with olive oil and arrange them in a single layer on a large baking sheet.
2. Roast to Perfection: Roast the chiles in the preheated oven for 20-30 minutes, turning them every 7-10 minutes with tongs, until the skins are uniformly charred and blistered. The char is key for that authentic smoky flavor. Consistency in charring ensures easier peeling.
3. Steam for Easy Peeling: Once roasted, immediately transfer the hot chiles to a large heat-proof bowl and cover tightly with plastic wrap or a clean kitchen towel. Allow them to steam for 15-20 minutes. This process loosens the skins, making peeling effortless.
4. Peel & Deseed: Carefully remove the chiles from the bowl (they will still be warm). Using your fingers or a small knife, gently peel away the charred skin. Don’t worry if a few small bits of char remain; they add character. Slice open each chile, remove the stem and seeds. For less heat, remove all seeds and membranes; for more heat, leave some in.
5. Chop & Combine: Dice the peeled and deseeded chiles to your desired consistency. You can finely mince them for a smoother sauce or leave them a bit chunkier for texture. In a bowl, combine the chopped chiles with minced garlic, chopped cilantro, sea salt, and lime juice. Mix well.
6. Savor or Store: Your homemade Hatch Green Chile is now ready! Enjoy it immediately or explore various Green Chile Recipes, from stews to sauces.
Nutritional Benefits & Advantages
Beyond its incredible flavor, Hatch Green Chile offers several nutritional perks. These vibrant peppers are rich in Vitamin C, an essential antioxidant that supports immune function and skin health. They also contain capsaicin, the compound responsible for their heat, which has been linked to potential metabolism-boosting and anti-inflammatory properties. Furthermore, incorporating fresh chiles into your diet adds dietary fiber, aiding digestion. Preparing it yourself ensures you’re consuming a pure, unadulterated product, free from artificial preservatives often found in canned versions.
Tips, Variations & Cooking Advice
- Heat Control: For milder chile, remove all seeds and internal membranes. For a spicier kick, leave some seeds in.
- Roasting Alternatives: If you don’t have an oven, you can achieve similar results by grilling the chiles over an open flame until charred, or using a broiler.
- Flavor Boosters: A pinch of smoked paprika or a dash of cumin can add another layer of complexity to your finished chile.
- Texture: If you prefer a smoother sauce, carefully blend a portion of your prepared chile with a little chicken broth or water in a food processor until desired consistency.
- Dietary Adaptations: Naturally gluten-free and vegan, this recipe is incredibly versatile for various dietary needs.
Common Mistakes to Avoid
- Under-roasting: Not charring the skins enough makes peeling incredibly difficult and compromises the smoky flavor. Don’t be afraid of dark blisters!
- Skipping the Steam: This step is non-negotiable. Without proper steaming, you’ll struggle to remove the skins, potentially losing a lot of the chile’s flesh.
- Washing After Peeling: Avoid rinsing the chiles after peeling, as this can wash away some of that delicious smoky flavor.
- Ignoring Freshness: Using old, soft chiles won’t yield the same robust flavor or texture. Always choose firm, vibrant peppers.
Storage & Meal Prep Tips
Proper storage ensures you can enjoy your delicious Hatch Green Chile for weeks or even months.
- Refrigeration: Store extra chile in an airtight container in the refrigerator for up to 5-7 days.
- Freezing: This is the best method for long-term storage. Portion the prepared chiles into freezer-safe bags or ice cube trays (for smaller portions). Freeze for up to 6 months. Thaw in the refrigerator overnight before use.
- Meal Prep: Make a large batch! Use it in breakfast burritos, chile verde, enchiladas, stews, or as a topping for eggs, tacos, and grilled meats.
Conclusion
Mastering the art of preparing fresh Hatch Green Chile at home is a culinary journey that promises incredible flavor and versatility. From the rich, smoky aroma that fills your kitchen to the vibrant taste that elevates any dish, this process is deeply rewarding. Don’t shy away from the hands-on nature of roasting and peeling – the payoff is absolutely worth it. Unleash your inner chef and dive into the world of authentic Hatch Green Chile, exploring a myriad of Green Chile Recipes that will tantalize your taste buds. We encourage you to try this recipe, share your creations, and experience the magic of fresh, homemade flavor!
FAQs
Q1: Can I use bell peppers instead of Hatch Green Chiles?
A1: While bell peppers can be roasted, they lack the specific heat and unique smoky-sweet flavor profile of authentic Hatch Green Chiles. For the true experience, stick with Hatch chiles.
Q2: My chiles aren’t peeling easily. What went wrong?
A2: This usually means they either weren’t roasted enough to fully char and blister or weren’t allowed to steam long enough after roasting. Ensure good charring and a tight seal during the steaming process.
Q3: How can I make a smoother green chile sauce from this?
A3: After preparation, place your desired amount of chopped chile into a blender or food processor. Add a splash of chicken or vegetable broth and blend until smooth. Adjust consistency with more liquid as needed.
Q4: Can I use frozen Hatch chiles for this recipe?
A4: You can, but the texture and flavor might differ slightly from fresh. If using frozen, thaw them first and then proceed with roasting, though they might not blister as effectively.
Q5: What are some popular dishes I can make with this prepared Hatch Green Chile?
A5: The possibilities are endless! It’s fantastic in Green Chile Stew, enchiladas (like our featured beef enchiladas!), breakfast burritos, chili, soups, quesadillas, or simply as a topping for grilled chicken or steak.