Grill Your Way to Perfection: The Ultimate Guide to Perfect Grilled Corn on the Cob
Ever wondered how to achieve that smoky, sweet, and perfectly charred corn that instantly elevates any summer meal? Forget bland boiled corn; mastering Grilled Corn on the Cob at home is not just easy, it’s a game-changer! Imagine the aroma wafting from your grill, signaling the start of a fantastic culinary experience. This blog post will guide you through creating the most delicious Grilled Corn on the Cob, a staple that pairs exquisitely with various grilled corn recipes, ensuring a mouth-watering experience every time. Get ready to impress your family and friends with this simple yet sensational dish!
Ingredients & Kitchen Tools
To embark on your journey to perfect Grilled Corn on the Cob, gather these essentials:
- Fresh Corn on the Cob (4-6 ears): Look for firm, bright green husks and plump, yellow kernels. Fresher corn means sweeter results.
- Butter (1/2 cup, unsalted): For basting and flavor. Unsalted allows you to control the saltiness.
- Salt (1/2 tsp, sea salt or kosher salt): Enhances the corn’s natural sweetness.
- Black Pepper (1/4 tsp, freshly ground): Adds a subtle kick.
- Olive Oil (2 tbsp): Helps prevent sticking to the grill and adds a nice sheen.
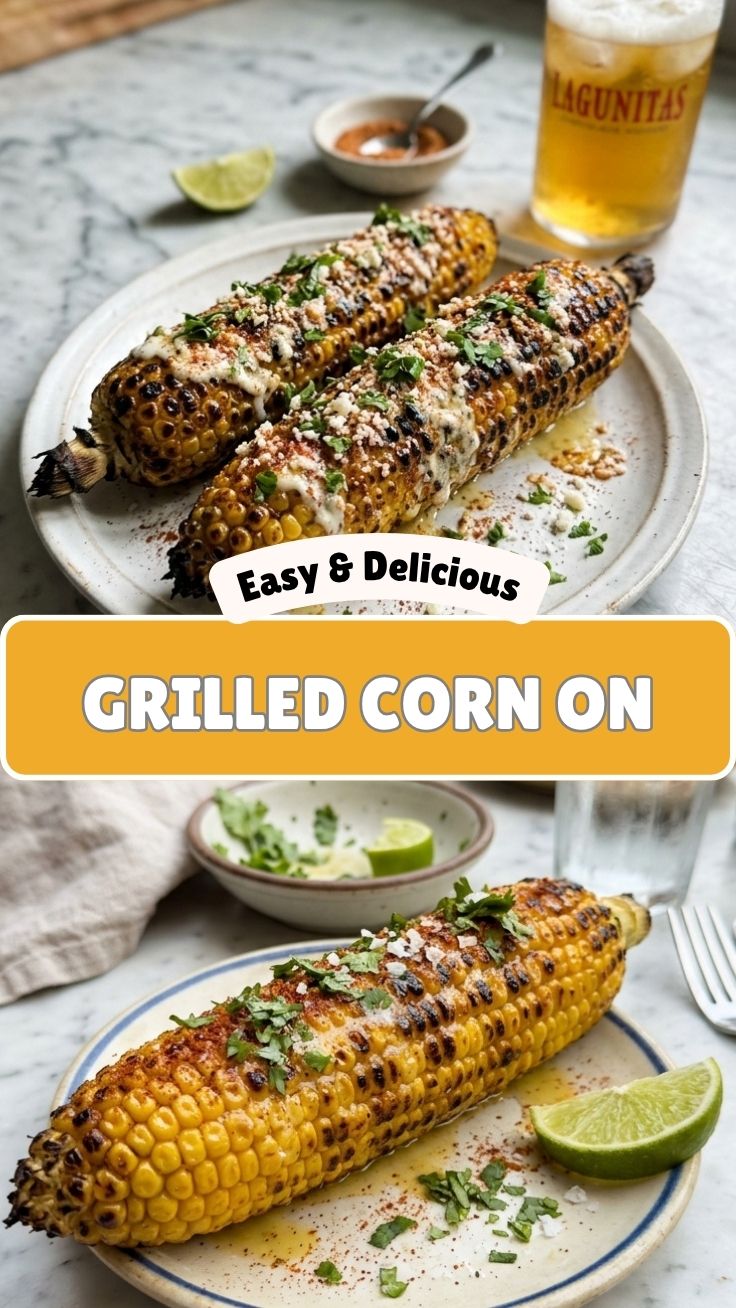
- Optional Toppings: Cojita cheese, chili powder, lime wedges, fresh cilantro (for an Elote-style twist).
- Grill (Gas or Charcoal): The star of the show.
- Tongs: Essential for turning the corn safely on a hot grill.
- Small Microwave-Safe Bowl: For melting butter.
- Basting Brush: To evenly coat the corn with butter.
- Aluminum Foil (optional): For steaming or keeping corn warm.
Prep Time & Cooking Schedule
- Prep Time: 10 minutes (shucking and seasoning)
- Cook Time: 10-15 minutes
- Resting Time: 5 minutes (off the grill, allowing flavors to meld)
This recipe is incredibly quick, making it perfect for last-minute gatherings or as a fast side dish for any weeknight meal. You can shuck and season the corn up to an hour in advance, keeping it covered in the refrigerator. This brief prep allows you to focus on your main course while the corn patiently awaits its turn on the grill.
Step-by-Step Instructions
1. Preheat the Grill: Heat your gas or charcoal grill to a medium-high heat (around 400°F / 200°C). A well-heated grill ensures even cooking and those desirable char marks.
2. Prepare the Corn: Shuck the corn by peeling back the husks and removing all the silk. You can trim the very end of the stalk if desired.
3. Season the Corn: In a small bowl, melt the butter. Stir in the olive oil, salt, and black pepper. Using a basting brush, generously coat each ear of corn with this buttery mixture. This is key for flavor and preventing dryness.
4. Grill to Perfection: Place the seasoned ears directly on the preheated grill grates. Turn the corn every 2-3 minutes, ensuring all sides get a good char and even cooking. Look for bright yellow kernels with occasional brown, slightly blackened spots – these are flavor bombs! The cooking time for Grilled Corn on the Cob is typically 10-15 minutes, depending on your grill’s heat.
5. Serve & Enjoy: Once cooked, remove the corn from the grill. You can serve it immediately as is, or with additional melted butter and your favorite toppings. This perfectly complements other grilled corn recipes and any BBQ feast.
Practical Tip: Don’t overcrowd the grill. Work in batches if necessary to maintain consistent heat and allow for easy turning.
Nutritional Benefits & Advantages
Corn is often underrated but packed with wholesome goodness. It’s a good source of dietary fiber, which aids digestion and promotes gut health. It also contains essential vitamins like B vitamins (B1, B3, B5, B6) and Vitamin C, alongside minerals such as magnesium and potassium. Grilling, as opposed to boiling, can help retain more of these heat-sensitive nutrients while adding a naturally smoky flavor without extra added fats. Furthermore, yellow corn is rich in antioxidants like lutein and zeaxanthin, beneficial for eye health.
Tips, Variations & Cooking Advice
- Elote Style: After grilling, slather with mayonnaise or crema, sprinkle with crumbled Cotija cheese, chili powder, and a squeeze of fresh lime juice. A true taste of Mexico!
- Herbed Butter: Mix chopped fresh herbs like parsley, cilantro, or chives into your melted butter for an aromatic twist.
- Spicy Kick: Add a pinch of cayenne pepper or smoked paprika to your butter mixture for a fiery flavor.
- Foil Wrapped: For a less charred, more steamed texture, you can wrap seasoned corn tightly in aluminum foil and grill for 15-20 minutes, turning occasionally. This is great for keeping corn juicy.
- Alternative Cooking Method (Oven): If you don’t have a grill, you can roast the seasoned corn in a 400°F (200°C) oven for 20-25 minutes, turning halfway. You won’t get the char, but it will still be delicious.
Common Mistakes to Avoid
- Overcooking: This can lead to dry, chewy corn. Keep an eye on it and remove it once kernels are tender-crisp and lightly charred.
- Under-seasoning: Corn, especially grilled, benefits from generous seasoning. Don’t be shy with the butter, salt, and pepper.
- Cold Grill: Placing corn on a cold grill will extend cooking time and prevent those desirable char marks. Always preheat!
- Ignoring the Corn: Don’t just set it and forget it. Regular turning ensures even cooking and prevents one side from burning while others remain raw.
Storage & Meal Prep Tips
Leftover grilled corn can be stored in an airtight container in the refrigerator for up to 3-4 days. To reheat, you can grill it briefly, microwave it, or cut the kernels off the cob and gently sauté them in a pan. For meal prep, you can grill a larger batch of corn, let it cool, then cut the kernels off the cob and store them. These kernels are fantastic in salads, salsas, stir-fries, or as a vibrant side dish throughout the week, offering endless possibilities for delicious grilled corn recipes.
Conclusion
Mastering the art of Grilled Corn on the Cob is a quintessential summer skill, offering a simple yet incredibly rewarding culinary experience. With its smoky sweetness and tender bite, it’s a dish that truly stands out, whether served as a standalone treat or as a versatile component in various grilled corn recipes. We encourage you to fire up your grill and give this recipe a try; you’ll be amazed at how easily you can achieve perfection. Share your beautiful creations with us, and let’s celebrate the irresistible flavor of summer!
FAQs
Q1: Can I grill corn with the husks on?
A1: Yes, you absolutely can! Grilling with husks on is a great way to steam the corn while infusing it with smoky flavor. Just soak the husked corn in water for 15-30 minutes before grilling to prevent them from burning, then place directly on the grill for 20-25 minutes, turning occasionally.
Q2: How do I know when the corn is perfectly cooked?
A2: The kernels should be tender-crisp, bright yellow, and have some beautiful char marks. You can test for doneness by carefully piercing a kernel with a knife; it should be soft but still offer a slight bite.
Q3: What are some good alternatives to butter for seasoning?
A3: If you’re dairy-free, olive oil or a plant-based butter substitute works wonderfully. You can also experiment with flavored oils like chili oil or garlic-infused oil for added depth.
Q4: Can I freeze grilled corn?
A4: Yes! Allow the grilled corn to cool completely, then cut the kernels off the cob. Store them in an airtight freezer-safe bag or container for up to 3-4 months. They are perfect for soups, stews, or quick sautéed side dishes.