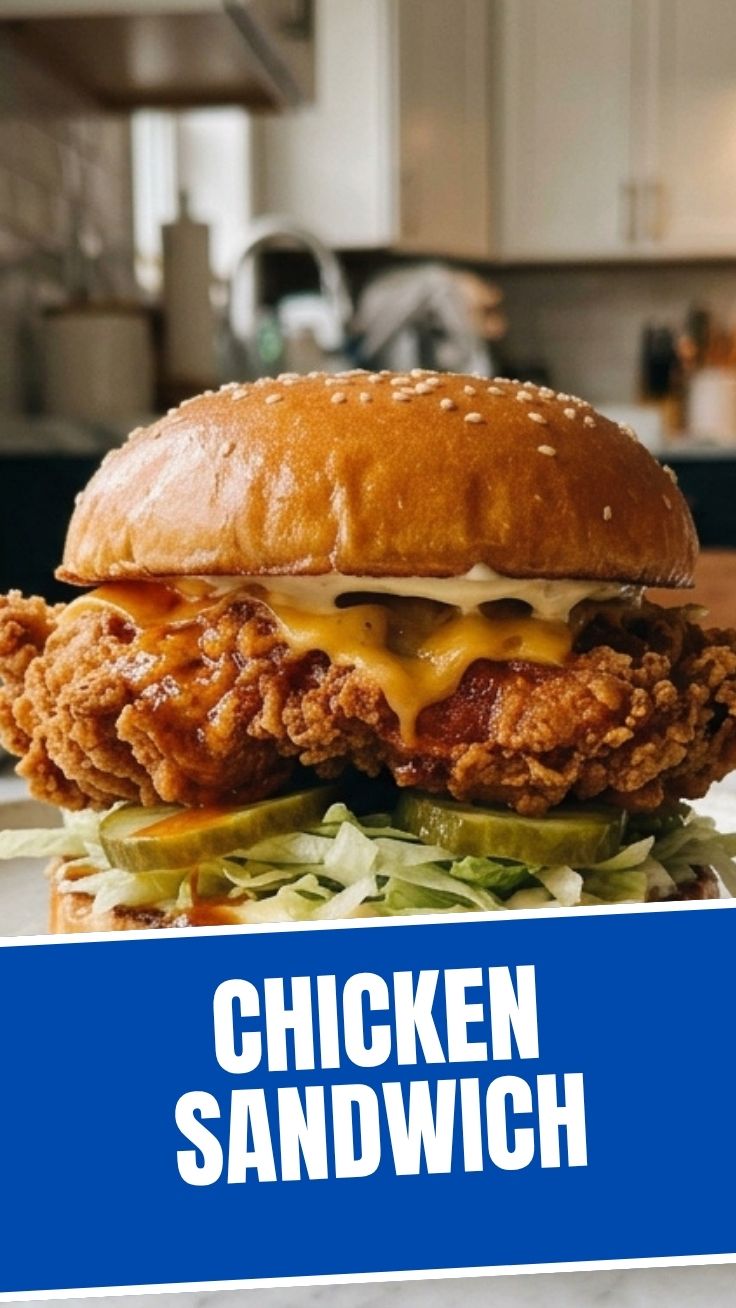
Craving the Ultimate Comfort? Your Homemade Chicken Sandwich Awaits!
Tired of lackluster drive-thru options and longing for a truly satisfying bite? What if we told you the most delicious, succulent Chicken Sandwich you’ve ever tasted is just a few simple steps away in your own kitchen? Preparing this classic at home isn’t just about saving money; it’s about customizing every element to your exact preference, ensuring premium ingredients, and discovering the joy of creating a culinary masterpiece. Forget the mass-produced versions; today, we’re diving into crafting a sandwich that rivals even the most acclaimed restaurant renditions, including the fiery kick of a Nashville Hot Chicken Sandwich. Get ready to elevate your lunch game from ordinary to extraordinary!
Ingredients & Kitchen Tools
Boneless, Skinless Chicken Thighs (4): Thighs offer more flavor and tenderness than breasts, holding up better to cooking. Substitution: Boneless, skinless chicken breasts (pound to 1/2-inch thickness).*
- Buttermilk (2 cups): Tenderizes the chicken and forms the base for a flavorful dredge.
All-Purpose Flour (2 cups): For the crispy coating. Substitution: Gluten-free all-purpose flour blend.*
- Cornstarch (1/4 cup): Adds extra crispiness to the breading.
- Smoked Paprika (1 tbsp): Adds depth and a hint of smoky flavor.
- Garlic Powder (1 tbsp): Essential aromatic.
- Onion Powder (1 tbsp): Enhances savory notes.
Cayenne Pepper (1-2 tsp, adjust to taste): For a gentle warmth. For a spicier Nashville Hot variant, increase to 1-2 tbsp.*
- Salt (1 tsp): Seasons the chicken and breading.
- Black Pepper (1/2 tsp): Pungent spice.
- Buns (4, brioche or potato recommended): Soft, slightly sweet buns complement the savory chicken.
- Dill Pickle Slices (for serving): Essential cut-through for richness.
- Mayonnaise (for spreading): Creamy base.
- Hot Sauce (optional for Nashville Hot variation): For the signature spicy oil.
- Vegetable Oil or Peanut Oil (3-4 cups): For deep frying.
- Large Bowl (2): For brining and dredging.
- Whisk: To combine dry ingredients.
- Shallow Plate or Dish: For the dry dredge.
- Dutch Oven or Deep Pot: For frying.
- Tongs: To handle chicken safely.
- Wire Rack with Baking Sheet: For draining excess oil.
- Instant-Read Thermometer: Crucial for checking internal chicken temperature.
Prep Time & Cooking Schedule

- Prep Time: 20 minutes (plus 2-4 hours marinating time)
- Cook Time: 15-20 minutes
- Resting Time: 5 minutes (after frying)
- Total Time: 2 hours 40 minutes – 4 hours 45 minutes
Plan to marinate your chicken thighs in buttermilk for at least 2 hours, or ideally 4 hours, to ensure maximum tenderness and flavor. This makes it a perfect dish to prepare ahead, allowing the chicken to soak while you handle other tasks.
Step-by-Step Instructions
1. Marinate the Chicken: In a large bowl, combine the chicken thighs and buttermilk. Ensure the chicken is fully submerged. Cover and refrigerate for 2-4 hours. This brining step is crucial for an incredibly tender Chicken Sandwich.
2. Prepare the Dredge: In another large bowl or shallow dish, whisk together the flour, cornstarch, smoked paprika, garlic powder, onion powder, cayenne pepper, salt, and black pepper.
3. Dredge the Chicken: Remove chicken from buttermilk, allowing excess to drip off. Dip each thigh into the flour mixture, pressing firmly to coat completely. Ensure every crevice is covered for that ultimate crisp. Shake off any excess flour.
4. Heat the Oil: Pour vegetable or peanut oil into a Dutch oven or deep pot until it reaches about 2-3 inches in depth. Heat the oil over medium-high heat to 350°F (175°C). Use an instant-read thermometer to maintain consistent temperature.
5. Fry the Chicken: Carefully lower 1-2 chicken thighs into the hot oil, ensuring not to overcrowd the pot. Fry for 6-8 minutes per side, or until golden brown, crispy, and an instant-read thermometer inserted into the thickest part reads 165°F (74°C).
6. Drain: Transfer fried chicken to a wire rack set over a baking sheet to drain excess oil. Season lightly with a pinch of salt while still warm.
7. Nashville Hot Kick (Optional): While the chicken rests, for a Nashville Hot Chicken Sandwich, combine 1/4 cup of the hot frying oil with 2-3 tablespoons of hot sauce, 1 tablespoon of cayenne pepper (or more), and a pinch of salt. Brush this spicy oil generously over the hot fried chicken.
8. Assemble: Toast your buns. Spread mayonnaise on both halves. Place a crispy chicken thigh, then layer with plenty of dill pickle slices.
9. Serve Immediately: Enjoy your homemade masterpiece!
Nutritional Benefits & Advantages
Chicken thighs are a good source of protein, essential for muscle repair and growth, and contain iron and B vitamins. Frying in high-quality oil in moderation contributes healthy fats. Opting for homemade means you control the sodium content and avoid artificial additives often found in commercially prepared sandwiches. Making your own also allows for adding fresh vegetables like lettuce and tomato for extra vitamins and fiber.
Tips, Variations & Cooking Advice
- Spice Level: Adjust cayenne pepper in the dredge to your preference. For an authentic Nashville Hot, create a fiery oil glaze with extra cayenne and hot sauce.
- Buttermilk Substitute: If you don’t have buttermilk, mix 1 cup of milk with 1 tablespoon of lemon juice or white vinegar. Let it sit for 5 minutes before using.
- Buns Matter: Don’t skimp on the buns! A soft brioche or potato bun will absorb the juices beautifully and provide the perfect texture contrast.
- Air Fryer Option: For a healthier approach, pat dredged chicken with a little oil spray and air fry at 375°F (190°C) for 15-20 minutes, flipping halfway, until cooked through and crispy.
Common Mistakes to Avoid
- Overcrowding the Pot: Frying too many pieces at once lowers oil temperature, resulting in greasy, less crispy chicken. Fry in batches.
- Skipping the Brine: Buttermilk is key to tenderness and flavor. Don’t skip this step!
- Not Checking Oil Temperature: Too low, and the chicken gets greasy; too high, and the outside burns before the inside cooks. Use a thermometer.
- Insufficient Coating: Ensure the flour dredge adheres thickly and evenly for optimal crispiness.
Storage & Meal Prep Tips
Leftover fried chicken can be stored in an airtight container in the refrigerator for up to 3 days. To reheat, place the chicken on a wire rack over a baking sheet and bake at 350°F (175°C) for 10-15 minutes, or until heated through and crispy again. Avoid the microwave, as it will make the breading soggy. For meal prep, you can marinate the chicken the night before, then fry and assemble fresh when ready to eat.
Conclusion
There you have it—your definitive guide to crafting an extraordinary homemade Chicken Sandwich. From the tender, buttermilk-brined chicken to the perfectly seasoned, crispy coating, every bite is a testament to the power of home cooking. Whether you prefer the classic approach or decide to ignite your taste buds with a fiery Nashville Hot Chicken Sandwich, this recipe promises a deeply satisfying culinary experience. Don’t just dream about it; roll up your sleeves and bring this incredible sandwich to life! Share your creations and favorite variations in the comments below!
FAQs
1. Can I use chicken breast instead of thighs? Yes, you can, but pound them to an even 1/2-inch thickness for even cooking and improved tenderness. Cooking time may be slightly less.
2. What’s the best oil for frying? Vegetable oil, canola oil, or peanut oil are all great choices due to their high smoke points and neutral flavor.
3. My breading isn’t crispy. What went wrong? This usually indicates the oil wasn’t hot enough, or too many pieces were added to the pot, dropping the temperature. Ensure oil maintains 350°F (175°C).
4. How can I make this sandwich gluten-free? Use a gluten-free all-purpose flour blend for the dredge. The rest of the ingredients are typically naturally gluten-free, but always check labels on buns and sauces.
5. Can I bake the chicken instead of frying? While frying yields the crispest result, you can bake dredged chicken at 400°F (200°C) for 25-30 minutes, flipping halfway, until cooked through. It won’t be as crispy but will still be flavorful.