Master the Art of Homemade Chicken Parmesan: A Culinary Journey
Ever wonder if you can truly recreate that restaurant-quality Chicken Parmesan experience right in your own kitchen? The answer is a resounding yes! Mastering this classic dish not only elevates your cooking skills but also brings the comforting flavors of authentic Italian cuisine directly to your dining table. Forget bland, store-bought versions; this guide will walk you through crafting a delectable, crispy, and cheesy Chicken Parmesan that will impress even the most discerning palates. Preparing this iconic dish at home allows for complete control over ingredients, ensuring freshness and flavor that pre-made options simply can’t match. Plus, there’s an undeniable satisfaction in serving a meal you’ve lovingly prepared from scratch, making it an invaluable culinary skill.
Ingredients & Kitchen Tools
To embark on your Chicken Parmesan journey, gather these essential items:
- Boneless, Skinless Chicken Breasts (4 medium): Opt for fresh, plump breasts for the best texture. You can also use chicken cutlets for quicker cooking.
- All-Purpose Flour (1/2 cup): For dredging, ensuring a crispy coating. Gluten-free flour can be substituted.
- Eggs (2 large): Beaten, to help the breadcrumbs adhere.
- Panko Breadcrumbs (1 cup): These Japanese breadcrumbs provide a superior crispy texture. Regular breadcrumbs or gluten-free breadcrumbs work too.
- Grated Parmesan Cheese (1/2 cup, plus more for topping): Freshly grated is always best for flavor. Pecorino Romano can be used for a sharper taste.
- Marinara Sauce (2 cups): Your favorite store-bought or homemade marinara.
- Fresh Mozzarella Cheese (8 oz, sliced or shredded): Melts beautifully and provides that classic cheesy pull. Provolone is a great alternative.
- Fresh Basil (1/4 cup, chopped): For garnish and a burst of freshness.
- Olive Oil (1/4 cup): For pan-frying the chicken. Vegetable oil or canola oil can be used.
- Salt & Black Pepper (to taste): Essential seasoning for every step.
- Garlic Powder (1 tsp): Adds aromatic depth to the breading.
- Onion Powder (1/2 tsp): Complements the garlic for a more complex flavor.
Kitchen Tools:
- Shallow Dishes (3): For your breading station (flour, egg, breadcrumbs).
- Large Skillet or Dutch Oven: For pan-frying the chicken.
- Baking Dish (9×13 inch): To bake the sauced and cheesed chicken.
- Meat Mallet or Rolling Pin: To pound chicken breasts to an even thickness.
- Tongs: For handling the chicken.
- Measuring Cups & Spoons: For accurate ingredient portions.
Prep Time & Cooking Schedule
- Prep Time: 20 minutes (includes pounding chicken, setting up dredging station, and gathering ingredients).
- Cook Time: 25-30 minutes (10-12 minutes for pan-frying, 15-18 minutes for baking).
- Resting Time: 5 minutes (after baking, allows cheese to set and juices to redistribute).
This schedule allows for a seamless culinary experience. Start by preparing your chicken and breading station, then move directly to pan-frying and baking. The resting time is crucial for optimal texture and ensures your masterpiece is ready to serve at its best.
Step-by-Step Instructions
1. Pound the Chicken: Place each chicken breast between two sheets of plastic wrap. Using a meat mallet or rolling pin, pound them to an even 1/2-inch thickness. This ensures even cooking and tenderness.
2. Set Up Breading Station: In three separate shallow dishes, prepare your breading.
* Dish 1: All-purpose flour, seasoned with a pinch of salt and pepper.
* Dish 2: Beaten eggs.
* Dish 3: Panko breadcrumbs mixed with 1/2 cup grated Parmesan cheese, garlic powder, onion powder, salt, and pepper.
3. Dredge the Chicken: One by one, dredge each chicken breast first in the flour, shaking off excess. Then dip it in the egg, ensuring full coverage. Finally, coat it generously in the panko and Parmesan mixture, pressing gently to adhere.
4. Pan-Fry the Chicken: Heat olive oil in a large skillet over medium-high heat. Once shimmering, carefully place the breaded chicken breasts in the skillet, ensuring not to overcrowd the pan. Cook for 3-5 minutes per side, until golden brown and cooked through (internal temperature of 165°F). You’ll notice the distinct aroma of quality Italian cuisine filling your kitchen. Remove the cooked chicken to a plate lined with paper towels to drain excess oil. This careful pan-frying is key to a perfectly crispy Chicken Parmesan.
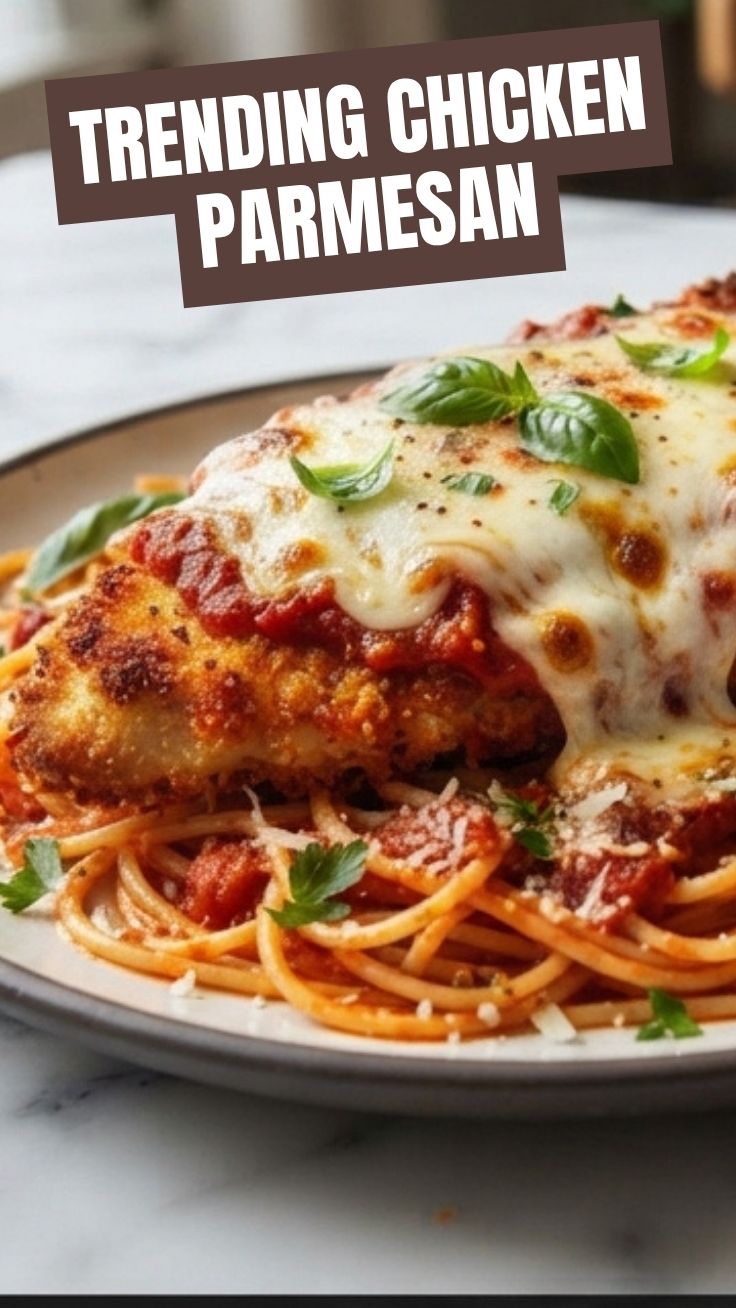
5. Assemble and Bake: Preheat your oven to 375°F (190°C). Pour a thin layer of marinara sauce into the bottom of your baking dish. Arrange the cooked chicken breasts over the sauce. Top each chicken breast with more marinara sauce, then generously cover with slices or shredded fresh mozzarella.
6. Bake Until Golden: Bake for 15-18 minutes, or until the cheese is melted, bubbly, and slightly golden.
7. Garnish and Serve: Remove from the oven, let rest for 5 minutes, then garnish with fresh chopped basil. Serve immediately with your favorite pasta or a fresh salad.
Nutritional Benefits & Advantages
Beyond its incredible taste, homemade Chicken Parmesan offers several nutritional advantages. Chicken breast is a lean protein source, essential for muscle repair and growth. Using fresh mozzarella provides calcium for bone health. By making it at home, you control the amount of oil, salt, and sugar in your marinara, making it a healthier alternative to restaurant versions. The garlic and onion powder in the breading also offer antioxidant benefits. This dish truly is a satisfying and wholesome meal when prepared thoughtfully.
Tips, Variations & Cooking Advice
- Spice It Up: Add a pinch of red pepper flakes to the breading or marinara for a subtle kick.
- Herbaceous Twist: Incorporate dried oregano or thyme into the breading for additional aromatic depth, staying true to the essence of Italian cuisine.
- Lighter Version: Instead of pan-frying, you can bake the breaded chicken in the oven at 400°F (200°C) for 20-25 minutes, flipping halfway, until golden and cooked through. Then proceed with the baking step.
- Gluten-Free: Use gluten-free flour and gluten-free breadcrumbs for a delicious gluten-free version.
- Dairy-Free: Utilize dairy-free cheese alternatives and ensure your marinara is dairy-free.
- Vegetarian Option: Swap chicken for thick slices of eggplant for a delightful Eggplant Parmesan.
Common Mistakes to Avoid
- Overcrowding the Pan: This lowers the oil temperature, leading to soggy chicken instead of crispy. Cook in batches if necessary.
- Not Pounding the Chicken Evenly: Unevenly pounded chicken will cook inconsistently, resulting in some parts being dry and others undercooked.
- Skipping the Seasoning: Bland breading makes for a bland dish. Season every layer generously!
- Using Cold Sauce: Warming the marinara sauce slightly before assembling helps ensure the entire dish heats evenly in the oven.
- Overcooking the Chicken: Chicken breasts cook relatively quickly. Overcooking will result in dry, tough meat.
Storage & Meal Prep Tips
Leftover Chicken Parmesan can be stored in an airtight container in the refrigerator for up to 3-4 days. To reheat, place the chicken in an oven-safe dish, cover loosely with foil, and bake at 350°F (175°C) for 15-20 minutes, or until heated through. For best results, avoid reheating in the microwave, which can make the breading soggy. This dish can also be prepared in advance by breading and cooking the chicken, then assembling with sauce and cheese right before baking.
Conclusion
Crafting your own homemade Chicken Parmesan is a rewarding culinary endeavor that brings the rich, comforting flavors of classic Italian cuisine directly to your table. With crispy chicken, rich marinara, and gooey melted cheese, this dish is a guaranteed crowd-pleaser. Don’t be intimidated; follow these steps, and you’ll be serving up a masterpiece in no time. We encourage you to try this recipe and share your delicious results! What’s your favorite accompaniment for this iconic dish?
FAQs
Q1: Can I use pre-made breaded chicken cutlets?
A1: While you can, fresh breading provides a superior taste and texture. If using pre-made, ensure they are unseasoned to control the flavor profile.
Q2: How do I prevent the breading from becoming soggy?
A2: Ensure your oil is hot enough during pan-frying, don’t overcrowd the pan, and drain excess oil on paper towels after cooking. A quick bake in a hot oven helps crisp it up further.
Q3: Can I freeze Chicken Parmesan?
A3: Yes, you can freeze individual portions of cooked Chicken Parmesan in an airtight container for up to 2-3 months. Thaw in the refrigerator overnight before reheating in the oven.
Q4: What’s the best type of marinara sauce to use?
A4: A good quality marinara sauce with balanced acidity and sweetness is key. Homemade is always ideal, but many excellent store-bought options exist. Choose one with simple, natural ingredients.
Q5: What side dishes pair well with Chicken Parmesan?
A5: Classic pairings include spaghetti with marinara, linguine, garlic bread, or a fresh green salad with a light vinaigrette, truly completing the Italian cuisine experience.