The Ultimate Guide to Crafting Perfect Homemade Candy Apples
Ever wondered how those vibrant, glossy Candy Apples you see at fairs and festivals achieve their irresistible, crackling coat? Or perhaps you’re a devotee of the more nuanced, creamy indulgence of caramel apples, yearning to recreate that perfect balance of tart fruit and sweet confectionery at home. Preparing these delightful treats yourself isn’t just about saving money; it’s an art form, a burst of nostalgic flavor, and an opportunity to personalize every bite. This comprehensive guide will equip you with all the knowledge and techniques needed to master both classic Candy Apples and their luscious caramel apples cousins, ensuring your homemade creations outshine any store-bought version.
Ingredients & Kitchen Tools
Crafting the perfect coated apple requires precision with ingredients and the right tools at your disposal.
Ingredients:
- 10-12 Medium Apples: Granny Smith apples are ideal for their tartness, which perfectly balances the sweet candy or caramel coating. Ensure they are firm and blemish-free.
- 2 Cups Granulated Sugar: The primary sweetener for both coatings.
- 1 Cup Light Corn Syrup: Essential for preventing sugar crystallization, resulting in a smooth, glossy finish for candy apples and a creamy texture for caramel.
- ½ Cup Water: To dissolve the sugar and corn syrup.
- 1 Teaspoon Red Food Coloring (Liquid or Gel): For classic vibrant red Candy Apples. Adjust to desired intensity.
- 1 Can (14 oz) Sweetened Condensed Milk: For the rich, creamy caramel coating.
- ½ Cup (1 Stick) Unsalted Butter: Adds richness and helps achieve a smooth texture for caramel.
- 1 Teaspoon Vanilla Extract: Enhances the depth of flavor in both coatings.
- Pinch of Salt: Balances the sweetness and enhances flavor.
Kitchen Tools:
- Heavy-Bottomed Saucepan (2-3 quart): Crucial for even heat distribution to prevent scorching the sugar.
- Candy Thermometer: Absolutely essential for accurate temperature monitoring, which dictates the texture of your candy (hard crack) or caramel (soft ball).
- Apple Corer/Sticks: Wooden dowels or sturdy popsicle sticks are perfect for handling and eating.
- Baking Sheet Lined with Parchment Paper or Silicone Mat: For cooling the coated apples without sticking.
- Pastry Brush: To brush down sugar crystals from the sides of the pan.
- Large Heatproof Bowl: For an ice bath, if using.
- Measuring Cups and Spoons: For precise ingredient amounts.
- Small Saucepan (for caramel coating): If making caramel apples separately.
Prep Time & Cooking Schedule
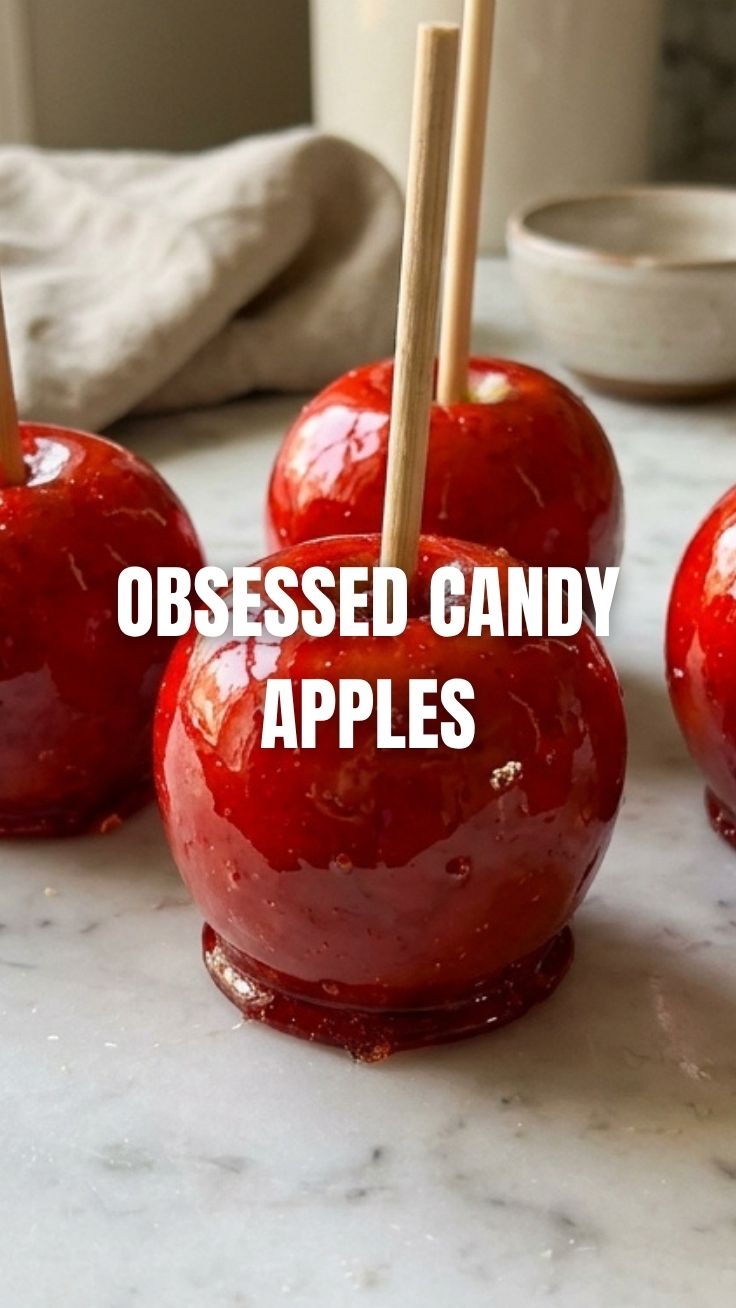
Planning is key for perfect coated apples. The actual “cooking” involves making the candy or caramel, which is relatively quick, but cooling and setting time is paramount.
- Prep Time: 30 minutes (washing apples, inserting sticks, gathering ingredients)
- Cook Time (Candy Coating): 15-20 minutes (boiling syrup to desired temperature)
- Cook time (Caramel Coating): 20-25 minutes (simmering and stirring)
- Cooling/Setting Time: 30-60 minutes per apple (this is the most crucial part to achieve a firm, non-sticky coating)
Schedule Context: Start with apple preparation, then prepare your coating. The cooling time requires patience, so plan to make these when you have ample counter space and don’t need to move them immediately.
Step-by-Step Instructions
Let’s dive into creating these delightful confections.
1. Prepare Your Apples: Wash apples thoroughly to remove any waxy coating (a quick dip in boiling water for 10 seconds then a scrub helps). Dry them completely. Insert a sturdy stick or wooden skewer into the stem end of each apple, pushing it about halfway through. Line a baking sheet with parchment paper or a silicone mat and lightly grease it.
2. For Candy Apples (the hard, glossy coating):
a. In your heavy-bottomed saucepan, combine 2 cups sugar, 1 cup light corn syrup, and ½ cup water. Stir gently over medium heat until the sugar dissolves.
b. Insert your candy thermometer. Bring the mixture to a rolling boil without stirring. If sugar crystals form on the sides of the pan, use a wet pastry brush to gently wash them down.
c. Continue boiling until the mixture reaches 300-310°F (149-154°C) – the hard crack stage. Remove from heat immediately.
d. Stir in the red food coloring and vanilla extract carefully.
e. Quickly dip each prepared apple into the hot candy mixture, tilting the pan and using a spoon to ensure even coating. Allow excess to drip off before placing it on your prepared baking sheet. Repeat for all apples.
3. For caramel apples (the creamy, chewy coating):
a. In a separate heavy-bottomed saucepan, melt ½ cup butter over medium-low heat. Add 1 can sweetened condensed milk, 1 cup light corn syrup, and a pinch of salt.
b. Stir continuously with a rubber spatula or wooden spoon to prevent scorching. Insert your candy thermometer.
c. Cook, stirring constantly, until the mixture reaches 238-245°F (114-118°C) – the firm ball stage. This can take 15-20 minutes. The caramel will thicken significantly.
d. Remove from heat and stir in 1 teaspoon vanilla extract.
e. Allow the caramel to cool slightly for about 5 minutes, making it less runny but still warm enough to be pliable. Dip each prepared apple into the warm caramel, ensuring a generous, even coat. Use a spoon to help if needed. Allow excess to drip off, then place on your prepared baking sheet.
4. Cooling and Setting: Let the coated apples cool completely at room temperature, undisturbed, for at least 30-60 minutes, or until the coatings are firm and set. Do not refrigerate immediately, as it can cause condensation and stickiness.
Nutritional Benefits & Advantages
While these are undoubtedly treats, the base ingredient—apples—offers a commendable nutritional foundation. Apples are rich in dietary fiber, which aids digestion and promotes satiety. They also provide essential vitamins like Vitamin C and various antioxidants, which contribute to overall well-being. Coupled with the energy from sugar and fats, a single coated apple can be a satisfying (and occasional) indulgence.
Tips, Variations & Cooking Advice
- Flavor Variations: For candy apples, try different food colorings or a few drops of extract (e.g., cinnamon, raspberry). For caramel apples, sprinkle with sea salt after coating, roll in chopped nuts, chocolate chips, or crushed cookies.
- Ingredient Swaps: While sugar and corn syrup are best for candy apples, you can use homemade caramel sauce (ensure it’s thick enough) for caramel apples.
- Troubleshooting Sticky Coatings: If your candy coating is sticky, it likely didn’t reach the hard crack stage. If your caramel is too runny, it didn’t reach the firm ball stage. Reheating to the correct temperature can sometimes fix this (carefully!).
- Batch Size: This recipe is easily halved or doubled, but work in smaller batches for candy apples to prevent the syrup from cooling too much.
Common Mistakes to Avoid
- Not Cleaning Apples Thoroughly: Any wax will prevent the coating from adhering properly, leading to a runny, sliding mess.
- Not Using a Candy Thermometer: Guessing temperatures is the fastest way to get sticky, soft candy or rock-hard, brittle caramel. Precision is non-negotiable.
- Stirring Candy Syrup While Boiling: Once the sugar dissolves, avoid stirring, as it encourages crystallization.
- Cooling in the Refrigerator Immediately: This can cause the coating to “sweat” and become sticky. Room temperature cooling is best.
- Overheating Caramel: This will result in a hard, brittle caramel that’s difficult to eat.
Storage & Meal Prep Tips
Once completely set, store your coated apples individually wrapped in cellophane or waxed paper to prevent sticking. They can be stored at cool room temperature for 1-2 days, or in the refrigerator for up to a week. Refrigeration can sometimes make candy apples slightly stickier due to condensation, so allow them to come to room temperature for a few minutes before serving for the best experience. Freezing is not recommended as it changes the texture of both the apple and the coating.
Conclusion
Mastering homemade Candy Apples and our delectable caramel apples is a truly rewarding culinary endeavor. With careful attention to detail, especially regarding temperature and apple preparation, you can achieve professional-quality results right in your own kitchen. These festive treats are perfect for parties, holidays, or simply as a nostalgic indulgence. Don’t be afraid to experiment with different toppings and flavors, and share your delightful creations!
FAQs
Q1: Why are my candy apples sticky?
A1: Your candy syrup likely didn’t reach the hard crack stage (300-310°F/149-154°C). This results in a soft, pliable, and sticky coating. Ensure you use an accurate candy thermometer.
Q2: Can I use different types of apples?
A2: Yes, but tart, firm apples like Granny Smith are highly recommended, as their acidity perfectly balances the sweetness of the coating. Softer apples can become mushy.
Q3: How do I prevent the candy/caramel from sliding off the apple?
A3: The most common culprit is a waxy coating on the apple. Thoroughly wash and dry your apples. A quick dip in boiling water (10 seconds) and scrubbing can help remove wax.
Q4: Can I reheat leftover candy/caramel coating?
A4: Yes, you can gently reheat the leftover coating over low heat until it becomes liquid again. Be careful not to scorch it and ensure it reaches the correct temperature before re-dipping.
Q5: What are some good toppings for caramel apples?
A5: Chopped nuts (peanuts, pecans, walnuts), mini chocolate chips, sprinkles, crushed cookies (Oreos, graham crackers), shredded coconut, or a drizzle of melted chocolate are all popular choices. Apply them immediately after dipping while the caramel is still warm.