Craving a Flavor Fiesta? Master the Art of Beef Tacos at Home!
Are you tired of bland weeknight meals and searching for a dish that truly excites your taste buds and brings the family together? Look no further! Today, we’re diving into the delicious world of homemade Beef Tacos, a culinary classic that’s surprisingly simple to master in your own kitchen. There’s something uniquely satisfying about crafting these vibrant, flavor-packed morsels from scratch. Not only do you get to control every ingredient, ensuring the freshest and most wholesome components, but you also unlock a level of customization that store-bought versions simply can’t match. Imagine succulent, perfectly seasoned beef nestled in a warm tortilla, topped with your favorite fresh garnishes – a truly personalized culinary experience. And for those seeking a quick yet delightful meal, learning to make Easy Beef Tacos at home is an invaluable skill, transforming busy evenings into a delicious triumph.
Ingredients & Kitchen Tools
Crafting the perfect taco starts with quality ingredients and the right gear. Here’s what you’ll need:
- 1 lb Ground Beef (80/20 lean preferred): Provides rich flavor and just enough fat for a juicy filling.
- 1 tbsp Olive Oil: For sautéing the aromatics.
- 1 Yellow Onion (finely diced): Adds a sweet, aromatic base.
- 2 cloves Garlic (minced): Essential for a pungent, savory depth of flavor.
- 1 packet Taco Seasoning (or homemade blend): A convenient blend of chili powder, cumin, paprika, oregano, and salt.
- 1/2 cup Beef Broth: Adds moisture and enhances beefy flavor.
- 12-16 Taco Shells (hard or soft tortillas): Choose your preferred style, corn or flour.
- Optional Toppings:
* Shredded Lettuce: Crisp texture and freshness.
* Diced Tomatoes: Juicy and slightly acidic.
* Shredded Cheddar Cheese: Melty, savory goodness.
* Sour Cream/Greek Yogurt: Creamy contrast.
* Salsa/Pico de Gallo: Tangy and spicy kick.
* Avocado/Guacamole: Creamy, healthy fat.
* Lime Wedges: Brightens all the flavors.
* Cilantro (fresh, chopped): Herbaceous and aromatic.
Kitchen Tools:
- Large Skillet/Frying Pan: For browning the beef and simmering the filling.
- Spatula/Wooden Spoon: For breaking up meat and stirring.
- Cutting Board & Knife: For prepping vegetables.
- Measuring Spoons & Cups: For accurate ingredient amounts.
- Tongs (optional): For handling taco shells.
Prep Time & Cooking Schedule
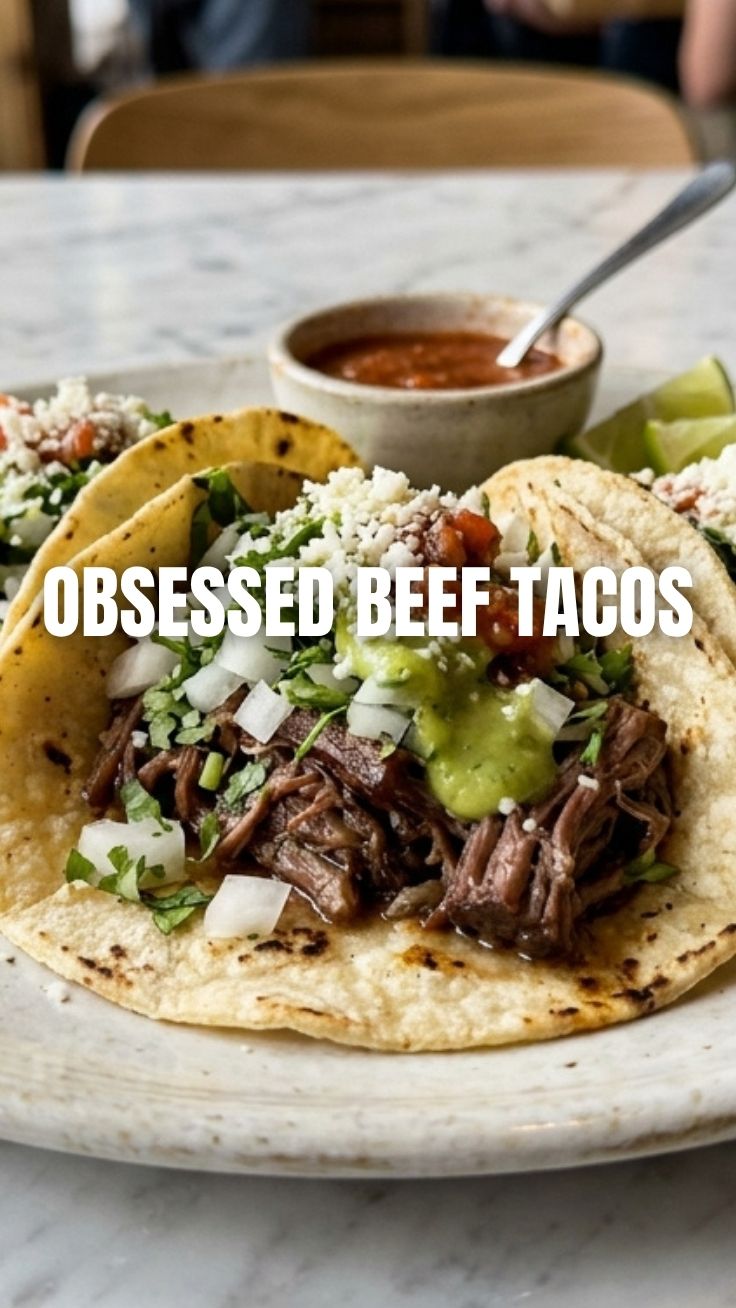
This recipe is designed for maximum flavor with minimal fuss, making it perfect for a weeknight dinner.
- Prep Time: 15 minutes (Includes chopping vegetables and gathering ingredients)
- Cook Time: 20-25 minutes (Browning beef, simmering filling, warming shells)
- Resting Time: 0 minutes (Serve immediately!)
Plan to start chopping your vegetables first. While the beef is browning, you can warm your taco shells, ensuring everything is ready to assemble simultaneously for a fresh, hot meal.
Step-by-Step Instructions
Follow these steps for a truly memorable taco experience:
1. Brown the Beef: Heat olive oil in a large skillet over medium-high heat. Add the ground beef, breaking it up with a spatula. Cook until fully browned, about 6-8 minutes. Drain any excess fat. This crucial step ensures a rich, flavorful base for your Beef Tacos, preventing a greasy final product.
2. Sauté Aromatics: Add the diced onion to the skillet with the browned beef. Cook until softened and translucent, about 3-5 minutes. Stir in the minced garlic and cook for another minute until fragrant. Be careful not to burn the garlic!
3. Season the Filling: Sprinkle the taco seasoning over the beef and onion mixture. Stir well to coat everything evenly. Pour in the beef broth and bring the mixture to a simmer. Reduce the heat to low and let it simmer for 5-7 minutes, allowing the flavors to meld and the liquid to reduce slightly, creating a succulent filling. For truly Easy Beef Tacos, ensure the meat is well-seasoned here.
4. Prepare Taco Shells: While the beef filling simmers, warm your taco shells according to package instructions. This usually involves baking them in the oven for a few minutes or microwaving for a short burst. Warm shells are more pliable and pleasant to eat.
5. Assemble & Serve: Spoon the warm beef filling into the prepared taco shells. Offer a variety of fresh toppings and let everyone customize their perfect taco.
Nutritional Benefits & Advantages
Homemade beef tacos offer a balanced meal. Lean ground beef provides an excellent source of protein, essential for muscle building and repair, along with iron and zinc. Fresh vegetable toppings introduce vitamins, minerals, and dietary fiber, promoting digestive health. By preparing them at home, you control sodium levels and avoid artificial additives often found in pre-packaged alternatives, contributing to a healthier and more wholesome diet.
Tips, Variations & Cooking Advice
- Spice It Up: Add a pinch of cayenne pepper or a diced jalapeño to the beef filling for extra heat.
- Vegetarian Option: Swap ground beef for black beans, lentils, or a plant-based ground “meat” alternative.
- Flavor Boost: A squeeze of lime juice over the finished beef filling can brighten all the flavors.
- Alternative Cooking: For a slow-cooker version, use chunks of beef chuck, season, and cook on low for 6-8 hours until shreddable. Then shred and mix with taco seasoning and broth.
- Dietary Adaptations:
* Gluten-Free: Use corn tortillas or gluten-free taco shells.
* Dairy-Free: Omit cheese and sour cream; use avocado or dairy-free sour cream alternatives.
Common Mistakes to Avoid
- Not Draining Fat: Excess fat makes the tacos greasy and less appetizing. Always drain it after browning.
- Overcooking the Beef: Cook until just browned; simmering with broth will tenderize it further. Overcooked beef can be dry and tough.
- Under-Seasoning: Don’t skimp on the taco seasoning; it’s the heart of the flavor. Taste and adjust if using a homemade blend.
- Cold Shells: Cold, brittle taco shells can break easily and detract from the experience. Always warm them.
- Ignoring Toppings: The variety of toppings is what makes tacos so fun and delicious! Don’t limit your options.
Storage & Meal Prep Tips
Leftover beef taco filling can be stored in an airtight container in the refrigerator for up to 3-4 days. It can also be frozen for up to 3 months. Thaw frozen filling overnight in the refrigerator before reheating gently on the stovetop or in the microwave, adding a splash of broth if it seems dry. Keep toppings stored separately for maximum freshness. This filling is also excellent for meal prepping, allowing you to quickly assemble tacos, salads, or bowls throughout the week.
Conclusion
Mastering homemade Beef Tacos is a culinary triumph that’s both rewarding and delicious. With quality ingredients, a few simple steps, and our expert tips, you can transform your kitchen into a fiesta of flavors. Whether you’re aiming for traditional savory goodness or simply looking for incredibly Easy Beef Tacos, this recipe is designed to deliver. So go ahead, whip up a batch tonight, embrace the joy of cooking, and share your delicious creations with loved ones! We’d love to hear how your taco night turns out in the comments below!
FAQs
Q1: Can I make the taco seasoning from scratch?
A1: Absolutely! A common homemade blend includes 1 tbsp chili powder, 1 tsp ground cumin, 1/2 tsp paprika, 1/2 tsp dried oregano, 1/4 tsp garlic powder, salt, and pepper to taste.
Q2: What’s the best way to keep soft tortillas from breaking?
A2: Warm them briefly in a dry skillet over medium heat, microwave them wrapped in a damp paper towel, or stack and wrap in foil to warm in the oven. This makes them more pliable.
Q3: Can I use a different type of ground meat?
A3: Yes, ground turkey or chicken can be used for a lighter option. Adjust cooking times as poultry cooks faster than beef.
Q4: How can I prevent my taco shells from getting soggy?
A4: Serve the filling hot but don’t let it sit in the shells for too long before eating. Consider serving the filling and toppings separately and letting everyone assemble their own. Additionally, avoid over-saucing inside the shell.