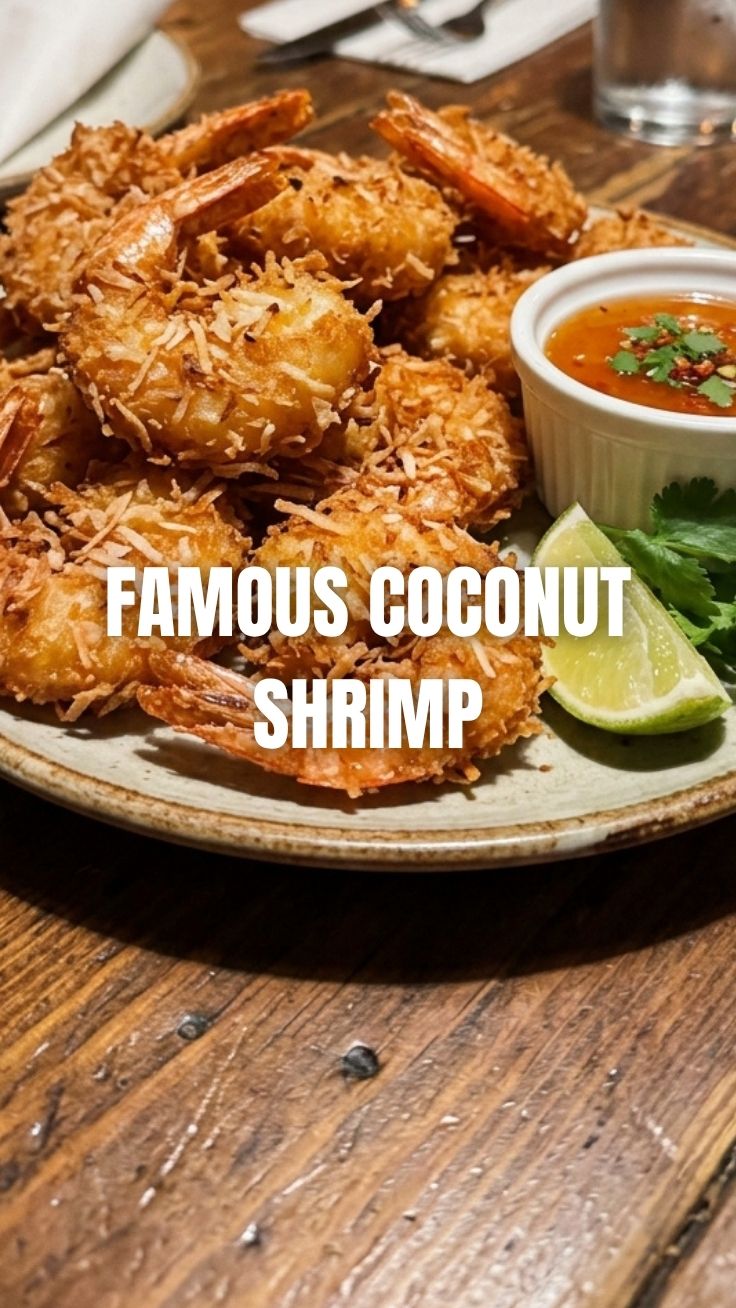
Unleash Your Inner Chef: Master the Art of Crispy, Golden Coconut Shrimp at Home!
Ever dreamed of recreating that restaurant-quality appetizer that leaves your taste buds dancing? That perfectly crunchy exterior giving way to succulent, juicy shrimp, all infused with a whisper of tropical sweetness? Today, we’re diving deep into the delightful world of homemade Coconut Shrimp. Forget bland, frozen imitations; we’re about to unlock the secrets to crafting a truly spectacular coconut shrimp recipe right in your own kitchen – an experience that’s not only incredibly rewarding but also allows you to control every delicious detail, from the crispness to the seasoning. Get ready to impress your family and friends with this irresistible dish!
Ingredients & Kitchen Tools
To embark on your Coconut Shrimp adventure, gather these culinary essentials:
- 1 lb Large Shrimp (peeled, deveined, tail-on preferred): Fresh or frozen (thawed) will work best for that plump, juicy bite. The tail-on adds a nice presentation and easy handling.
- 1 cup All-Purpose Flour: For the initial dredge, ensuring better coating adhesion.
- 2 Large Eggs (beaten): The binding agent for our crispy coating.
- 1 ½ cups Unsweetened Shredded Coconut: The star of the show! Make sure it’s shredded, not flaked, for optimal texture.
- ½ cup Panko Breadcrumbs (optional but highly recommended): Adds an extra layer of crunch and golden-brown perfection.
- 1 tsp Garlic Powder: Enhances the savory profile.
- ½ tsp Paprika: For a touch of color and subtle warmth.
- Pinch of Cayenne Pepper (optional): If you like a little kick, add a tiny bit!
- Salt & Freshly Ground Black Pepper (to taste): Essential seasoning for flavor balance.
- 3-4 cups Vegetable Oil (or preferred frying oil): For deep frying to achieve that irresistible crispness.
Kitchen Tools:
- Three Shallow Bowls: For the dredging station (flour, egg, coconut/panko).
- Large Skillet or Deep Pot: Essential for frying.
- Slotted Spoon or Spider Strainer: For safely removing the shrimp from the oil.
- Wire Rack with Paper Towels underneath: For draining excess oil and maintaining crispness.
- Tongs: For handling the shrimp.
- Instant-Read Thermometer: Crucial for monitoring oil temperature (highly recommended for best results).
Prep Time & Cooking Schedule
- Prep Time: 20-25 minutes (includes shrimp preparation and setting up the dredging station).
- Cook Time: 2-3 minutes per batch (shrimp cooks quickly!).
- Total Time: Approximately 30-40 minutes.
This recipe is surprisingly quick, making it perfect for a weeknight treat or a last-minute appetizer. The key is to have your ingredients and workspace organized before you start frying, allowing for a smooth and efficient cooking process.
Step-by-Step Instructions
1. Prepare the Shrimp: If using frozen shrimp, thaw them completely under cold running water or in the refrigerator overnight. Pat the shrimp very dry with paper towels. Excess moisture will prevent the coating from adhering and lead to less crispy results.
2. Set Up the Dredging Station: In the first shallow bowl, combine the flour, garlic powder, paprika, cayenne pepper (if using), salt, and pepper. In the second bowl, whisk the eggs until smooth. In the third bowl, combine the shredded coconut and panko breadcrumbs. This organized approach is key to a successful Coconut Shrimp.
3. Coat the Shrimp: Working with one shrimp at a time, dredge it first in the flour mixture, shaking off any excess. Then, dip it into the beaten egg, coating completely. Finally, transfer it to the coconut/panko mixture, pressing gently to ensure an even and thorough coating. Place the coated shrimp on a clean plate or baking sheet. This careful coating is critical for a truly great coconut shrimp recipe.
4. Heat the Oil: Pour about 2-3 inches of vegetable oil into your deep skillet or pot. Heat over medium-high heat until it reaches 350-375°F (175-190°C). An instant-read thermometer is your best friend here. If you don’t have one, a small piece of coconut dropped in should sizzle immediately without burning.
5. Fry the Shrimp: Carefully place a few coated shrimp into the hot oil, ensuring not to overcrowd the pan. Fry for 1.5-2 minutes per side, until golden brown and cooked through. The shrimp should turn pink and opaque.
6. Drain and Serve: Using a slotted spoon or spider strainer, remove the cooked shrimp from the oil and transfer them to the wire rack lined with paper towels to drain excess oil. Serve immediately with your favorite dipping sauce!
Nutritional Benefits & Advantages
Shrimp itself is a lean protein source, rich in various vitamins and minerals such as selenium, B12, iron, and phosphorus. While our Coconut Shrimp is fried, moderation is key. The coconut adds healthy fats and fiber. Preparing it at home allows you to control the quality of ingredients and the type of oil used, offering a distinct advantage over many restaurant or pre-packaged options.
Tips, Variations & Cooking Advice
- Air Fryer Option: For a lighter version, preheat your air fryer to 375°F (190°C). Lightly spray the coated shrimp with cooking spray and air fry for 8-12 minutes, flipping halfway, until golden and crispy.
- Sweet Chili Dipping Sauce: A classic pairing! Combine sweet chili sauce with a squeeze of lime juice for an extra zing.
- Spice it Up: Add a pinch more cayenne to the flour mix for a bolder flavor.
- Gluten-Free: Substitute the all-purpose flour with a gluten-free all-purpose blend and ensure your panko is also gluten-free.
- Marinade Magic: For an added layer of flavor, briefly marinate the shrimp (15-20 minutes) in a mixture of lime juice, a touch of soy sauce, and ginger before dredging.
Common Mistakes to Avoid
- Wet Shrimp: This is the #1 culprit for soggy coating. Always pat your shrimp thoroughly dry!
- Overcrowding the Pan: This drops the oil temperature, leading to greasy, less crispy shrimp. Fry in batches.
- Underseasoning: Don’t be shy with salt and pepper in your flour mixture.
- Oil Temperature Too Low/High: Too low, and the shrimp absorb too much oil; too high, and the outside burns before the inside cooks. Use a thermometer!
- No Resting Rack: Draining on a flat paper towel can steam the underside of the shrimp, making it less crispy. A wire rack is essential.
Storage & Meal Prep Tips
Leftover Coconut Shrimp can be stored in an airtight container in the refrigerator for up to 2-3 days. While they are best enjoyed fresh, you can reheat them in an air fryer at 350°F (175°C) for 5-7 minutes, or in an oven at 375°F (190°C) for 10-15 minutes, until crispy and heated through. Avoid microwaving, as it will make them soggy. Freezing cooked shrimp is not recommended as it significantly affects the texture.
Conclusion
There you have it – the definitive guide to creating truly exceptional Coconut Shrimp right in your own home. By following these detailed steps and embracing a few simple tips, you can consistently achieve that perfect golden crunch and juicy interior that makes this appetizer a crowd-pleaser. So, grab your ingredients, fire up your kitchen, and embark on this delicious journey. We encourage you to try out this fantastic coconut shrimp recipe and share your culinary successes with us! Happy cooking!
FAQs
Q1: Can I bake these instead of frying?
A1: Yes, for a healthier option, you can bake them. Place coated shrimp on a greased baking sheet and bake at 400°F (200°C) for 12-15 minutes, flipping halfway, until golden and cooked through. However, the texture won’t be as crispy as fried.
Q2: What’s the best type of shrimp to use?
A2: Large (21-25 count per pound) or jumbo (16-20 count per pound) shrimp with the tails on are ideal for presentation and ease of eating. Fresh is always preferred, but high-quality frozen shrimp, properly thawed, works perfectly.
Q3: Can I prepare the shrimp ahead of time?
A3: You can coat the shrimp up to 1-2 hours in advance and store them uncovered in the refrigerator on a baking sheet. This helps the coating adhere better. However, for peak crispness, frying immediately after coating is recommended.
Q4: What dipping sauces pair well with Coconut Shrimp?
A4: Classic choices include sweet chili sauce, orange marmalade with a hint of horseradish, a lime-cilantro aioli, or a simple honey-mustard sauce. Experiment to find your favorite!