Unlocking the Secret to the Perfect Homemade Chili con Carne: A Journey of Flavor and Comfort
Ever wondered if you could truly recreate that rich, hearty, and deeply satisfying bowl of Chili con Carne in your own kitchen? The answer is a resounding yes! Forget bland, store-bought alternatives; preparing this iconic dish at home isn’t just about saving money – it’s about crafting an unforgettable culinary experience tailored precisely to your taste. This guide will take you through every step, ensuring your homemade Chili con Carne rivals, and even surpasses, your favorite restaurant versions, perfect for any occasion that calls for comforting, robust flavors. Get ready to dive into the world of savory goodness and master an essential Tex-Mex classic that will impress everyone.
Ingredients & Kitchen Tools
To embark on this delicious journey, gather these culinary essentials:
- 1 tablespoon Olive Oil: For sautéing aromatics and browning meat.
- 1 large Yellow Onion, finely chopped: Adds a foundational sweet and pungent flavor.
- 3 cloves Garlic, minced: Essential for aromatic depth.
1.5 lbs Ground Beef (80/20 Chuck): The ideal fat-to-lean ratio for rich flavor and texture. Substitution: Ground turkey or venison for a leaner option.*
- 2 tablespoons Chili Powder: The heart of chili flavor; use a quality blend.
- 1 tablespoon Cumin: Earthy and warm, complements the chili powder.
- 1 teaspoon Smoked Paprika: Adds a smoky depth that elevates the chili.
- 1/2 teaspoon Cayenne Pepper (optional): For an extra kick; adjust to your spice preference.
- 1 (28-ounce) can Crushed Tomatoes: Provides a rich, tangy base.
1 (15-ounce) can Kidney Beans, drained and rinsed: Adds texture and protein. Substitution: Black beans or pinto beans.*
- 1 (15-ounce) can Diced Tomatoes, undrained: For chunkier tomato texture.
1 cup Beef Broth: To thin the chili and add depth of flavor. Substitution: Vegetable broth for vegetarian version (omit meat).*
- 1 Bay Leaf: Infuses subtle, aromatic notes that deepen and round out the flavor profile.
- Salt and Freshly Ground Black Pepper, to taste: Essential for seasoning and balancing flavors.
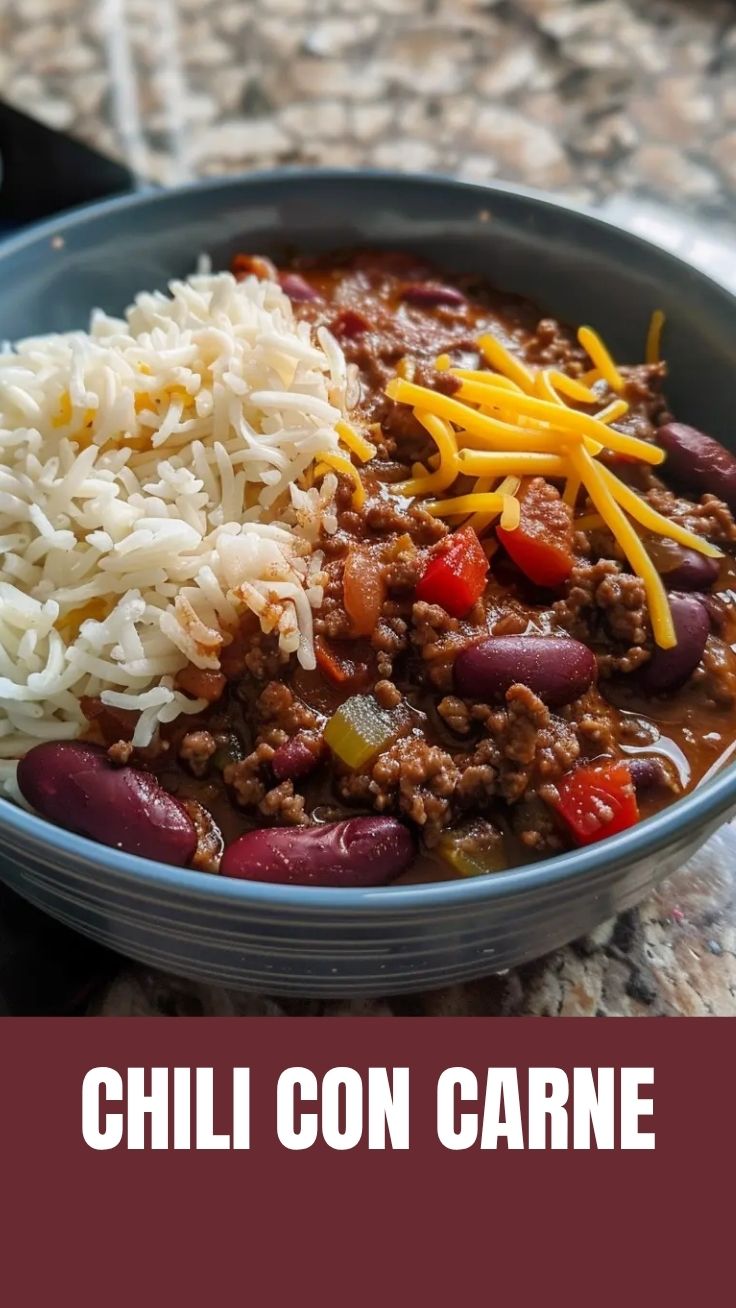
- Optional Toppings: Shredded cheddar cheese, sour cream, chopped fresh cilantro, diced avocado, corn chips.
Kitchen Tools:
- Large Dutch oven or heavy-bottomed pot
- Wooden spoon or spatula
- Measuring cups and spoons
- Can opener
- Cutting board and sharp knife
Prep Time & Cooking Schedule
- Prep Time: 20 minutes (chopping vegetables, gathering ingredients)
- Cook Time: 2 hours (simmering allows flavors to meld beautifully)
- Resting Time: 10 minutes (off the heat, allowing chili to settle and thicken slightly)
This Chili con Carne recipe requires a bit of patience, but the extended simmering time is crucial for developing deep, complex flavors. Plan to start approximately 2.5 hours before you intend to serve to account for all stages.
Step-by-Step Instructions
1. Sauté Aromatics: Heat olive oil in your Dutch oven over medium heat. Add the chopped onion and cook until softened and translucent, about 5-7 minutes. Add the minced garlic and cook for another minute until fragrant, being careful not to burn it.
2. Brown the Beef: Add the ground beef to the pot. Break it up with your spoon and cook, stirring occasionally, until it’s fully browned and no pink remains. Drain any excess fat.
3. Toast Spices: Stir in the chili powder, cumin, smoked paprika, and cayenne pepper (if using). Cook for 1-2 minutes, stirring constantly. This “blooming” of spices in the hot oil enhances their flavor significantly.
4. Simmer the Sauce: Pour in the crushed tomatoes, undrained diced tomatoes, and beef broth. Add the drained kidney beans and the bay leaf. Stir everything together until well combined. Bring the mixture to a gentle boil.
5. Develop Flavors: Reduce the heat to low, cover the pot, and let the Chili con Carne simmer for at least 1.5 to 2 hours, stirring occasionally to prevent sticking. The longer it simmers, the more the flavors will meld and deepen, creating that signature rich taste characteristic of authentic Tex-Mex cuisine. Taste and adjust seasoning with salt and pepper as needed.
6. Serve: Remove the bay leaf before serving. Ladle the chili into bowls and top with your favorite garnishes.
Nutritional Benefits & Advantages
This hearty Chili con Carne is more than just comfort food; it’s packed with nutritional value. Ground beef provides essential protein and iron. Beans are an excellent source of dietary fiber, promoting digestive health and long-lasting satiety, while also contributing plant-based protein. Tomatoes are rich in vitamins C and K, and a significant source of the antioxidant lycopene. The array of spices, beyond just adding incredible flavor, also boasts anti-inflammatory properties and antioxidants.
Tips, Variations & Cooking Advice
- Spice Level: Adjust cayenne pepper or add a pinch of chipotle powder for a smoky heat.
- Vegetarian Version: Omit the ground beef and add extra beans (e.g., black beans and pinto beans) and finely chopped mushrooms for umami. Use vegetable broth.
- Smoky Flavor: Add a diced poblano pepper or a teaspoon of liquid smoke during the simmering stage.
- Thicker Chili: If your chili is too thin, remove the lid for the last 30 minutes of cooking to allow some liquid to evaporate. Alternatively, mash a portion of the beans against the side of the pot to thicken.
- Slow Cooker Method: After browning the meat and softening onions, transfer all ingredients to a slow cooker. Cook on low for 6-8 hours or on high for 3-4 hours.
Common Mistakes to Avoid
- Not Draining Fat: Excess fat from the beef can make your chili greasy. Always drain after browning.
- Undercooking Spices: Toasting spices briefly in hot oil is key to unlocking their full flavor. Don’t skip this step.
- Skipping Simmer Time: Rushing the simmering process will result in a less flavorful, less integrated chili. Patience is a virtue here!
- Over-seasoning Early: Season gradually. Tastes can intensify during simmering, so add salt and pepper to taste in layers.
Storage & Meal Prep Tips
Leftover Chili con Carne tastes even better the next day as flavors continue to meld.
- Refrigeration: Store cooled chili in an airtight container in the refrigerator for up to 3-4 days.
- Freezing: For longer storage, freeze portions in freezer-safe containers or bags for up to 3 months. Thaw overnight in the refrigerator before reheating.
- Reheating: Reheat gently on the stovetop over low heat, stirring occasionally, or in the microwave. Add a splash of broth or water if it’s too thick.
Conclusion
Mastering homemade Chili con Carne is a truly rewarding experience, transforming simple ingredients into a deeply satisfying meal. This recipe offers a foundational, rich, and robust flavor profile that epitomizes comforting, authentic Tex-Mex cooking. We encourage you to try preparing this dish at home and discover the incredible depths of flavor and personal satisfaction it brings. Share your culinary creations with us, and let us know your favorite toppings!
FAQs
Q: Can I use different types of beans?
A: Absolutely! While kidney beans are traditional, pinto beans or black beans make excellent substitutions and can even be combined for varied texture.
Q: How can I make my chili spicier?
A: Increase the amount of cayenne pepper, add a diced jalapeño or serrano pepper with the onions, or incorporate a dash of your favorite hot sauce at the end.
Q: Why is my chili thin?
A: If your chili is too thin, remove the lid during the last 30-45 minutes of simmering to allow excess liquid to evaporate. You can also mash some of the beans against the pot’s side to naturally thicken it.
Q: Can I add vegetables besides onions?
A: Yes! Diced bell peppers (green or red) or shredded carrots can be added with the onions for extra nutrition and flavor dimension.
Q: What are the best toppings for chili?
A: Classic toppings include shredded cheddar cheese, a dollop of sour cream, chopped fresh cilantro, or diced avocado. For a full meal, consider serving with cornbread or over rice.