Achieve Grilled Cheese Nirvana: Your Ultimate Guide to the Perfect Homemade Creation
Ever wondered if you could truly elevate a simple, comforting classic to culinary perfection in your own kitchen? The answer is a resounding yes! Forget sad, soggy imitations. Today, we’re diving deep into the art and science of crafting the quintessential Grilled Cheese. This isn’t just about melting cheese between bread; it’s about mastering techniques that result in golden, crispy exteriors, gooey, molten interiors, and a flavor profile that sings. In a world of endless dinner options, there’s immense value in perfecting beloved sandwich recipes right at home. You gain control over quality, customize flavors to your heart’s content, and create comforting meals that truly nourish body and soul.
Ingredients & Kitchen Tools
To embark on your journey to grilled cheese mastery, gather these essentials:
- Bread: Two slices per sandwich. Choose a sturdy, medium-thick sliced bread like sourdough, brioche, or a good quality white sandwich bread. (Avoid overly thin or thick slices.)
- Cheese: 2-3 slices per sandwich (or about 1/2 cup shredded). A blend of cheeses works best: cheddar for sharpness, Gruyère for nuttiness, and a touch of mozzarella for stretch. (Pre-sliced or block, then shredded.)
- Butter or Mayonnaise: 1-2 tablespoons per sandwich. Unsalted butter (softened) for classic crispiness or mayonnaise for an extra-golden, tangy crust. (Ensures even browning.)
- Optional Flavor Boosts: A sprinkle of garlic powder, onion powder, or a thin spread of Dijon mustard on the inside of the bread. (Adds depth.)
- Large Frying Pan/Skillet: Cast iron or non-stick, wide enough to hold your sandwich without crowding. (For even heat distribution.)
- Spatula: Preferably thin and flexible for easy flipping. (Prevents tearing.)
- Plate & Paper Towel: For draining excess fat and resting. (Keeps it crisp.)
- Butter Knife or Spreader: For applying fat evenly.
Prep Time & Cooking Schedule
This recipe is wonderfully quick, perfect for a spontaneous craving or a busy weeknight.
- Prep Time: 5 minutes (gathering ingredients, buttering bread, slicing cheese if needed).
- Cook Time: 8-10 minutes (per sandwich, assuming medium heat).
- Resting Time: 1-2 minutes (allows cheese to set slightly and prevents burning your mouth).
Plan to start cooking when hunger strikes! The total time from preparation to plate is under 15 minutes, making it an ideal comforting meal.
Step-by-Step Instructions
Follow these steps for a truly exceptional Grilled Cheese:
1. Prepare Your Bread & Pan: Lightly and evenly spread butter or mayonnaise on one side of each bread slice. For optimal crispiness, ensure full coverage. Place a large frying pan or skillet over medium-low heat. You want gentle, even heat to melt the cheese thoroughly without burning the bread.
2. Assemble the Sandwich: Place one slice of bread, buttered-side down, into the preheated pan. Immediately layer your cheeses evenly over this slice. Top with the second slice of bread, buttered-side up.
3. Low and Slow is the Way: Cook the sandwich for 3-5 minutes per side. Resist the urge to crank up the heat; low and slow cooking is key here. It allows the bread to toast to a perfect golden brown and gives the cheese ample time to melt into a luscious, gooey state.
4. The Flip: Using your spatula, carefully peek at the underside. Once it’s golden brown, gently flip the sandwich. Continue cooking for another 3-5 minutes until the second side is also golden and crispy, and the cheese is completely melted and oozing. If you’re creating multiple sandwich recipes, wipe the pan clean between batches to prevent burnt crumbs.
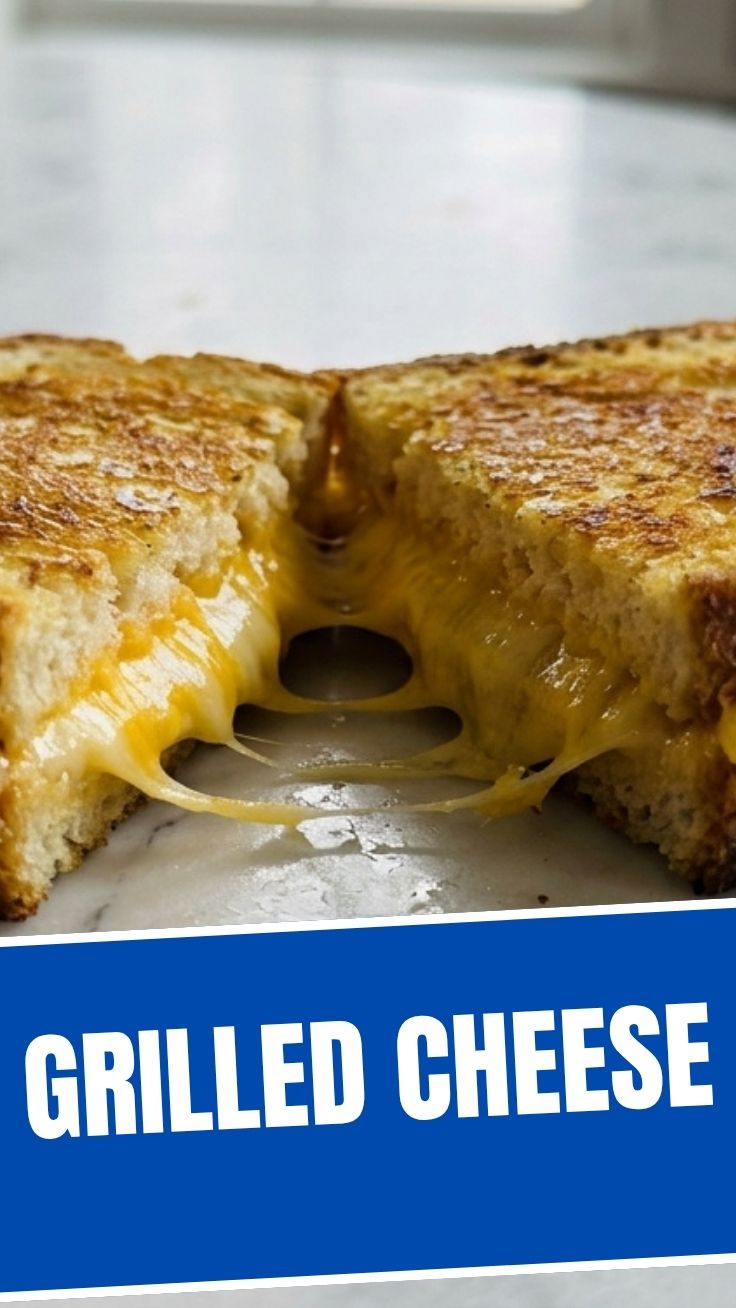
5. Serve Immediately: Transfer the grilled cheese to a cutting board. For the best experience, slice it diagonally to reveal the melty interior.
Nutritional Benefits & Advantages
A classic grilled cheese, when thoughtfully prepared, offers more than just comfort. The cheese provides a good source of calcium and protein, essential for bone health and muscle repair. Whole-grain bread options boost fiber intake, aiding digestion and providing sustained energy. Pairing it with a simple side salad or a cup of tomato soup further enhances its nutritional profile, adding vitamins and antioxidants.
Tips, Variations & Cooking Advice
- Cheese Blend Power: Experiment with different cheese combinations! Provolone, Fontina, or even a smoked gouda can add exciting dimensions.
- Add-Ins: Elevate your sandwich with thin slices of tomato, caramelized onions, a sprinkle of fresh herbs (chives, basil), or even a slice of crispy bacon.
- Spice It Up: A tiny pinch of red pepper flakes inside the sandwich can add a pleasant kick.
- Grill Press Magic: For an even faster and flatter grilled cheese, use a panini press or a heavy cast-iron skillet placed on top of the sandwich while it cooks.
- Gluten-Free/Dairy-Free: Easily adapt by using gluten-free bread and your favorite dairy-free cheese alternatives.
Common Mistakes to Avoid
- High Heat Haste: Cooking on high heat is the quickest way to end up with burnt bread and cold, unmelted cheese. Stick to medium-low.
- Uneven Buttering: Skimpy or uneven buttering leads to pale spots and a less satisfying crust. Be generous and thorough.
- Overloading Cheese: Too much cheese can prevent even melting and cause it to ooze out excessively, creating a messy pan.
- Not Pressing Gently: A light press with your spatula helps maximize contact with the pan, ensuring even browning and melting.
Storage & Meal Prep Tips
Grilled cheese is best enjoyed immediately. Reheating can stiffen the bread and result in a less desirable texture. However, you can prepare the components ahead. Shred your cheese, slice your bread, and have your spreads ready. This makes assembly and cooking incredibly fast when you’re ready to eat. If you absolutely must store leftovers, wrap tightly in foil and refrigerate for up to 1 day. Reheat gently in a dry skillet over low heat until warmed through, or in a toaster oven for crispiness.
Conclusion
There you have it – the definitive guide to mastering the art of the Grilled Cheese. By focusing on quality ingredients, patient cooking, and appreciating the simple perfection of this dish, you can transform a humble craving into a gourmet experience. We encourage you to try these tips and techniques, experiment with your favorite cheeses and bread, and discover the sheer delight of a perfectly crafted sandwich. Share your creations and favorite sandwich recipes in the comments below! Happy grilling!
FAQs
Q1: What’s the best cheese for grilled cheese?
A1: A combination is key! Sharp cheddar for flavor, Gruyère for nuttiness, and a touch of mozzarella or American for exceptional melt and stretch.
Q2: Should I use butter or mayonnaise on the outside of the bread?
A2: Both work beautifully. Butter offers a classic rich flavor, while mayonnaise tends to create an even crisper, more golden-brown crust with a subtle tang. Try both to see which you prefer!
Q3: How do I prevent my grilled cheese from getting soggy?
A3: Use a sturdy bread, ensure your pan isn’t overcrowded, and serve immediately. A brief rest on a paper towel after cooking can also absorb any excess grease.
Q4: Can I make grilled cheese in an air fryer?
A4: Yes! Preheat your air fryer to 350°F (175°C). Cook for 8-10 minutes, flipping halfway through, until golden brown and the cheese is melted. Keep an eye on it as times can vary.
Q5: What’s the secret to perfectly melted cheese?
A5: Low and slow heat is paramount. This allows the cheese to gradually melt and become gooey without burning the bread. Covering the pan during the last few minutes can also help trap heat and ensure a perfect melt.