“`html
Mastering the Perfect Homemade Ice Cream Sandwiches for Summer Delight
Isn’t there something uniquely satisfying about a perfectly crafted Ice Cream Sandwiches (Homemade)? That delightful crunch of the cookie followed by the creamy melt-in-your-mouth ice cream? While store-bought options are convenient, nothing truly compares to the taste, quality, and sheer joy of creating your own. This comprehensive guide will walk you through crafting the ultimate frozen dessert right in your kitchen, ensuring every bite is a personalized masterpiece. Forget bland, freezer-burned imitations – we’re diving deep into the art and science of homemade bliss, including how to perfect your Cookie Dough Recipe for an unparalleled base that elevates the entire experience.
Ingredients & Kitchen Tools
- For the Cookies:
- 1 ½ cups All-purpose flour: Provides structure to your cookies.
- ½ cup Unsweetened cocoa powder: For that rich, dark chocolate flavor.
- 1 teaspoon Baking soda: Helps the cookies rise slightly and achieve a soft texture.
- ¼ teaspoon Salt: Balances the sweetness and enhances flavor.
- ½ cup (1 stick) Unsalted butter, softened: Essential for a tender, flavorful cookie dough.
- ¾ cup Granulated sugar: For sweetness and helps with browning.
- ¼ cup Packed light brown sugar: Adds moisture and a hint of caramel flavor.
- 1 large Egg: Acts as a binder and adds richness.
- 1 teaspoon Vanilla extract: Enhances all other flavors.
- For the Filling:
- 2 pints High-quality ice cream (flavor of your choice), slightly softened: Softening it slightly makes it easier to spread evenly. Vanilla, chocolate, or mint chip are popular choices, but feel free to experiment!
- Optional Extras for Coating:
- Sprinkles, mini chocolate chips, chopped nuts, shredded coconut: For added texture and visual appeal.
- Kitchen Tools:
- Large mixing bowls
- Electric mixer (stand or hand-held)
- Rubber spatula
- Baking sheets
- Parchment paper or silicone baking mats: Prevents sticking and ensures even baking.
- Wire cooling rack
- Ice cream scoop or spatula
- Sharp knife or cookie cutter (square or round, 2-3 inches)
- Plastic wrap or airtight containers for storage
Prep Time & Cooking Schedule
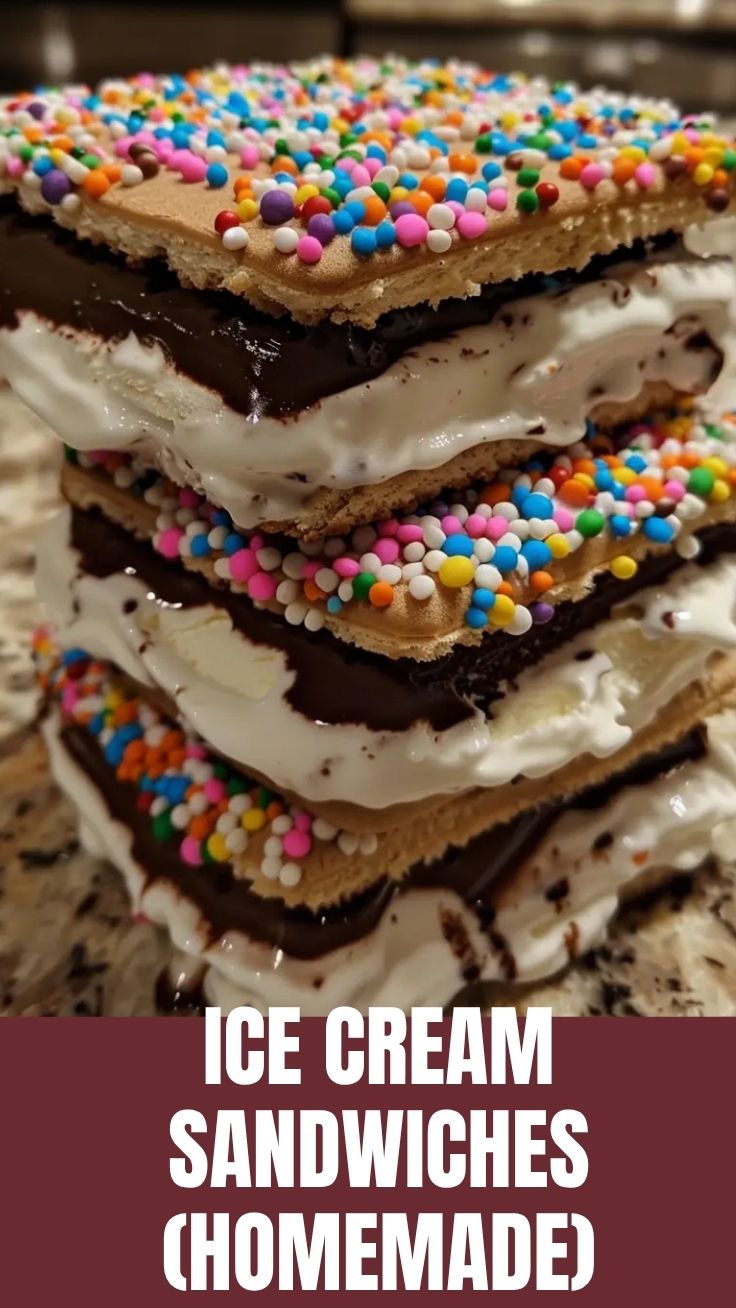
Prep time: 25 minutes (for cookie dough preparation) + 15 minutes (for assembly)
Chill time: 30 minutes (for cookie dough) + 2-4 hours (for assembled sandwiches)
Bake time: 10-12 minutes per batch
This recipe requires a bit of planning due to the chilling times, but each stage is straightforward. The cookie dough needs to firm up for easier handling, and the assembled sandwiches need ample time in the freezer to set perfectly, preventing messy drips. Plan to start a few hours before you intend to serve these delightful Ice Cream Sandwiches (Homemade).
Step-by-Step Instructions
- Prepare the Cookie Dough: In a medium bowl, whisk together the flour, cocoa powder, baking soda, and salt. Set aside. In a large bowl, cream together the softened butter, granulated sugar, and brown sugar with an electric mixer until light and fluffy. Beat in the egg and vanilla extract until well combined. Gradually add the dry ingredients to the wet ingredients, mixing on low speed until just combined. Do not overmix. This is a crucial step for a perfect Cookie Dough Recipe.
- Chill the Dough: Divide the dough in half, flatten each half into a disk, wrap in plastic wrap, and refrigerate for at least 30 minutes. This helps the cookies maintain their shape and prevents spreading too much during baking.
- Bake the Cookies: Preheat your oven to 375°F (190°C). Line baking sheets with parchment paper. Roll out one disk of chilled dough on a lightly floured surface to about ¼-inch thickness. Using a 2-3 inch square or round cookie cutter, cut out your cookies. Reroll scraps as needed. Place cookies 1 inch apart on prepared baking sheets. Bake for 10-12 minutes, or until the edges are set and the centers are still slightly soft. They will firm up as they cool.
- Cool the Cookies: Let the cookies cool on the baking sheets for 5 minutes before transferring them to a wire rack to cool completely. This is important to prevent breakage.
- Assemble the Sandwiches: Once the cookies are completely cool, scoop softened ice cream onto the flat side of one cookie. Gently press another cookie on top to form a sandwich. Use an offset spatula or knife to smooth out the ice cream edges. For perfectly uniform edges, gently roll the filled sandwich in a plate of sprinkles, mini chocolate chips, or chopped nuts if desired.
- Freeze: Place the assembled ice cream sandwiches on a baking sheet lined with parchment paper and freeze for at least 2-4 hours, or until firm. This allows the ice cream to harden and bind with the cookies.
Nutritional Benefits & Advantages
While an indulgence, homemade Ice Cream Sandwiches (Homemade) offer several advantages. You have complete control over the quality of ingredients, allowing you to choose organic, locally sourced, or allergen-friendly options. Using a high-quality cocoa for the cookies provides antioxidants, and if you opt for ice cream made with real dairy, it offers calcium and protein. Portion control is also easier at home, allowing you to tailor the size to your preferences. Plus, the absence of artificial colors, preservatives, and excessive stabilizers found in many commercial products makes this a cleaner treat.
Tips, Variations & Cooking Advice
- Ice Cream Flavor Twists: Experiment with different ice cream flavors! Coffee, strawberry, mint chip, or even a swirl of two flavors will transform your sandwiches.
- Cookie Variations: Instead of chocolate, try making oatmeal cookies, peanut butter cookies, or even a classic vanilla shortbread as your base. Just make sure the Cookie Dough Recipe allows for a slightly thicker, sturdier cookie.
- Gluten-Free Option: Substitute the all-purpose flour with a 1:1 gluten-free baking blend for a delicious gluten-free version.
- Dairy-Free Option: Use a dairy-free butter alternative and your favorite non-dairy ice cream for a completely vegan treat.
- Uniformity is Key: To ensure evenly sized cookies, use a cookie cutter. This also helps with neat assembly.
- Preventing Melt: Work quickly when assembling the sandwiches. Have all your ingredients and tools ready before taking the ice cream out of the freezer.
Common Mistakes to Avoid
- Overmixing the Dough: Overmixing develops gluten, leading to tougher cookies. Mix just until ingredients are combined.
- Not Chilling the Dough: Skipping this step will result in cookies that spread too much, becoming thin and brittle.
- Using Too Soft/Hard Ice Cream: If the ice cream is too soft, it will melt quickly and be messy. If too hard, it will be difficult to scoop and spread. Aim for slightly softened.
- Assembling on Warm Cookies: Always ensure your cookies are completely cool before adding ice cream, or it will melt instantly.
- Insufficient Freezing Time: Don’t rush the final freezing step. This is crucial for the sandwiches to firm up and hold their shape.
Storage & Meal Prep Tips
Once your Ice Cream Sandwiches (Homemade) are fully frozen, individually wrap each sandwich tightly in plastic wrap, then place them in an airtight freezer-safe container. This prevents freezer burn and keeps unwanted odors out. They will stay fresh and delicious in the freezer for up to 1-2 months. For meal prep, you can bake and freeze the cookies separately for up to 3 months, then thaw and assemble them whenever a craving strikes. Just remember to apply the Cookie Dough Recipe principles for long-lasting cookies.
Conclusion
Crafting homemade Ice Cream Sandwiches (Homemade) is a rewarding culinary adventure that promises superior flavor and a delightful experience compared to store-bought alternatives. By meticulously preparing the Cookie Dough Recipe and following these straightforward steps, you’re not just making a dessert; you’re creating a memory-making treat. We encourage you to try this recipe, experiment with flavors, and share your delicious creations. What’s your favorite ice cream flavor to sandwich between two perfect cookies?
FAQs
A: Yes, you can use high-quality store-bought cookie dough, but ensure it’s a sturdy variety designed for baking cookies, not just edible raw dough. However, for the best results, we recommend making it from scratch following our Cookie Dough Recipe.
A: The key is not to overbake them initially. They should be slightly soft in the center when removed from the oven. Also, letting the ice cream slightly soften before assembly helps it merge with the cookies without making them too dry or hard. Using a good quality, higher-fat ice cream helps too.
A: For perfectly even layers, you can soften a block of ice cream, spread it evenly in a parchment-lined pan to your desired thickness, refreeze, and then cut it into squares that match your cookies. Alternatively, for scooping directly, aim for consistent scoops.
A: Absolutely! These are an excellent make-ahead dessert. Assemble and freeze them a few days or even a week before your event. Just make sure they are well-wrapped to prevent freezer burn.
A: This usually means the cookies were overbaked, making them too crisp. Next time, reduce baking time slightly. Also, ensure the cookies are completely cool before handling, as warm cookies are more fragile.
“`