Crispy, Juicy, and Irresistible: Your Guide to Perfect Homemade Chicken Tenders
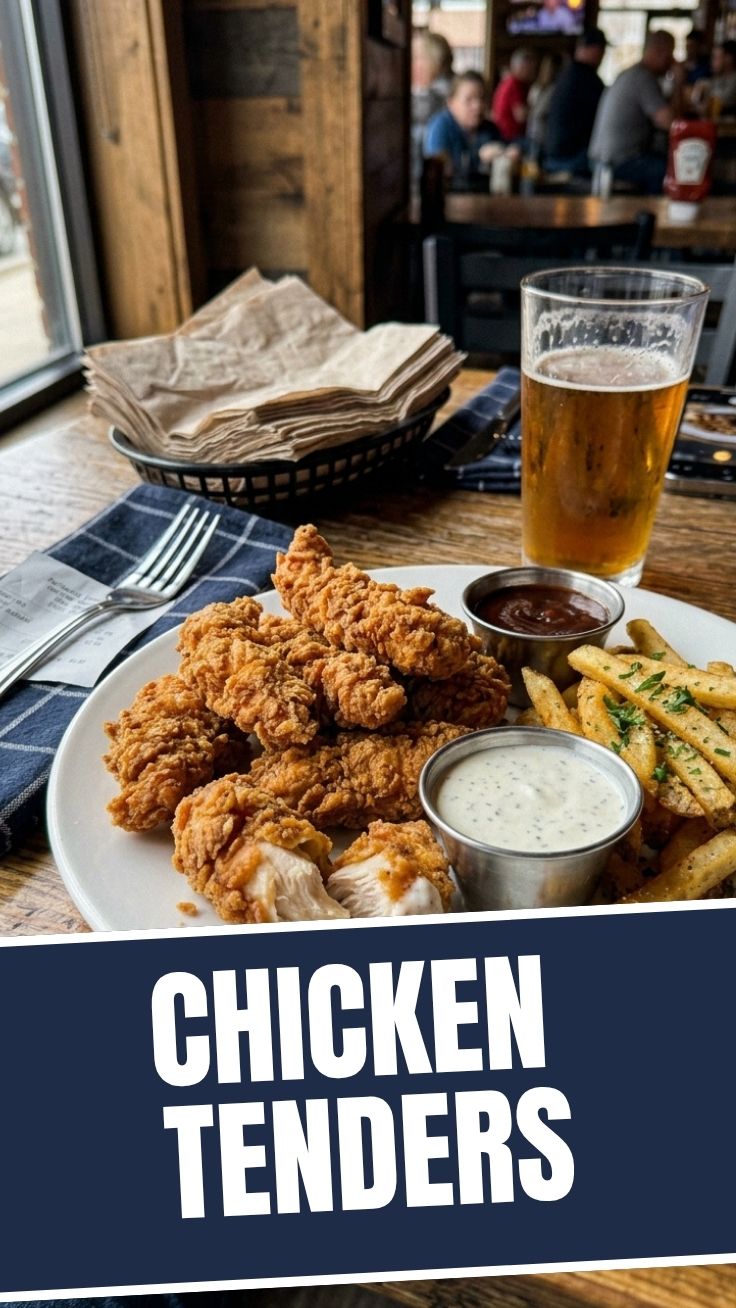
Ever wondered why restaurant-style Chicken Tenders always seem to hit the spot, while your homemade attempts sometimes fall short? Fear not, fellow food enthusiasts! Today, we’re diving deep into the art and science of crafting the most incredibly crispy chicken tenders right in your own kitchen. Forget bland, dry poultry; this comprehensive guide will equip you with the secrets to achieving that golden, crunchy exterior and unbelievably tender, juicy interior that will have everyone reaching for more. Preparing these culinary delights at home not only guarantees freshness and quality control but also allows for endless customization – a far cry from the mystery ingredients often found in pre-packaged chicken nuggets. Let’s unlock the potential of your inner chef and create a dish that will become a family favorite.
Ingredients & Kitchen Tools
To embark on this delicious journey, gather the following:
- 1 ½ lbs boneless, skinless chicken breasts or tenderloins: The star of our show! Chicken breasts can be sliced into tender-sized strips, and tenderloins are naturally uniform.
- 1 cup all-purpose flour: Forms the base of our crispy coating.
- ½ cup cornstarch: The secret weapon for extra crispiness!
- 1 tsp baking powder: Another crispness booster, reacting with heat to create air pockets.
- 1 tsp paprika: Adds a touch of warm color and subtle flavor.
- ½ tsp garlic powder: Essential for savory depth.
- ½ tsp onion powder: Enhances the overall savory profile.
- ¼ tsp cayenne pepper (optional): For a gentle kick of heat. Adjust to your preference.
- 1 tsp salt: Balances and enhances all the flavors.
- ½ tsp black pepper: A classic seasoning.
- 2 large eggs: Act as a binder for our coating.
- ¼ cup milk (dairy or non-dairy): Thins the egg wash, helping the coating adhere better.
- 2-3 cups neutral oil for frying (vegetable, canola, peanut): You’ll need enough to submerge the tenders partially.
- Mixing bowls (3): For the flour mixture, egg wash, and a clean bowl for battered chicken.
- Whisk: To combine dry ingredients and egg wash smoothly.
- Shallow dish or plate: For dredging.
- Tongs: For safely handling raw chicken and flipping during frying.
- Deep-fry thermometer (recommended): Crucial for maintaining optimal oil temperature.
- Large heavy-bottomed pot or Dutch oven: For even heat distribution during frying.
- Wire rack set over a baking sheet: To drain excess oil and keep tenders crispy.
- Paper towels: To blot any remaining oil.
Prep Time & Cooking Schedule
- Prep Time: 15 minutes (slicing chicken, preparing dredging stations)
- Marinating Time (Optional): 30 minutes to 2 hours (for extra tender and flavorful chicken)
- Cook Time: 3-5 minutes per batch
- Resting Time: 5 minutes after frying for optimal juiciness.
This recipe is surprisingly quick, making it perfect for a weeknight meal. If you’re short on time, you can skip the marinating, but it does add an extra layer of moisture and flavor. Plan to have your dredging stations ready before you start frying to ensure a smooth process.
Step-by-Step Instructions
1. Prepare the Chicken: If using chicken breasts, pat them dry and slice them into ½ to ¾-inch thick strips. Patting them dry is crucial for the coating to adhere properly.
2. Set Up Dredging Stations: In one shallow bowl, whisk together the flour, cornstarch, baking powder, paprika, garlic powder, onion powder, cayenne pepper (if using), salt, and black pepper. In a second shallow bowl, whisk the eggs and milk until well combined.
3. Coat the Chicken: Dip each piece of our delectable crispy chicken tenders first into the egg wash, ensuring it’s fully coated, letting any excess drip off. Then, transfer it to the flour mixture, pressing gently to make sure the coating adheres completely. This double-dredging technique ensures maximum crispiness. Place the coated chicken on a clean plate or wire rack while you finish the rest.
4. Heat the Oil: Pour 2-3 inches of neutral oil into a large, heavy-bottomed pot or Dutch oven. Heat the oil over medium-high heat until it reaches 350-375°F (175-190°C). Use a thermometer for accuracy, as proper oil temperature is key to achieving that perfect golden brown without overcooking.
5. Fry the Chicken: Carefully place a few coated chicken pieces into the hot oil, ensuring not to overcrowd the pot. Overcrowding will drop the oil temperature and lead to soggy, greasy results. Fry for 3-5 minutes, flipping halfway through, until golden brown and the internal temperature reaches 165°F (74°C). This same principle applies to perfecting homemade chicken nuggets.
6. Drain and Rest: Remove the fried chicken using tongs and place them on a wire rack set over a baking sheet to drain any excess oil. This allows air circulation, keeping them crispy. Season immediately with a sprinkle of extra salt if desired.
7. Serve: Enjoy your perfectly cooked tenders warm with your favorite dipping sauces!
Nutritional Benefits & Advantages
Homemade crispy chicken tenders offer significant nutritional advantages over fast-food options. By using fresh, lean chicken, you’re getting a great source of high-quality protein, essential for muscle repair and growth. Chicken also provides important vitamins like Niacin (B3) and B6, and minerals like selenium and phosphorus. Controlling the ingredients means you can reduce unhealthy additives, excessive sodium, and trans fats often found in processed versions. Plus, oven-baked variations (see below!) can drastically cut down on calories and fat while still delivering a satisfying crunch.
Tips, Variations & Cooking Advice
- Season Beyond the Coating: Consider marinating your chicken in buttermilk for at least 30 minutes (or up to 4 hours) before dredging. Buttermilk tenderizes the meat beautifully and adds a subtle tang.
- Spice it up: Add a pinch of chili powder, smoked paprika, or a dash of your favorite hot sauce to the egg wash for a fiery kick.
- Herbaceous Goodness: Incorporate dried herbs like oregano, thyme, or rosemary into your flour mixture for an aromatic twist.
- Oven-Baked Crispy Tenders: For a healthier alternative, after coating, spray the tenders lightly with cooking spray and bake at 400°F (200°C) for 15-20 minutes, flipping halfway, until golden and cooked through. They won’t be as deeply fried, but they’ll be surprisingly crispy!
- Air Fryer Method: Air fry heavily sprayed tenders at 375°F (190°C) for 12-15 minutes, shaking the basket halfway, until golden and cooked.
- Gluten-Free Version: Substitute all-purpose flour with a gluten-free all-purpose blend (which often contains xanthan gum) for equally delicious results.
Common Mistakes to Avoid
- Overcrowding the Pot: This lowers oil temperature, leading to greasy, undercooked, or soggy chicken. Fry in batches.
- Insufficient Oil Temperature: Too low, and your chicken absorbs excess oil, becoming greasy. Too high, and the outside burns before the inside cooks. Invest in a thermometer.
- Not Patting Chicken Dry: Moisture on the chicken prevents the coating from adhering properly, resulting in a patchy or soggy crust.
- Skipping the Wire Rack: Placing fried chicken directly on paper towels can trap steam, making the bottom soggy. The wire rack allows air to circulate, maintaining crispiness.
- Underseasoning: Don’t be shy with the salt and pepper in your dredge mix. Seasoning the cooking only on the outside after frying means bland.
Storage & Meal Prep Tips
Leftover crispy chicken tenders can be stored in an airtight container in the refrigerator for up to 3-4 days. To reheat and restore crispiness, avoid the microwave! Reheat in an air fryer at 350°F (175°C) for 5-7 minutes, in a preheated oven at 375°F (190°C) for 10-15 minutes, or in a toaster oven until warmed through and crispy. For meal prep, you can bread the chicken ahead of time and store it uncooked in the fridge for up to 24 hours, placing parchment paper between layers to prevent sticking.
Conclusion
Mastering the art of perfect homemade crispy chicken tenders is a truly rewarding kitchen skill. By following these detailed steps, you’re not just making a meal; you’re crafting a delightful experience that beats any takeout option. From the perfectly seasoned coating to the juicy interior, every bite is a testament to your culinary prowess. This recipe not only delivers on flavor and texture but also offers a healthier, more customizable alternative to processed foods like fast-food chicken nuggets. So, roll up your sleeves, gather your ingredients, and prepare to impress yourself and your loved ones with these irresistible homemade treats. Don’t forget to share your golden creations with us – happy frying!
FAQs
Q1: Can I use frozen chicken for this recipe?
A1: Yes, but ensure the chicken is fully thawed and thoroughly patted dry before slicing and coating. Excess moisture from thawing will prevent the coating from sticking properly.
Q2: What’s the best way to get super crispy results without deep frying?
A2: For oven-baked or air-fried versions, ensure you spray the coated tenders generously with cooking spray on all sides before cooking. This helps achieve a golden, crispy exterior without submerging them in oil.
Q3: My coating keeps falling off. What am I doing wrong?
A3: This often happens if the chicken isn’t patted dry enough before dredging, or if the egg wash is too thick/thin. Ensure the chicken is dry, and the egg wash is a consistent, slightly thick liquid. Press the flour coating firmly onto the chicken.
Q4: How can I adjust the spice level?
A4: To increase the heat, add more cayenne pepper or a pinch of chili flakes to the flour mixture. For a milder flavor, omit the cayenne completely. You can also experiment with different spice blends like Cajun seasoning.