Decadent Delights: Crafting the Perfect Fudgy Brownies from Scratch
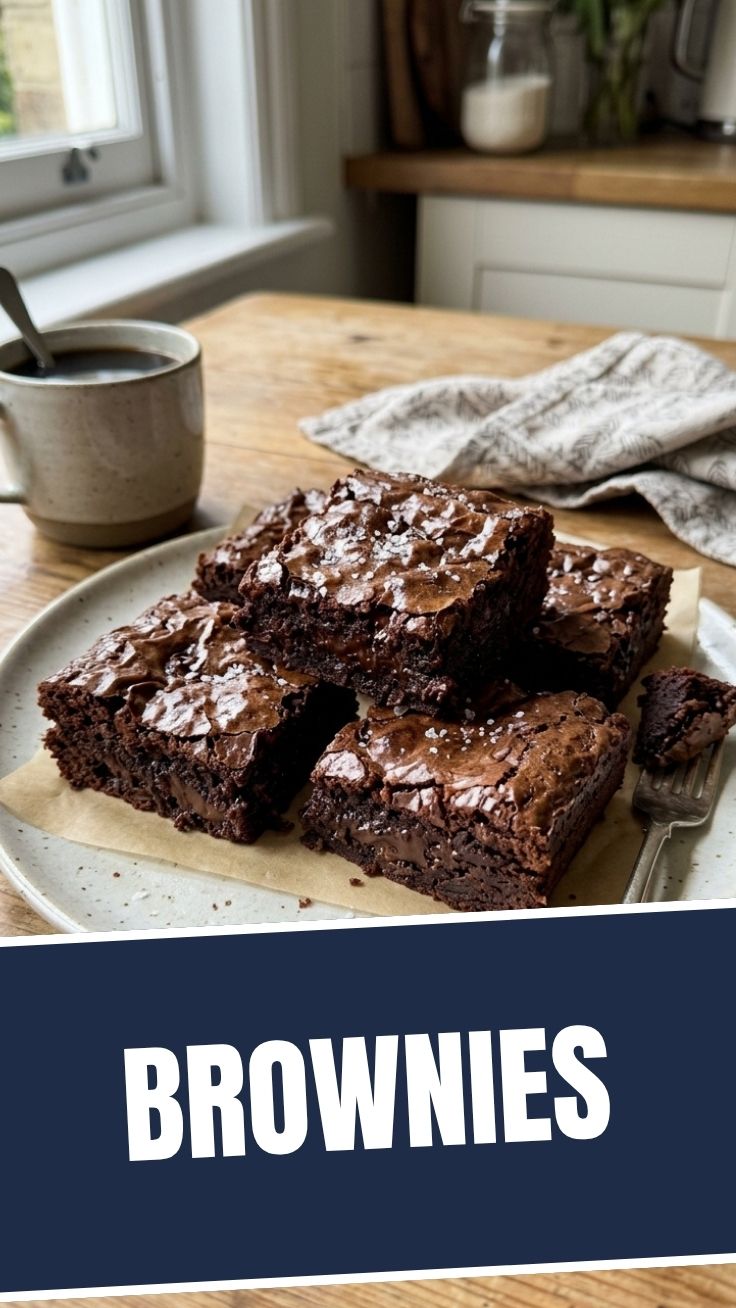
Ever wondered how to achieve that elusive, crackly top and intensely moist, melt-in-your-mouth interior of a truly exceptional brownie? Look no further! This comprehensive guide will empower you to bake the most delectable Brownies right in your own kitchen. There’s an undeniable magic in creating homemade treats, offering a sense of accomplishment and the assurance of quality ingredients. Forget store-bought mixes; we’re diving deep into the art of crafting rich, chocolatey goodness, ensuring every bite is a blissful experience. Prepare to master the art of making
Ingredients & Kitchen Tools
Here’s everything you’ll need to embark on this delicious journey:
- Unsalted Butter (1 cup): Crucial for richness and a soft texture. Unsalted gives you control over the overall saltiness.
- Granulated Sugar (2 cups): Provides sweetness and contributes to that signature crackly top.
- Large Eggs (4): Acts as a binder and helps achieve a chewy texture.
- All-Purpose Flour (1 cup): The structural base; avoid overmixing to prevent tough brownies.
- Unsweetened Cocoa Powder (¾ cup): The key to intense chocolate flavor. Opt for high-quality Dutch-processed for a deeper, less acidic taste.
- Vanilla Extract (1 teaspoon): Enhances all the other flavors.
- Salt (½ teaspoon): Balances sweetness and brings out the chocolate notes.
- Chocolate Chips or Chunks (1 cup, optional): For extra pockets of melted chocolatey goodness. Either semi-sweet or dark chocolate works beautifully.
Kitchen Tools:
- 9×13 inch baking pan: The ideal size for this recipe, ensuring even baking.
- Parchment paper: Lines the pan for easy removal and cleanup.
- Large mixing bowls (2): For wet and dry ingredients.
- Whisk: For combining dry ingredients thoroughly.
- Spatula: For folding ingredients gently.
- Measuring cups and spoons: Essential for accurate measurements.
- Oven: Preheat to 350°F (175°C).
Prep Time & Cooking Schedule
- Prep Time: 15 minutes
- Cook Time: 25-30 minutes
- Cooling Time: 1-2 hours (essential for setting and easy slicing)
This recipe is surprisingly quick to assemble, making it perfect for a spontaneous baking session or a last-minute dessert. The most critical part is the cooling time; resist the urge to cut into them too early, as they’ll be too delicate and crumbly. Plan ahead to allow for ample cooling, ideally on a wire rack, to achieve perfectly structured and intensely flavorful squares of pure bliss.
Step-by-Step Instructions
1. Preheat and Prep: Preheat your oven to 350°F (175°C). Line a 9×13 inch baking pan with parchment paper, leaving an overhang on the sides for easy lifting.
2. Melt Butter: In a large microwave-safe bowl or saucepan, melt the unsalted butter until fully liquid.
3. Combine Wet Ingredients: Add the granulated sugar to the melted butter and whisk until well combined. The mixture should become glossy. Whisk in the eggs one at a time, ensuring each is fully incorporated before adding the next. Stir in the vanilla extract.
4. Combine Dry Ingredients: In a separate medium bowl, whisk together the all-purpose flour, unsweetened cocoa powder, and salt. This prevents lumps and ensures even distribution.
5. Combine Wet and Dry: Gradually add the dry ingredients to the wet ingredients, folding gently with a spatula until just combined. Be careful not to overmix, as this can lead to dry and tough Brownies. If using, fold in the chocolate chips or chunks at this stage.
6. Bake: Pour the batter evenly into the prepared baking pan. Bake for 25-30 minutes, or until a toothpick inserted into the center comes out with moist crumbs, but not wet batter. Remember, we’re aiming for perfect fudgy brownies, so underbaking slightly is better than overbaking.
7. Cool Completely: Remove the pan from the oven and let it cool completely on a wire rack before lifting the brownies out by the parchment paper and cutting them into squares. This step is crucial for achieving that dense, fudgy texture.
Nutritional Benefits & Advantages
While often seen as an indulgence, homemade brownies can offer some surprising benefits. Dark cocoa powder, a primary ingredient, is rich in antioxidants, which can contribute to overall well-being. Using real butter provides healthy fats, and by making them at home, you control the quality and quantity of ingredients, avoiding artificial additives and excessive preservatives found in many commercial products. Plus, the sheer joy of a freshly baked treat can boost your mood!
Tips, Variations & Cooking Advice
- Espresso Powder: Add 1 teaspoon of instant espresso powder to the dry ingredients to deepen the chocolate flavor without making the brownies taste like coffee.
- Nutty Crunch: Fold in 1 cup of chopped walnuts or pecans for added texture and flavor.
- Sea Salt Flakes: Sprinkle a pinch of flaky sea salt on top of the batter before baking for a sophisticated sweet-and-salty contrast.
- Gluten-Free: Substitute the all-purpose flour with a 1:1 gluten-free baking blend that contains xanthan gum.
- Dairy-Free: Use a good quality plant-based butter substitute and ensure your chocolate chips are dairy-free.
- Thicker Brownies: For an even thicker brownie, use an 8×8 inch pan and increase the baking time slightly.
Common Mistakes to Avoid
- Overmixing the Batter: This is the most common culprit for tough, cakey brownies. Mix only until the dry ingredients are just incorporated.
- Overbaking: Always err on the side of slightly underbaking for fudgy perfection. A toothpick should come out with moist crumbs, not liquid batter.
- Cutting Before Cooling: Resist! Cutting warm brownies will result in a crumbly mess. Let them cool completely for clean, perfect squares.
- Using Low-Quality Cocoa: The quality of your cocoa powder directly impacts the depth of flavor. Invest in a good brand.
Storage & Meal Prep Tips
Store these delightful Brownies in an airtight container at room temperature for up to 3-4 days. For longer storage, you can freeze individual squares in an airtight container or freezer bag for up to 3 months. Thaw at room temperature or gently warm in the microwave for a just-baked taste. These are excellent for meal prep as a decadent treat to enjoy throughout the week.
Conclusion
There you have it – the ultimate guide to crafting deeply rich and intensely fudgy brownies that will impress everyone fortunate enough to try them. By following these easy steps and embracing the nuances of temperature and texture, you’re not just baking; you’re creating an experience. Go forth, bake these incredible Brownies, and share your masterpiece with the world! We’d love to hear about your baking triumphs in the comments below.
FAQs
Q1: Why do my brownies come out cakey instead of fudgy?
A1: Most likely, you’ve overmixed the batter, developing the gluten in the flour too much. Mix until just combined. Overbaking can also contribute to a cakey texture.
Q2: Can I substitute oil for butter in this recipe?
A2: While you can, butter contributes significantly to the rich flavor and fudgy texture. Oil will make them slightly chewier and less rich.
Q3: How do I get that perfect crackly top?
A3: The crackly top is often a result of sugar dissolving into the butter and egg mixture before the flour is added. Ensuring your butter and sugar are well combined, and not overmixing, helps achieve this.
Q4: My brownies baked unevenly. What went wrong?
A4: An unevenly heated oven or an older pan that conducts heat poorly can lead to uneven baking. Try rotating the pan halfway through baking.