Bake the Best Banana Bread Ever: Your Ultimate Guide
Are you ready to transform ripe Bananas into a golden, fragrant loaf that fills your home with an irresistible aroma? There’s something uniquely comforting and deeply satisfying about baking your own Banana Bread. Beyond the delightful taste and soft texture, preparing this classic at home offers an authentic, wholesome experience that store-bought versions simply can’t replicate. You control the ingredients, ensuring quality and freshness, and the process itself is a therapeutic journey from simple components to a cherished treat. This comprehensive guide will equip you with everything you need to create the perfect loaf every time, from ingredient choices to expert tips, making your journey from Banana to bread a joy.
Ingredients & Kitchen Tools
Gathering your mise en place is the first step to baking success. Here’s what you’ll need:
- Ripe Bananas (3-4 medium): The browner and spottier, the better! These provide natural sweetness and moisture.
- All-Purpose Flour (1 ½ cups): The backbone of your loaf. You can also use a 1:1 gluten-free flour blend.
- Granulated Sugar (⅔ cup): Adds sweetness and contributes to the loaf’s tender crumb. Adjust to your sweetness preference.
- Large Egg (1): Binds ingredients together and adds richness.
- Melted Unsalted Butter (⅓ cup): Provides moisture and a rich, buttery flavor. Vegetable oil or coconut oil can be substituted for a dairy-free option.
- Milk (2 tablespoons): Any kind of milk works (dairy or non-dairy) to add a bit more moisture and tenderness.
- Baking Soda (1 teaspoon): The leavening agent that helps the bread rise.
- Salt (½ teaspoon): Enhances all the flavors and balances the sweetness.
- Vanilla Extract (1 teaspoon): Adds a warm, aromatic depth.
- Optional Mix-ins: Chocolate chips, walnuts, pecans, or dried cranberries (½ cup total).
Kitchen Tools:
- Large Mixing Bowl: For combining wet and dry ingredients.
- Fork or Potato Masher: For mashing the Bananas.
- Whisk: To combine dry ingredients evenly.
- Rubber Spatula: For folding and scraping the bowl.
- 9×5 inch Loaf Pan: The ideal size for a standard loaf of Banana Bread.
- Parchment Paper: Optional, but highly recommended for easy removal.
- Wire Rack: For cooling the bread after baking.
Prep Time & Cooking Schedule
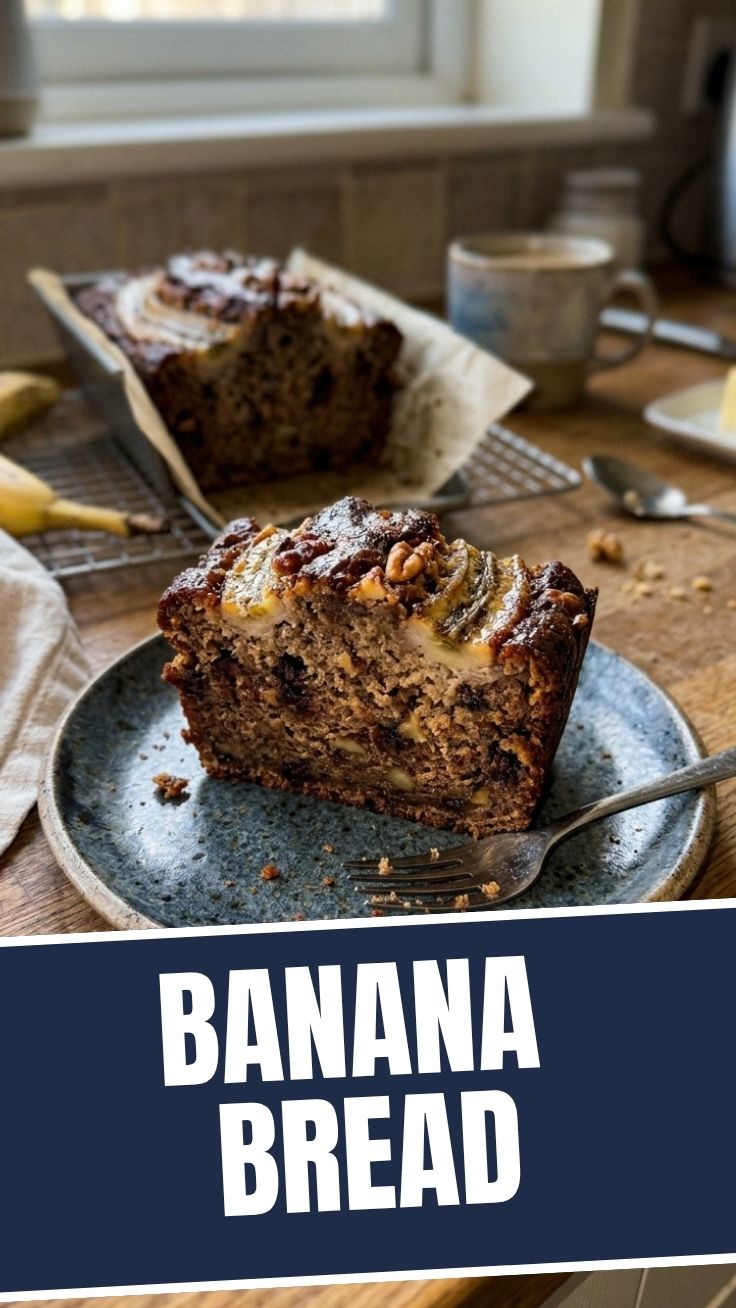
Achieving that golden-brown crust and moist interior requires a bit of patience and proper planning.
- Prep Time: 15 minutes (This includes mashing Bananas and gathering ingredients).
- Cook Time: 50-60 minutes
- Resting Time: 10-15 minutes (Crucial for the bread to set before slicing.)
Plan to start your baking adventure when you have about 1.5 hours free from start to finish. The aroma alone is worth the wait!
Step-by-Step Instructions
Follow these steps for a perfectly baked loaf of Banana Bread:
1. Preheat Oven & Prepare Pan: Preheat your oven to 350°F (175°C). Grease and flour a 9×5 inch loaf pan, or line it with parchment paper, leaving an overhang on the sides for easy lifting.
2. Mash the Bananas: In a large bowl, mash the ripe Bananas with a fork until mostly smooth, leaving a few small lumps for texture if desired.
3. Combine Wet Ingredients: Add the melted butter, granulated sugar, egg, milk, and vanilla extract to the mashed Bananas. Whisk until well combined. The mixture should be a smooth, slightly thick consistency.
4. Combine Dry Ingredients: In a separate medium bowl, whisk together the all-purpose flour, baking soda, and salt.
5. Combine Wet and Dry: Gradually add the dry ingredients to the wet ingredients, mixing with a rubber spatula until just combined. Be careful not to overmix, as this can lead to a tough loaf. A few streaks of flour are acceptable. If using, gently fold in your optional mix-ins.
6. Bake: Pour the batter into your prepared loaf pan. Bake for 50-60 minutes, or until a wooden skewer inserted into the center comes out clean.
7. Cool: Let the Banana bread cool in the pan on a wire rack for 10-15 minutes before carefully lifting it out by the parchment paper overhang (if used) or inverting it onto the rack. Allow it to cool completely before slicing for the best texture.
Nutritional Benefits & Advantages
Beyond being a delicious treat, Banana Bread, especially when made with ripe Bananas, offers several nutritional perks. Bananas are an excellent source of potassium, which is vital for heart health and blood pressure regulation. They also provide dietary fiber, aiding digestion, and are rich in vitamin B6 and vitamin C, supporting immune function and energy metabolism. Moderate consumption of this homemade delight can be part of a balanced diet, offering a wholesome alternative to processed snacks.
Tips, Variations & Cooking Advice
- Ripeness is Key: Really, really ripe Bananas (with lots of brown spots) are non-negotiable for the best flavor and moisture.
- Don’t Overmix: Overmixing develops gluten, which can make your Banana Bread tough and chewy instead of tender.
- Flavor Boosts: A pinch of cinnamon, nutmeg, or allspice can add wonderful warmth.
- Healthier Swaps: For a healthier twist, substitute half of the all-purpose flour with whole wheat flour, or reduce the sugar slightly. You can also use unsweetened applesauce for some of the butter.
- Muffin Magic: Pour the batter into a muffin tin for Banana bread muffins, baking for 20-25 minutes.
Common Mistakes to Avoid
- Underripe Bananas: Using yellow, firm Bananas results in less flavor and moisture. Wait for those brown spots!
- Overmixing the Batter: As mentioned, this is the quickest way to a dry, dense loaf. Mix until just combined.
- Opening the Oven Too Soon: Resist the urge to peek during the first 30-40 minutes of baking, as sudden temperature changes can cause the bread to sink.
- Not Cooling Properly: Slicing warm Banana Bread before it sets can make it crumble. Patience is a virtue!
Storage & Meal Prep Tips
Your freshly baked Banana Bread can be stored in an airtight container at room temperature for 2-3 days. For longer freshness, place it in the refrigerator where it will keep for up to a week. To freeze, wrap individual slices or the whole loaf tightly in plastic wrap, then aluminum foil, and store for up to 3 months. Thaw at room temperature or gently reheat slices in a toaster oven for that “just baked” experience. It’s perfect for meal prep, providing a quick breakfast or snack throughout the week.
Conclusion
Baking the perfect Banana Bread at home is an incredibly rewarding experience, offering both a delicious treat and a moment of culinary joy. By following this detailed guide, you’ll master every step, from selecting the perfectly ripe Banana to achieving that enviable golden crust and moist, flavorful crumb. Don’t let those overripe Bananas go to waste – turn them into something truly special. We encourage you to try this recipe, experiment with your favorite mix-ins, and share your delightful creations! What’s your favorite way to enjoy Banana bread?
FAQs
Q: Can I use frozen bananas for this recipe?
A: Yes! Thaw them completely and drain any excess liquid before mashing. They tend to be even sweeter and moister than fresh ripe Bananas.
Q: How do I know if my banana bread is fully baked?
A: Insert a wooden skewer or toothpick into the center of the loaf. If it comes out clean with no wet batter, it’s done.
Q: My banana bread always sinks in the middle. What am I doing wrong?
A: This usually happens from overmixing the batter, too much leavening agent, or opening the oven door too early. Ensure you mix until just combined and trust your oven!
Q: Can I make this banana bread gluten-free or dairy-free?
A: Absolutely! Use a 1:1 gluten-free flour blend for the flour. For dairy-free, substitute unsalted butter with a plant-based butter or oil, and use a non-dairy milk alternative.