
Chocolate-covered pretzel rods are the perfect blend of sweet and salty, crunchy and smooth—a treat that’s hard to resist! Whether you’re making them for a party, holiday gift, or just to satisfy a chocolate craving, one problem always seems to pop up: the dreaded flat side.
If you’ve ever placed your freshly dipped pretzel rods on a baking sheet, only to find one side stuck to the paper and flattened, you’re not alone. But don’t worry! In this guide, I’ll show you **how to make chocolate covered pretzel rods without a flat side** using the best drying, dipping, and decorating techniques. Let’s dive in!
Why Chocolate Covered Pretzel Rods Are Popular
There’s something special about the combination of crispy pretzels and rich chocolate. They’re simple to make, yet they look fancy enough for parties, gifts, and even bakery displays.
- They’re easy to customize. You can drizzle them with white chocolate, sprinkle them with crushed nuts, or dip them in colorful candy melts.
- Perfect for any occasion. Whether it’s Christmas, birthdays, or Valentine’s Day, chocolate pretzel rods fit right in.
- They last a long time. Unlike baked goods, these treats stay fresh for weeks when stored properly.
The Challenge: Avoiding a Flat Side on Pretzel Rods
The biggest problem when making chocolate-covered pretzel rods? That one side that ends up flat and unattractive. When the chocolate hardens while resting on a flat surface, gravity takes over, leaving you with one side thicker than the other.
This can make your pretzels look uneven, and if you’re planning to gift or sell them, presentation matters! So, **how to make chocolate covered pretzel rods without a flat side**? The secret is in the drying technique, and we’re about to reveal the best methods!
Common Problems with Chocolate Covered Pretzel Rods
Before we jump into solutions, let’s look at the most common issues:
1. Chocolate Pooling and Creating a Flat Surface
When you place freshly dipped pretzel rods on parchment paper or wax paper, the chocolate pools at the bottom. This creates a thick, flat area instead of a smooth, even coat.
2. Uneven Chocolate Coverage
Sometimes, the chocolate looks too thick in some areas and too thin in others. This can happen if the pretzel isn’t rotated while drying.
3. Chocolate Dripping and Messy Finish
If you don’t let excess chocolate drip off before setting the pretzel down, you might end up with drips and streaks rather than a clean, smooth finish.
Pro Tip: Always tap off excess chocolate before letting your pretzels dry. It helps create a clean, even coating!
Best Techniques to Keep Pretzel Rods Round While Drying
Now for the good stuff—**how to make chocolate covered pretzel rods without a flat side** using simple yet effective techniques:
1. Using a Drying Rack for Even Coating
A cooling rack (like the ones used for cookies) is a game-changer! Simply place the freshly dipped pretzel rods across the wires, letting the excess chocolate drip down.
This method allows air to circulate around the pretzels, preventing one side from flattening.
Pro Tip: Place parchment paper underneath the rack to catch any drips. Less mess, more chocolate-covered goodness!
2. The Hanging Method: Suspending Pretzel Rods
Ever thought about hanging your pretzel rods to dry? It might sound weird, but it works!
Simply use clothespins or small binder clips to hang the dipped pretzel rods from a string or a wire rack. This keeps them perfectly round with no contact points.
3. Rotating Pretzel Rods for a Smooth Finish
If you don’t have a rack or a hanging setup, you can still prevent a flat side by rotating the pretzels every few minutes as they dry.
Here’s how:
- Dip the pretzel, then place it on a piece of parchment paper.
- After 3-5 minutes, lift and rotate it slightly to prevent flattening.
- Repeat the process 2-3 more times until the chocolate is set.
Pro Tip: Avoid putting pretzels in the fridge to set. Sudden cooling can cause the chocolate to **bloom** (white streaks on the surface).
Step-by-Step Guide to Making Perfect Chocolate Covered Pretzel Rods
Now that you know how to avoid the dreaded flat side, let’s dive into the step-by-step process of making **delicious, evenly coated chocolate-covered pretzel rods**.
Ingredients and Tools Needed
Before you start, gather everything you’ll need. The right ingredients and tools will make this process smooth and mess-free!
| Ingredient | Quantity |
|---|---|
| Pretzel rods | 1 pack (about 15-20 rods) |
| Chocolate chips or candy melts | 12 oz (milk, dark, or white chocolate) |
| Coconut oil or shortening | 1 tbsp (optional, for a smoother texture) |
| Sprinkles, crushed nuts, or drizzles | As needed for decoration |
Tools You’ll Need:
- A microwave-safe bowl or double boiler
- Silicone spatula or spoon
- Parchment paper or wax paper
- A cooling rack or clips for the hanging method
- Small bowls for toppings
Preparing the Pretzel Rods for Dipping
Before you even touch the chocolate, make sure your pretzels are **dry and free of salt dust** (wipe them with a paper towel if necessary). This will help the chocolate stick better.
Melting Chocolate for Smooth Dipping
The key to **perfectly coated pretzels** is smooth, melted chocolate. Here’s how to do it the right way:
Microwave Method:
- Place chocolate chips or candy melts in a microwave-safe bowl.
- Microwave on **50% power** for **30 seconds** at a time, stirring after each interval.
- Continue until the chocolate is **smooth and melted** (usually about 1-2 minutes).
- If the chocolate is too thick, add **1 tbsp of coconut oil or shortening** and stir well.
Double Boiler Method:
- Fill a saucepan with **1 inch of water** and bring it to a simmer.
- Place a heat-safe bowl over the saucepan, making sure it doesn’t touch the water.
- Add chocolate and stir until completely melted and smooth.
Pro Tip: Never overheat chocolate! If it gets too hot, it can **seize up** and become grainy. Stir often and heat slowly.
Best Dipping Techniques for Full Coverage
Now for the fun part—**dipping the pretzel rods into the chocolate!** Here’s how to get a **smooth, even coat**:
- Pour the melted chocolate into a **tall, narrow glass** (this makes dipping easier).
- Hold each pretzel rod by the **uncovered end** and dip it into the chocolate.
- Twist the pretzel slightly as you pull it out to **remove excess chocolate**.
- Tap the pretzel gently on the rim of the glass to shake off drips.
- Let it sit for **5-10 seconds** before adding toppings.
Pro Tip: Using a tall glass instead of a bowl helps you dip **more evenly** without making a mess!
Properly Cooling and Drying Without a Flat Side
Once your pretzel rods are dipped, use one of these drying methods to **keep them round and perfect**:
1: Cooling Rack Method
- Lay the pretzel rods across the wires of a cooling rack.
- Make sure they are **not touching each other**.
- Let them dry for **15-20 minutes** at room temperature.
2: Hanging Method
- Clip the uncovered end of each pretzel rod with a **binder clip or clothespin**.
- Hang them from a wire rack or a string to let the chocolate set.
3: Rotating Method
- Place dipped pretzels on parchment paper.
- Rotate them **every 3-5 minutes** until fully set.
Pro Tip: Avoid putting pretzels in the fridge to set. Sudden cooling can cause the chocolate to **bloom** (white streaks on the surface).
Pro Tips for Achieving a Professional Look
Now that your chocolate-covered pretzel rods are beautifully coated and evenly dried, let’s take them to the next level! Here are some **pro decorating tips** to make your treats look as good as they taste.
Choosing the Right Type of Chocolate
Not all chocolate is created equal. Here’s what works best for pretzel rods:
- Milk Chocolate: Smooth and creamy with a classic sweet flavor.
- Dark Chocolate: Rich and slightly bitter, perfect for a more sophisticated taste.
- White Chocolate: Sweet and buttery, great for contrast in designs.
- Candy Melts: Available in multiple colors and easy to work with.
Pro Tip: If using regular chocolate, temper it properly to keep it from becoming dull or streaky.
Adding Toppings Without Ruining the Shape
Decorating chocolate-covered pretzel rods is the fun part! But if you’re wondering **how to make chocolate covered pretzel rods without a flat side**, you’ll also need to ensure your toppings don’t weigh down the chocolate before it sets.
Here are some topping ideas and when to apply them:
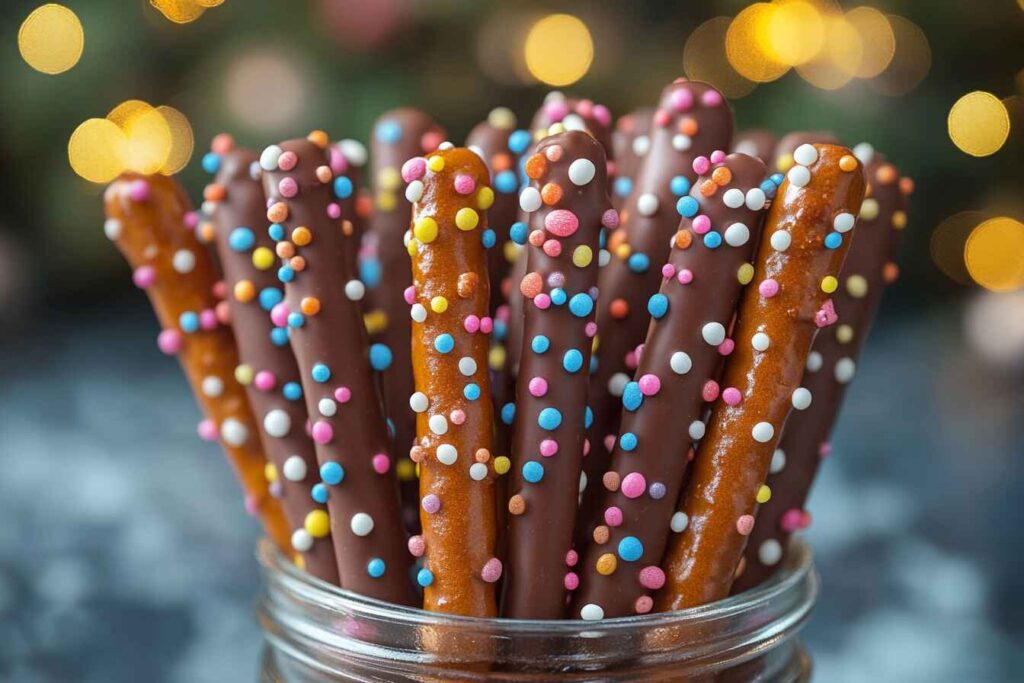
- Sprinkles: Apply right after dipping while the chocolate is still wet.
- Crushed Nuts: Almonds, peanuts, or pecans add a nice crunch.
- Drizzles: Use melted white or dark chocolate to create a stylish swirl.
- Crushed Candy: Peppermint, toffee bits, or mini M&Ms make them extra festive.
How to Apply Toppings Perfectly:
- Hold the pretzel over a clean plate.
- Sprinkle toppings evenly, rotating the pretzel as needed.
- Gently shake off any excess before setting it to dry.
Using Parchment Paper vs. Wax Paper
Both are useful, but which one is best?
- Parchment Paper: Best for drying because it prevents sticking.
- Wax Paper: Good for packaging but can melt slightly if exposed to heat.
Pro Tip: Always use parchment paper under pretzels when decorating to catch excess toppings.
Troubleshooting Common Issues
Even if you follow all the steps perfectly, things can still go wrong. Here’s how to fix the most common problems:
Chocolate Not Sticking to the Pretzel Rods
If your chocolate is sliding off or not sticking, try these solutions:
- Make sure the pretzels are completely dry before dipping.
- Use fresh pretzel rods (stale ones won’t hold chocolate well).
- If using candy melts, stir in a little coconut oil for better consistency.
Chocolate Appears Dull Instead of Shiny
Dull chocolate is usually caused by overheating or improper cooling. Here’s how to fix it:
- Temper your chocolate correctly by slowly melting and cooling it.
- Let pretzels dry at room temperature instead of putting them in the fridge.
- Use high-quality chocolate for a naturally shinier finish.
Chocolate Seizing or Becoming Too Thick
If your chocolate becomes clumpy or too thick to dip, try this:
- Add 1 teaspoon of coconut oil or shortening and stir well.
- Reheat in short intervals (10-15 seconds) while stirring.
- Make sure no water or moisture gets into the chocolate, as this causes seizing.
Pro Tip: Avoid using wooden spoons when melting chocolate—they can hold moisture and ruin the texture.
Creative Variations and Flavor Ideas
If you’re mastering **how to make chocolate covered pretzel rods without a flat side**, why not experiment with fun flavors and designs?
Adding Different Types of Chocolate
- Dip in milk chocolate and drizzle with white chocolate.
- Use dark chocolate for a sophisticated, less sweet treat.
- Try ruby chocolate for a unique pink-colored coating.
Fun and Festive Themed Pretzel Rods
- Christmas: Red and green sprinkles with white chocolate drizzle.
- Halloween: Orange and black candy melts with spooky designs.
- Valentine’s Day: Pink and white chocolate with heart-shaped sprinkles.
Using Colored Chocolate for Special Occasions
Candy melts come in all colors—use them to match birthdays, weddings, or themed parties!
Storing and Packaging for Freshness
One of the final steps in **how to make chocolate covered pretzel rods without a flat side** is ensuring they stay fresh and look amazing when packaged.
How to Keep Chocolate Covered Pretzel Rods Fresh Longer
- Store in an **airtight container** at room temperature.
- Keep them away from direct sunlight and heat to prevent melting.
- Do not refrigerate, as it can cause condensation and chocolate bloom.
Best Packaging Ideas for Gifting
If you’re making these for gifts, presentation is key! Here are some creative packaging ideas:
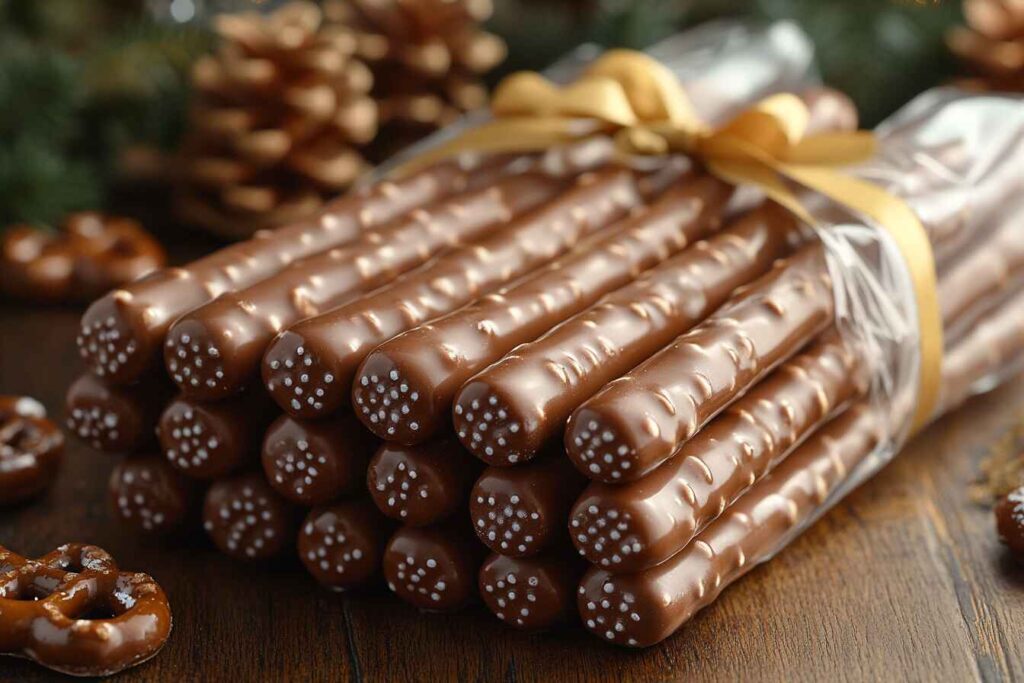
- Cellophane Bags: Tie with a ribbon for a simple but elegant look.
- Mason Jars: Stack them inside for a rustic gift idea.
- Gift Boxes: Line a small box with parchment paper and arrange pretzels inside.
Pro Tip: Add a personalized tag with the flavor and date for an extra special touch.
Conclusion: Enjoying Your Perfectly Coated Pretzel Rods
And that’s it! You now have all the knowledge you need on **how to make chocolate covered pretzel rods without a flat side**.
From preventing a flat side to troubleshooting chocolate issues, these tips will help you create pretzel rods that look like they came straight from a bakery!
So grab your chocolate, get creative with toppings, and enjoy making (and eating) these sweet and salty treats. Happy dipping!