Title: Rustic Blackberry Cobbler: A Timeless Homemade Treat
What if I told you there’s a dessert that perfectly embodies the cozy warmth of home, bursting with the sweet-tart essence of summer berries, and is surprisingly simple to create? Well, get ready to discover the magic of homemade Blackberry Cobbler. This cherished classic isn’t just another sweet treat; it’s a nostalgic journey back to simpler times, a celebration of fresh, vibrant flavors, and a testament to the joy of baking from scratch. In a world brimming with convenient options, taking the time to craft your own luscious cobbler provides an unmatched sense of accomplishment and a truly superior taste experience. Forget overly complicated dessert recipes; this cobbler offers straightforward satisfaction that will impress without the stress.
Ingredients & Kitchen Tools
- Fresh or Frozen Blackberries (6 cups): The star of the show. If using frozen, there’s no need to thaw!
- Granulated Sugar (1 cup, divided): Sweetens the berries and the topping. Adjust to your desired sweetness.
- All-Purpose Flour (1 ¼ cups): Forms the base of our tender, biscuit-like topping.
- Baking Powder (1 ½ teaspoons): Gives the topping its lift and fluffy texture.
- Salt (¼ teaspoon): Enhances all the flavors.
- Unsalted Butter (½ cup / 1 stick, cold and cubed): Crucial for a flaky topping. Cold butter prevents overmixing and ensures tenderness.
- Milk (½ cup): Binds the topping ingredients together. Any dairy or non-dairy milk works.
- Lemon Juice (1 tablespoon): Brightens the berry filling and balances the sweetness.
- Vanilla Extract (1 teaspoon): Adds a warm, aromatic depth to the filling.
- Cinnamon (½ teaspoon, optional): A hint of spice that complements blackberries beautifully.
Kitchen Tools:
- 9×13 inch baking dish: The ideal size for this recipe, ensuring even baking.
- Large mixing bowls (2): One for the berry filling, one for the topping.
- Pastry blender or two forks: For cutting butter into flour, crucial for a flaky topping.
- Whisk: For combining dry ingredients.
- Measuring cups and spoons: For precise ingredient amounts.
- Spatula: For mixing and scraping bowls.
Prep Time & Cooking Schedule
- Prep Time: 20 minutes
- Cook Time: 40-50 minutes
- Resting Time: 15 minutes (after baking, allows juices to set)
This recipe is perfect for a weekend baking project or a weeknight treat if you plan ahead. The active prep is minimal, making it accessible even for busy schedules. The baking time gives you a chance to tidy up or prepare a scoop of vanilla ice cream!
Step-by-Step Instructions
1. Preheat & Prepare: Preheat your oven to 375°F (190°C). Lightly grease a 9×13 inch baking dish. This prevents sticking and makes serving easier.
2. Combine Berry Filling: In a large mixing bowl, combine the blackberries, ½ cup granulated sugar, lemon juice, and vanilla extract. If desired, add the cinnamon. Toss gently to coat the berries. Pour the mixture into the prepared baking dish and spread evenly.
3. Prepare the Topping: In another large bowl, whisk together the flour, remaining ½ cup granulated sugar, baking powder, and salt. Add the cold, cubed unsalted butter. Using a pastry blender or two forks, cut the butter into the dry ingredients until the mixture resembles coarse crumbs with some pea-sized pieces of butter remaining. This step is key for a tender, flaky topping for your homemade Blackberry Cobbler.
4. Add Milk to Topping: Gradually add the milk to the flour-butter mixture, stirring with a fork until just combined. Be careful not to overmix; a slightly shaggy dough is perfect.
5. Assemble & Bake: Drop spoonfuls of the cobbler topping over the blackberry filling. Don’t worry about completely covering the berries; a rustic, uneven look is part of its charm. Bake for 40-50 minutes, or until the topping is golden brown and the berry filling is bubbling vigorously around the edges. The aroma of this delightful treat will fill your kitchen!
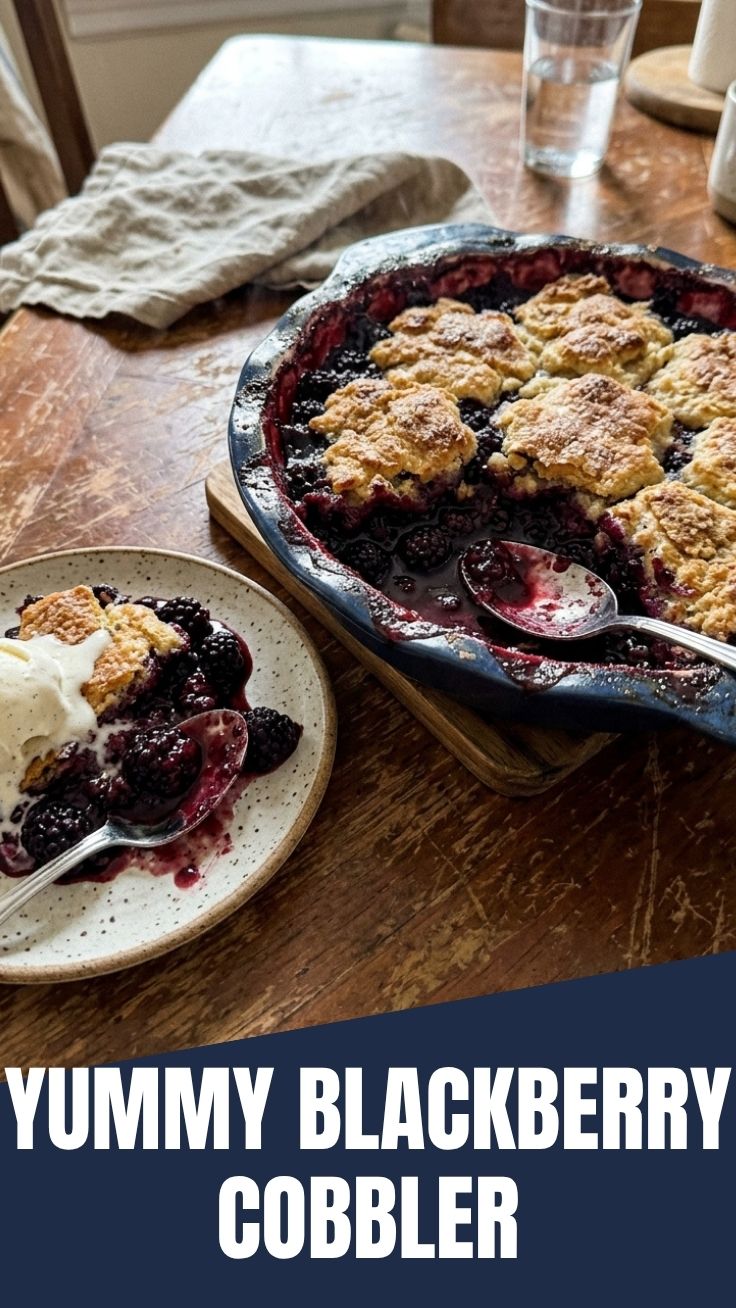
6. Cool & Serve: Let the cobbler cool for at least 15 minutes before serving. This allows the fruit juices to thicken slightly. Serve warm, ideally with a scoop of vanilla ice cream or a dollop of whipped cream, making it one of the most satisfying dessert recipes you’ll ever make.
Nutritional Benefits & Advantages
Blackberries are potent powerhouses of nutrition, packed with antioxidants, fiber, and Vitamin C. This cobbler, while a treat, allows you to enjoy these benefits in a delicious form. The high fiber content aids digestion, while antioxidants combat free radicals. Using fresh fruit means you’re consuming wholesome goodness and controlling the amount of added sugars, a significant advantage over many store-bought desserts.
Tips, Variations & Cooking Advice
- Mixed Berry Cobbler: Replace half the blackberries with raspberries, blueberries, or sliced peaches for a burst of varied flavors.
- Gluten-Free Option: Substitute regular all-purpose flour with a 1:1 gluten-free baking flour blend.
- Dairy-Free Option: Use plant-based milk (almond, oat) and a dairy-free butter alternative.
- Spice It Up: Add a pinch of nutmeg or cardamom to the berry filling for an extra layer of warmth.
- Crispier Topping: Sprinkle a tablespoon of coarse sugar (like turbinado) over the topping before baking for added sparkle and crunch.
Common Mistakes to Avoid
- Overmixing the Topping: This results in a tough, dense topping. Mix just until combined.
- Warm Butter: Using warm or softened butter will make the topping less flaky. Always use cold butter.
- Not Letting it Rest: Cutting into the cobbler immediately can cause the hot fruit juices to run everywhere. Patience ensures a better texture.
- Baking Dish Size: Using a dish too small might cause the filling to bubble over, making a mess. A 9×13 inch dish is perfect.
Storage & Meal Prep Tips
Leftover Blackberry Cobbler can be stored in an airtight container in the refrigerator for up to 3-4 days. To reheat, warm individual portions in the microwave or place the entire dish (covered with foil) in a 350°F (175°C) oven until heated through, about 15-20 minutes. It can also be frozen for up to 3 months; thaw overnight in the refrigerator before reheating. For meal prep, consider baking individual cobblers in ramekins for easy portion control.
Conclusion
There’s truly nothing quite like a homemade Blackberry Cobbler – it’s a simple dessert that delivers immense comfort and flavor. This recipe offers a straightforward path to an incredibly satisfying treat, making homemade baking an accessible joy for everyone. So, next time you’re craving something sweet but wholesome, bypass complicated dessert recipes and give this rustic cobbler a try. Your taste buds (and your family) will thank you. Dive in, bake with love, and share your delicious creations!
FAQs
1. Can I use frozen blackberries?
Yes, absolutely! There’s no need to thaw frozen blackberries before mixing them with the other filling ingredients. They will release their juices as they bake.
2. My cobbler topping didn’t get golden brown. What happened?
Ensure your oven temperature is accurate. Sometimes ovens can run cold. You can also try moving the cobbler to a higher rack in the oven for the last 5-10 minutes of baking to help the topping brown.
3. How do I adjust the sweetness if my berries are very tart or very sweet?
Taste a few of your fresh or thawed berries. If they are very tart, you might want to increase the sugar in the filling by 1/4 cup. If they are exceptionally sweet, you can slightly reduce it.
4. Can I make this as individual cobblers?
Yes, you can! Divide the berry mixture and topping among oven-safe ramekins. Baking time will be reduced, likely around 25-35 minutes, so keep an eye on them.
5. What’s the best way to serve blackberry cobbler?
Warm, with a generous scoop of good quality vanilla bean ice cream or a dollop of freshly whipped cream. A drizzle of crème anglaise also works wonders!