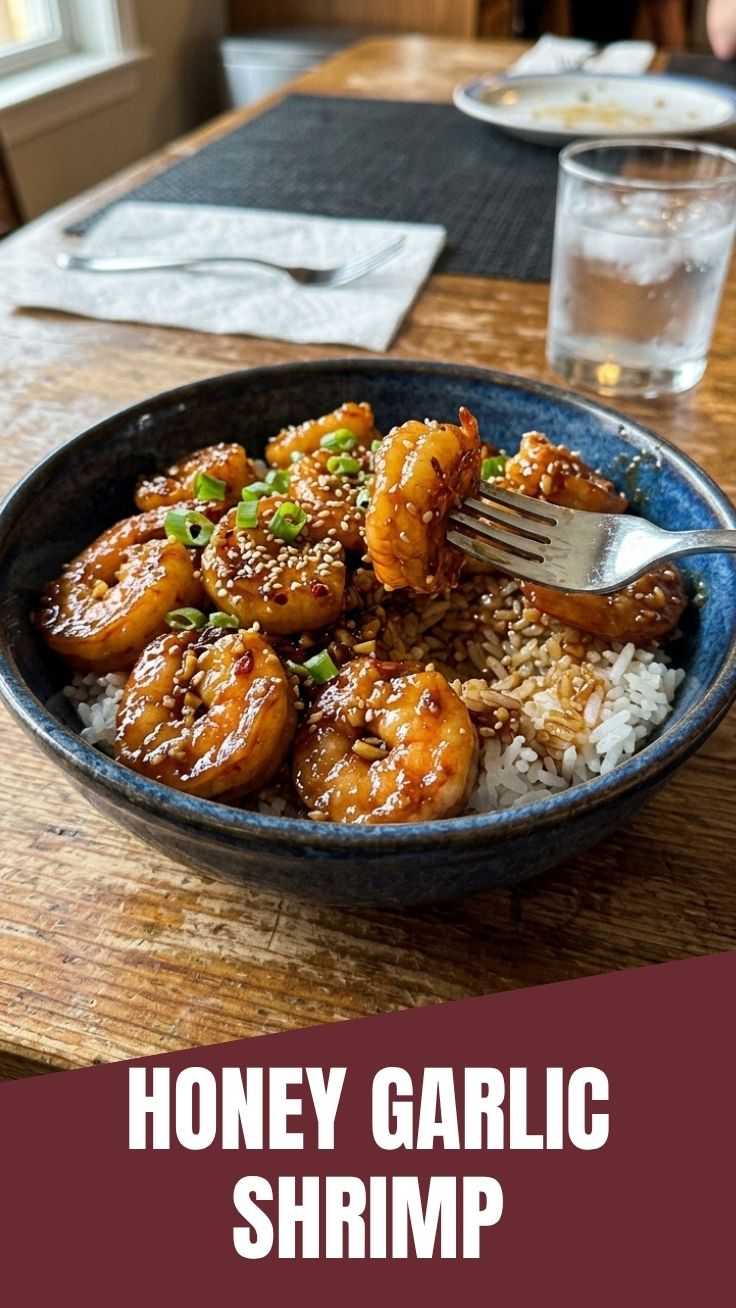
Sweet, Savory, and Simply Irresistible: Mastering the Perfect Honey Garlic Shrimp at Home
Ever wondered how to whip up a gourmet-level meal that’s both incredibly delicious and surprisingly simple to prepare? Look no further than the mesmerizing Honey Garlic Shrimp. This classic dish, with its perfect balance of sweet and savory notes, is a weeknight lifesaver and a crowd-pleaser for any occasion. Crafting this delectable honey garlic shrimp recipe in your own kitchen not only guarantees freshness and quality but also allows you to customize the flavors to your exact preference. Forget expensive takeout; with this guide, you’ll unlock the secrets to restaurant-quality shrimp right at home, impressing your taste buds and your guests.
Ingredients & Kitchen Tools
Gathering your culinary arsenal is the first step to success. Here’s what you’ll need:
- Shrimp (1 lb): Peeled and deveined, fresh or frozen (thawed). Look for large or extra-large for a meatier bite.
- Honey (¼ cup): Pure, natural honey for that essential sweetness and glossy glaze.
- Soy Sauce (¼ cup): Low-sodium preferred, for umami depth and savory balance.
- Garlic (4-6 cloves): Minced finely, the star of the savory show. More garlic means more flavor!
- Rice Vinegar (1 tbsp): Adds a subtle tang to cut through the sweetness. Apple cider vinegar can be substituted.
- Sesame Oil (1 tsp): Toasted sesame oil provides an aromatic, nutty finish.
- Sriracha or Red Pepper Flakes (½ tsp, optional): For a touch of heat, if desired.
- Cornstarch (1 tsp): Mixed with a tablespoon of water, creates a slurry to thicken the sauce.
- Olive Oil or Vegetable Oil (1 tbsp): For sautéing the shrimp.
- Fresh Chives or Green Onions (for garnish): Chopped, for a pop of color and fresh oniony flavor.
- Large Skillet or Wok: Non-stick preferred, for even cooking and easy cleanup.
- Mixing Bowl: For combining the sauce ingredients.
- Whisk: To ensure a smooth sauce.
- Tongs: For flipping and moving the shrimp.
Prep Time & Cooking Schedule
This recipe is a marvel of efficiency, perfect for busy evenings.
- Prep Time: 10 minutes (Thawing shrimp and mincing garlic are the main tasks here.)
- Cook Time: 8-10 minutes (Shrimp cooks very quickly, so keep an eye on it!)
- Resting Time: 0 minutes (Serve immediately for best results!)
Plan to start your side dishes (like rice or noodles) about 20-25 minutes before you begin cooking the shrimp, as the shrimp itself cooks in a flash. This ensures everything is ready to serve hot and fresh simultaneously.
Step-by-Step Instructions
Let’s dive into creating your perfect batch of Honey Garlic Shrimp. Follow these steps meticulously for a truly unforgettable meal.
1. Prepare the Shrimp: If using frozen shrimp, thaw it completely by placing it in a colander under cold running water for a few minutes or in the refrigerator overnight. Pat the shrimp thoroughly dry with paper towels. Excess moisture can lead to steaming instead of searing.
2. Whisk the Sauce: In a medium bowl, whisk together the honey, soy sauce, minced garlic, rice vinegar, sesame oil, and sriracha (if using). In a separate small cup, combine cornstarch with 1 tablespoon of water to create a slurry. Set both aside.
3. Sauté the Shrimp: Heat olive oil in a large skillet or wok over medium-high heat. Once the oil shimmers, add the dried shrimp in a single layer. Cook for 1-2 minutes per side until they turn pink and opaque. Avoid overcrowding the pan; cook in batches if necessary to ensure even searing. Overcooked shrimp becomes rubbery, so watch them closely!
4. Add the Sauce: Reduce the heat to medium. Pour the prepared honey-garlic sauce over the cooked shrimp. Bring the sauce to a gentle simmer.
5. Thicken the Sauce: Stir the cornstarch slurry once more, then gradually add it to the simmering sauce, stirring constantly. The sauce will begin to thicken and coat the shrimp beautifully. Continue stirring for 1-2 minutes until the sauce reaches your desired consistency. It should be glossy and cling to the shrimp. This is where the magic of the honey garlic shrimp recipe truly shines!
6. Garnish and Serve: Remove the skillet from the heat immediately. Garnish with chopped fresh chives or green onions. Serve hot over rice, noodles, or alongside steamed vegetables.
Nutritional Benefits & Advantages
Shrimp is a lean protein powerhouse, offering essential nutrients with minimal calories. It’s an excellent source of selenium, vitamin B12, and phosphorus, all vital for a healthy metabolism and immune function. Furthermore, shrimp contains astaxanthin, a powerful antioxidant. The garlic in this dish contributes to heart health and boasts anti-inflammatory properties, while honey provides natural sweetness with added antioxidants.
Tips, Variations & Cooking Advice
- Spicy Kick: For more heat, increase the sriracha or add a pinch of dried chili flakes with the garlic.
- Citrus Brightness: A squeeze of fresh lime juice at the end can add a zesty counterpoint.
- Vegetable Boost: Sauté broccoli florets, bell peppers, or snap peas in the same pan before adding the shrimp for a complete meal.
- Gluten-Free: Use tamari instead of soy sauce and ensure all other ingredients are certified gluten-free.
- Dairy-Free: This recipe is naturally dairy-free!
- Marinade Option: For deeper flavor penetration, you can marinate the shrimp in half of the sauce for 15-30 minutes before cooking, reserving the other half for the finishing glaze.
Common Mistakes to Avoid
- Overcooking Shrimp: The most common pitfall! Shrimp cooks very quickly. As soon as it turns pink and opaque, it’s done. A minute too long and it becomes tough and rubbery.
- Not Drying Shrimp: Wet shrimp will steam instead of sear, resulting in a less appealing texture. Always pat them thoroughly dry.
- Overcrowding the Pan: Too much shrimp in the pan lowers the heat, preventing a good sear. Cook in batches if necessary.
- Skipping the Cornstarch Slurry: This is crucial for achieving that signature glossy, thick sauce.
Storage & Meal Prep Tips
Leftover Honey Garlic Shrimp can be stored in an airtight container in the refrigerator for up to 2-3 days. Reheat gently in a skillet over low heat or in the microwave. Be careful not to overcook when reheating. While safe to freeze, the texture of shrimp can degrade when thawed, becoming a bit tougher. For best results, enjoy this dish fresh. You can meal prep by whisking the sauce ingredients ahead of time and storing them in the fridge, then simply cook the shrimp and add the sauce when ready to eat.
Conclusion
There you have it – a foolproof guide to crafting irresistible Honey Garlic Shrimp in your own kitchen. This dish proves that gourmet flavors don’t require extensive effort or time. By following these simple steps, you’ll consistently achieve perfectly cooked shrimp coated in a rich, sweet, and savory glaze. We hope this comprehensive honey garlic shrimp recipe inspires you to get cooking! Try it tonight, share your culinary triumphs in the comments below, and explore our other delicious and easy-to-follow recipes!
FAQs
Q1: Can I use frozen pre-cooked shrimp?
A1: While you can, it’s generally not recommended for this recipe. Pre-cooked shrimp tends to be less flavorful and can easily become rubbery when reheated. Fresh or frozen raw shrimp will yield a much better texture and taste.
Q2: How do I know when the shrimp is perfectly cooked?
A2: Shrimp cooks very quickly. It’s done when it turns pink, opaque, and curls into a C-shape. If it forms a tight O-shape, it’s likely overcooked.
Q3: What can I serve with Honey Garlic Shrimp?
A3: This dish pairs wonderfully with steamed white rice, brown rice, quinoa, noodles (like lo mein or ramen), or a variety of steamed or roasted vegetables such as broccoli, asparagus, or green beans.
Q4: Can I make this ahead of time for a party?
A4: You can prep the sauce ingredients in advance, but it’s best to cook the shrimp just before serving to maintain its ideal texture. Reheating shrimp can sometimes compromise its tenderness.
Q5: What if my sauce isn’t thickening enough?
A5: Ensure your cornstarch slurry is well-mixed and that the sauce is at a gentle simmer when you add it. If it’s still too thin after a couple of minutes, you can quickly mix another small slurry (½ tsp cornstarch with ½ tsp water) and stir it in.