Unlock the Secret to Irresistible Homemade Peanut Butter Cookies
Ever wondered how to achieve that perfect balance of chewy, soft, and utterly delicious in a homemade cookie? Forget store-bought! There’s an undeniable joy and unparalleled flavor that comes from baking your own Peanut Butter Cookies right in your own kitchen. This isn’t just about a sweet treat; it’s about creating a moment, a memory, and a truly satisfying culinary experience. Preparing an Easy Peanut Butter Cookie Recipe at home offers complete control over ingredients, allowing you to tailor sweetness and avoid artificial additives, resulting in a healthier and undeniably more flavorful bite every single time.
Ingredients & Kitchen Tools
- 1 cup (2 sticks) Unsalted Butter, softened: Essential for a rich, tender crumb. Softened butter creams beautifully, incorporating air for a lighter cookie.
- 1 cup Granulated Sugar: Provides sweetness and contributes to the cookie’s crisp exterior.
- 1 cup Packed Light Brown Sugar: Adds moisture, chewiness, and a subtle caramel note.
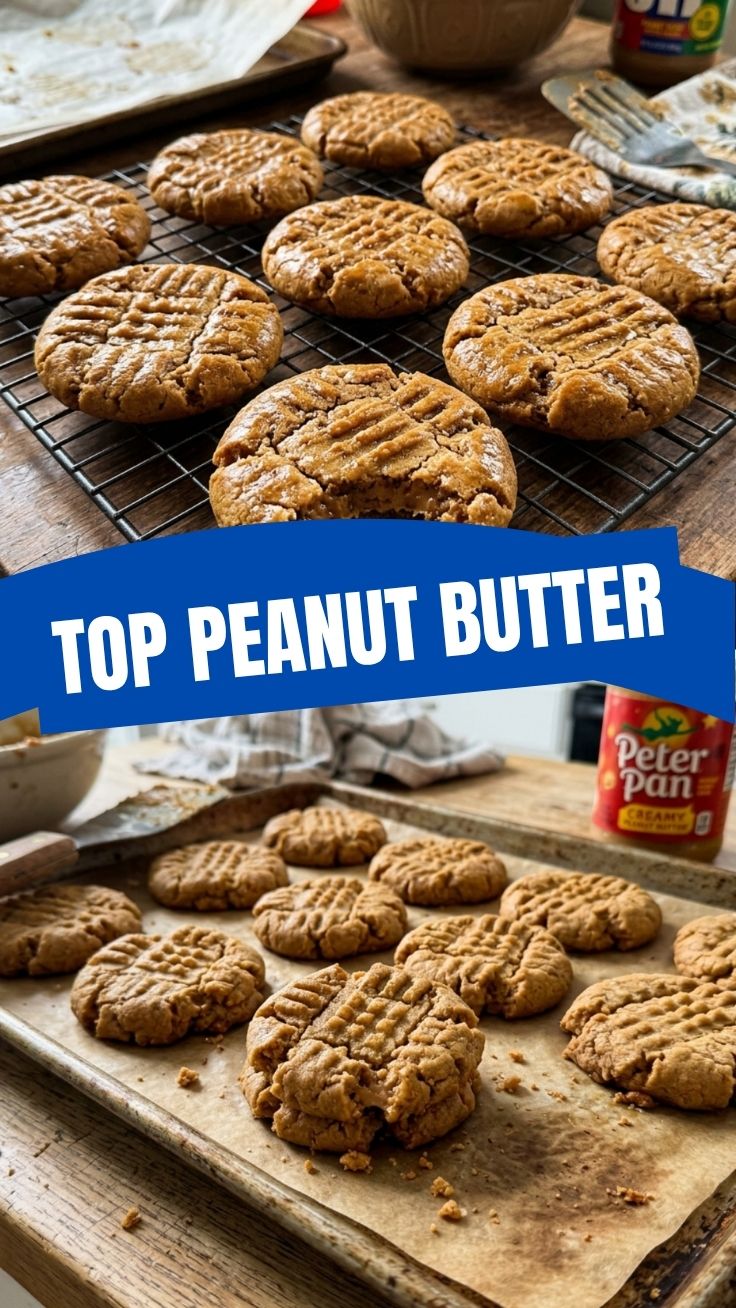
- 1 cup Creamy Peanut Butter: The star ingredient! Choose a good quality, creamy variety (not natural, as the oils separate and can alter texture).
- 2 Large Eggs: Act as a binder, providing structure and richness.
- 1 tsp Vanilla Extract: Enhances all the other flavors. Pure vanilla extract is always best.
- 2 ½ cups All-Purpose Flour: The primary dry ingredient, giving the cookies their structure.
- 1 tsp Baking Soda: A leavening agent that helps the cookies rise and spread.
- ½ tsp Salt: Balances the sweetness and enhances the overall flavor.
- Optional: ½ cup Chocolate Chips or Chopped Peanuts: For an extra layer of flavor and texture.
Kitchen Tools:
- Large Mixing Bowls (2): One for wet ingredients, one for dry.
- Electric Mixer (Stand or Handheld): For creaming butter and sugars effectively. A wooden spoon can work, but it’s more effort.
- Rubber Spatula: For scraping down the bowl and folding ingredients.
- Measuring Cups & Spoons: For accurate ingredient measurements.
- Baking Sheets: Large, flat metal sheets to bake the cookies on.
- Parchment Paper or Silicone Baking Mats: Prevents sticking and ensures even baking.
- Wire Cooling Rack: Allows air circulation for even cooling and prevents soggy bottoms.
Prep Time & Cooking Schedule
- Prep Time: 15 minutes
- Chill Time (Optional, but Recommended): 30 minutes
- Cook Time: 10-12 minutes per batch
- Resting Time (After Baking): 5 minutes on the baking sheet, then transfer to a wire rack to cool completely.
Allowing the dough to chill for at least 30 minutes helps prevent excessive spreading, resulting in thicker, chewier cookies. It also gives the flavors a chance to meld beautifully. This recipe yields approximately 3 dozen cookies, so plan your baking time accordingly for multiple batches.
Step-by-Step Instructions
1. Preheat & Prepare: Preheat your oven to 375°F (190°C). Line baking sheets with parchment paper or silicone baking mats.
2. Combine Dry Ingredients: In a medium bowl, whisk together the all-purpose flour, baking soda, and salt. Set aside.
3. Cream Wet Ingredients: In a large mixing bowl, using an electric mixer, cream together the softened butter, granulated sugar, and packed light brown sugar until light and fluffy, about 2-3 minutes. This aeration is key to a tender cookie.
4. Add Peanut Butter & Eggs: Beat in the creamy peanut butter until thoroughly combined. Then, add the eggs one at a time, beating well after each addition. Stir in the vanilla extract.
5. Combine Wet & Dry: Gradually add the dry ingredient mixture to the wet ingredients, mixing on low speed until just combined. Be careful not to overmix, as this can lead to tough cookies. If desired, gently fold in chocolate chips or chopped peanuts at this stage.
6. Chill (Optional but Recommended): Cover the dough and refrigerate for 30 minutes. This helps the cookies hold their shape better during baking.
7. Form & Bake: Scoop rounded tablespoons of dough onto the prepared baking sheets, spacing them about 2 inches apart. Use a fork to create a crisscross pattern on top of each cookie. This classic touch helps the cookies bake evenly and is the signature of a delicious batch of Peanut Butter Cookies. Bake for 10-12 minutes, or until the edges are lightly golden brown and the centers are still slightly soft. For an incredibly straightforward and delightful Easy Peanut Butter Cookie Recipe, ensuring even baking is paramount.
8. Cool: Let the cookies cool on the baking sheets for 5 minutes before transferring them to a wire rack to cool completely. This prevents them from breaking.
Nutritional Benefits & Advantages
While these are undeniably a treat, peanut butter cookies do offer some nutritional advantages. Peanut butter itself is a good source of protein, healthy fats (monounsaturated and polyunsaturated), and dietary fiber, which can contribute to satiety. They also provide essential vitamins and minerals like Vitamin E, B vitamins, magnesium, and potassium. Homemade versions allow you to control sugar content and avoid preservatives found in many commercially produced cookies, making them a more wholesome indulgence.
Tips, Variations & Cooking Advice
- For Extra Chewy Cookies: Slightly underbake them, taking them out when the edges are set but the centers still look a little soft. They will continue to cook as they cool.
- Flavor Boosts: Add a pinch of cinnamon or nutmeg to the dry ingredients for a warm spice note. For a salty-sweet twist, sprinkle a little flaky sea salt on top of the cookies before baking.
- Dietary Adaptations:
* Gluten-Free: Substitute the all-purpose flour with a 1:1 gluten-free baking flour blend containing xanthan gum.
* Dairy-Free: Use a good quality dairy-free butter substitute.
- Nut Butter Alternatives: While the flavor will change, you can experiment with almond butter or cashew butter for a different cookie experience.
Common Mistakes to Avoid
- Overmixing the Dough: This develops the gluten in the flour, resulting in tough, dry cookies. Mix until just combined.
- Not Softening Butter: Cold butter won’t cream properly, leading to a denser cookie.
- Overbaking: This is the most common culprit for dry, hard cookies. Keep an eye on them, removing them when the edges are set and lightly golden.
- Ignoring the Crisscross Pattern: While aesthetic, it also helps flatten the cookies and ensures even baking.
- Baking on a Hot Sheet: Always use a cool or room-temperature baking sheet, especially if baking multiple batches. A hot sheet will cause the cookie dough to spread too quickly.
Storage & Meal Prep Tips
- Room Temperature: Store cooled peanut butter cookies in an airtight container at room temperature for up to 3-4 days. Placing a slice of bread in the container can help keep them soft.
- Freezing Baked Cookies: Once completely cooled, place cookies in a single layer on a baking sheet and freeze for an hour until firm. Then, transfer to a freezer-safe bag or container, separating layers with parchment paper. They will keep for up to 3 months. Thaw at room temperature.
- Freezing Cookie Dough: Scoop dough balls onto a parchment-lined baking sheet and freeze until solid. Transfer frozen dough balls to a freezer-safe bag. When ready to bake, place frozen dough on a baking sheet and bake as usual, adding 1-2 minutes to the baking time.
Conclusion
There’s simply nothing quite like the aroma and taste of homemade cookies, and mastering a superb Peanut Butter Cookies recipe is a wonderfully rewarding experience. This guide provides all the nuances to help you bake perfectly tender, delightfully chewy cookies that will become an instant family favorite. Whether you’re a seasoned baker or just starting, this Easy Peanut Butter Cookie Recipe empowers you to create a delicious, wholesome treat from scratch. Don’t hesitate to give it a try – you’ll be amazed at the results! Share your baking adventures and any delicious modifications in the comments below!
FAQs
Q1: Can I use natural peanut butter for this recipe?
A1: It’s generally not recommended for this specific recipe as the oil separation in natural peanut butter can alter the cookie’s texture, making them drier or more crumbly. Creamy, processed peanut butter (like Jif or Skippy) works best for consistent results.
Q2: My cookies are spreading too much. What went wrong?
A2: Common culprits include using butter that’s too soft (almost melted), not chilling the dough, or using a baking soda that isn’t fresh. Ensure your butter is just softened, and definitely try chilling the dough for at least 30 minutes.
Q3: How do I get those perfect crisscross marks?
A3: After scooping the dough onto the baking sheet, use the tines of a fork to gently press down once horizontally, then once vertically, creating a “cross” pattern. Don’t press too hard, just enough to flatten them slightly.
Q4: Can I make these ahead of time for a party?
A4: Absolutely! The cookie dough can be made up to 2-3 days in advance and stored in the refrigerator, or frozen for up to 3 months. Baked cookies also freeze well, making them perfect for meal prepping for events.