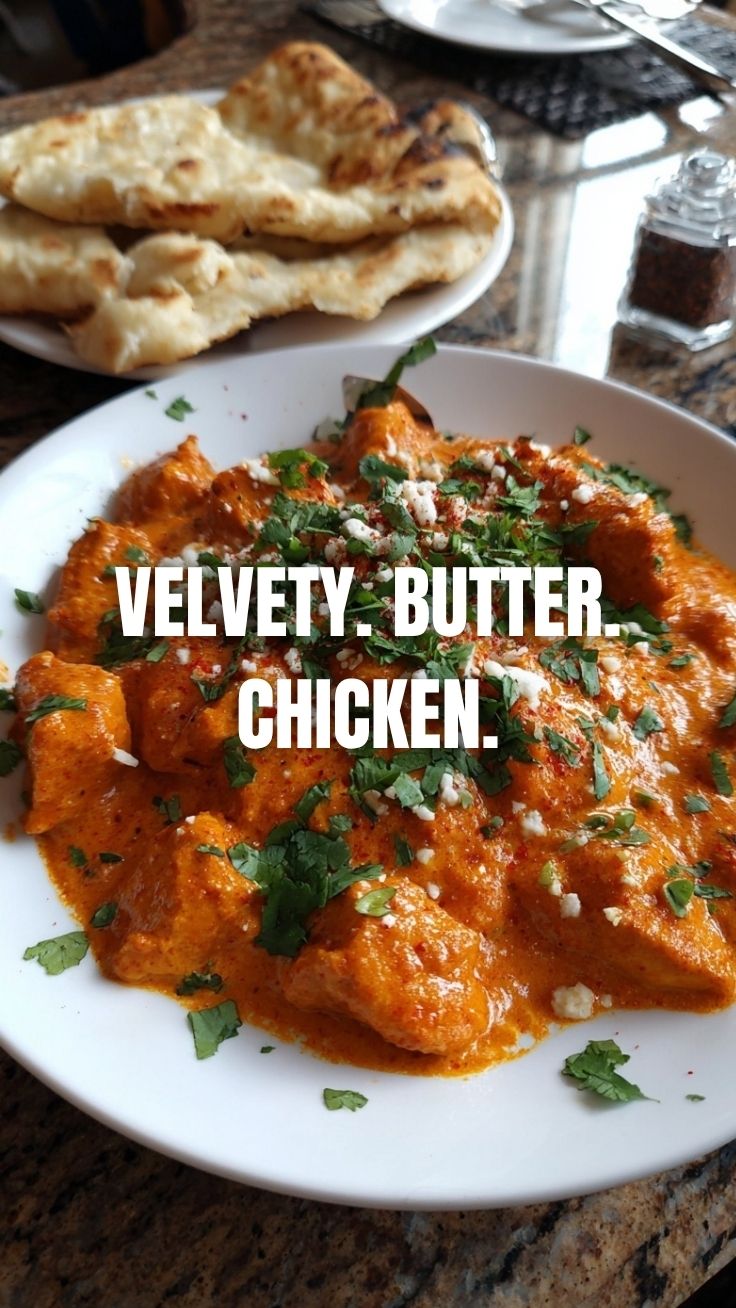
Master the Perfect Homemade Butter Chicken: A Culinary Journey from Your Kitchen
Ever wondered if you could recreate that rich, creamy, and undeniably satisfying restaurant-quality Butter Chicken right in your own kitchen? The answer is a resounding YES! While dining out offers convenience, there’s an unparalleled joy and sense of accomplishment that comes with preparing this iconic dish yourself. Not only do you get to control the quality of ingredients, but you also personalize the flavors, making it a truly bespoke experience. This comprehensive guide will walk you through crafting a delectable Butter Chicken that rivals your favorite takeout, offering not just a recipe but a culinary adventure. Forget the myth that complex dishes are only for professional chefs; with our detailed instructions, even novice cooks can achieve culinary greatness, perhaps even rivaling a well-made Chicken Tikka Masala!
Ingredients & Kitchen Tools
Crafting the perfect Butter Chicken requires a blend of fresh ingredients and basic kitchen essentials.
- 1.5 lbs Boneless, Skinless Chicken Thighs: Preferred over breast for its juiciness and flavor. Cut into 1-inch pieces.
- 1/2 cup Plain Yogurt (Greek or regular): Tenderizes the chicken and forms the base of the marinade. For dairy-free, use a plain, unsweetened coconut or almond yogurt.
- 2 tablespoons Ginger-Garlic Paste: A crucial aromatic blend. You can make it fresh or buy pre-made.
- 1 teaspoon Garam Masala: A fragrant spice blend vital for authentic flavor.
- 1 teaspoon Turmeric Powder: Adds vibrant color and earthy notes.
- 1 teaspoon Red Chili Powder (or Kashmiri Chili Powder for vibrant color and mild heat): Adjust to your spice preference.
- 1/2 teaspoon Cumin Powder: Adds warmth and depth.
- Salt to taste: Essential for seasoning.
- 2 tablespoons Ghee (Clarified Butter) or Unsalted Butter: For sautéing; ghee offers a richer, nutty flavor. Olive oil is a suitable substitute.
- 1 large Onion, finely chopped: Forms the aromatic base of the sauce.
- 1 (28-ounce) can Crushed Tomatoes: Provides the tang and body for the sauce.
- 1/2 cup Cashews (raw, unsalted), soaked in hot water for 15 minutes: Creates a creamy, rich texture without relying solely on dairy.
- 1/4 cup Heavy Cream (or Coconut Milk for dairy-free): Adds a luxurious finish and balances the spices.
- 1 tablespoon Honey or Brown Sugar: Sweetness to balance the acidity of tomatoes and enhance flavors.
- Fresh Cilantro, chopped: For garnish. Adds freshness and color.
- Basmati Rice or Naan Bread: For serving.
Kitchen Tools:
- Large Skillet or Dutch Oven: For cooking the chicken and simmering the sauce.
- Blender or Immersion Blender: Essential for achieving a smooth, creamy sauce.
- Measuring Cups and Spoons: For accurate ingredient portions.
- Mixing Bowls: For marinating and preparing ingredients.
- Sharp Knife and Cutting Board: For prepping chicken and vegetables.
Prep Time & Cooking Schedule

Planning is key to a stress-free cooking experience. This recipe involves a marinating period, which can be done ahead of time, making dinner prep much quicker.
- Prep Time: 20 minutes (plus 30 minutes to overnight for marinating)
- Cook Time: 40-50 minutes
- Resting Time: 5-10 minutes (after cooking chicken)
Context: The longer the chicken marinates, the more flavorful and tender it will become. If time is short, a 30-minute marinade will suffice, but for best results, aim for at least 2 hours or overnight. This recipe is perfect for a weekend project or can be broken down into steps for weekday convenience by marinating the chicken the night before.
Step-by-Step Instructions
1. Marinate the Chicken: In a large bowl, combine the cut chicken pieces with yogurt, ginger-garlic paste, garam masala, turmeric powder, red chili powder, cumin powder, and salt. Mix well, ensuring all chicken is coated. Cover and refrigerate for at least 30 minutes, or ideally 2-4 hours, or even overnight. This crucial step is what makes a succulent Butter Chicken.
2. Prepare the Cashew Paste: While the chicken is marinating, drain the soaked cashews and blend them with a little water until a smooth paste forms. Set aside.
3. Sear the Chicken: Heat 1 tablespoon of ghee or butter in your skillet or Dutch oven over medium-high heat. Add the marinated chicken in batches, ensuring not to overcrowd the pan. Sear until lightly browned on all sides, about 3-4 minutes per batch. The chicken doesn’t need to be cooked through at this stage. Remove the chicken and set aside.
4. Sauté Aromatics: In the same pan, add the remaining 1 tablespoon of ghee or butter. Add the chopped onion and sauté until softened and translucent, about 5-7 minutes.
5. Build the Sauce Base: Stir in the remaining ginger-garlic paste and cook for 1 minute until fragrant. Add the crushed tomatoes, cashew paste, honey or brown sugar, and a pinch more of garam masala and salt. Bring to a gentle simmer.
6. Simmer and Blend: Reduce heat to low, cover, and let the sauce simmer for 15-20 minutes, stirring occasionally, allowing the flavors to meld beautifully. Once simmered, use an immersion blender directly in the pot, or carefully transfer the sauce to a regular blender, and blend until completely smooth. Strain the sauce through a fine-mesh sieve for an extra silky finish, if desired – this elevates it to a truly restaurant-quality experience, reminiscent of the best Chicken Tikka Masala.
7. Combine and Finish: Return the smooth sauce to the pan. Add the seared chicken pieces to the sauce. Stir in the heavy cream (or coconut milk). Simmer for another 10-15 minutes, or until the chicken is cooked through and the sauce has thickened slightly. Taste and adjust seasoning as needed, adding more salt or honey if desired.
8. Garnish and Serve: Ladle the hot Butter Chicken into serving bowls. Garnish generously with fresh chopped cilantro. Serve immediately with warm naan bread or fluffy basmati rice.
Nutritional Benefits & Advantages
This homemade Butter Chicken offers more than just incredible flavor. Chicken thighs provide a good source of lean protein, essential for muscle repair and growth. Tomatoes are packed with lycopene, a powerful antioxidant, and vitamins A and C. The healthy fats from ghee and cashews contribute to satiety and aid in nutrient absorption. By preparing it at home, you avoid excessive sodium, unhealthy fats, and artificial ingredients often found in restaurant versions, making it a healthier choice for your family.
Tips, Variations & Cooking Advice
- Spicy Kick: For those who prefer more heat, add a finely chopped green chili along with the onions, or increase the red chili powder.
- Smoky Flavor: If you have tandoori powder, a pinch can be added to the marinade for a subtle smoky note, reminiscent of a tandoor-cooked dish.
- Dairy-Free: As mentioned, use plain unsweetened coconut or almond yogurt for marinating and coconut milk instead of heavy cream. Ensure ghee is replaced with olive oil or a dairy-free butter substitute.
- Vegetarian Option: Replace chicken with paneer (Indian cheese) or firm tofu, cut into cubes. Marinate and sear similarly, then add to the sauce.
- Thicker Sauce: If your sauce is too thin, simmer it uncovered for a longer period until it reaches your desired consistency. If too thick, add a splash of water or chicken broth.
Common Mistakes to Avoid
- Overcrowding the Pan: When searing chicken, work in batches. Overcrowding lowers the pan’s temperature, steaming the chicken instead of browning it, which prevents that delicious caramelized flavor.
- Not Marinating Long Enough: The marinade is crucial for tenderizing and infusing flavor into the chicken. Don’t skip or shorten this step too much.
- Skipping the Blend: For that signature smooth, velvety sauce, blending is essential. Don’t rely on mashing; a blender creates the perfect texture.
- High Heat Simmering: When the sauce is simmering, keep the heat low. Too high a heat can cause the sauce to stick to the bottom and burn, especially with the cashews.
- Too Much Spice: While flavor is key, overpowering the dish with too much chili powder can ruin the delicate balance. Start with the recommended amount and adjust incrementally.
Storage & Meal Prep Tips
Butter Chicken is an excellent dish for meal prep as its flavors often deepen and improve overnight.
- Refrigeration: Store cooled Butter Chicken in an airtight container in the refrigerator for up to 3-4 days.
- Freezing: This dish freezes exceptionally well. Transfer cooled Butter Chicken to freezer-safe containers or heavy-duty freezer bags. It can be stored in the freezer for up to 3 months. Thaw overnight in the refrigerator before reheating.
- Reheating: Reheat gently on the stovetop over low heat, stirring occasionally, or in the microwave. If the sauce seems too thick after reheating, add a splash of water or broth to reach your desired consistency. Serve with freshly made rice or naan.
Conclusion
There you have it – a comprehensive guide to mastering an authentic and irresistible homemade Butter Chicken. This recipe proves that you don’t need to be a culinary expert to create dishes that evoke the warmth and comfort of your favorite Indian restaurant. The rich, creamy sauce embracing tender chicken pieces is a testament to the magic that happens when you combine fresh ingredients with a little patience and love. Give this recipe a try; you’ll be amazed at the depth of flavor you can achieve, perhaps even inspiring you to explore other beloved dishes like Chicken Tikka Masala.
FAQs
Q1: Can I use chicken breast instead of thighs?
A1: Yes, you can. However, chicken thighs are generally more forgiving and remain juicier. If using breast, be careful not to overcook it, as it can dry out quickly.
Q2: What if I don’t have all the spices?
A2: Garam masala is the most crucial spice for authentic flavor. For other spices, a general curry powder can be a substitute, but the flavor profile will differ.
Q3: How do I make the sauce even smoother without a blender?
A3: Unfortunately, a blender (immersion or traditional) is almost essential for the velvety texture of this sauce. If you absolutely don’t have one, you can finely mince the onions and cashews, but the sauce won’t be as smooth.
Q4: Can I prepare the sauce ahead of time?
A4: Absolutely! The sauce can be made a day or two in advance and stored in the refrigerator. Reheat gently, then add the freshly cooked chicken, and simmer until heated through.
Q5: My sauce is too oily. What went wrong?
A5: This can happen if too much ghee/butter is used, or if the fat separates. To fix it, you can skim off excess oil from the top. Ensure you blend the sauce well, as this helps emulsify the fats.