Bake the Best Homemade Pumpkin Bread: Your Autumn Essential
Ever craved that comforting aroma of freshly baked goods wafting through your home, especially as the leaves begin to turn? There’s something uniquely satisfying about creating culinary magic in your own kitchen, and few things capture the essence of fall quite like a perfectly spiced loaf of Pumpkin Bread. Beyond the delightful taste, baking at home allows you to control the quality of ingredients, customize flavors, and avoid artificial additives, making it a valuable endeavor for both your palate and well-being. Today, we’re diving deep into crafting an easy, wholesome batch of this seasonal sensation, infused with the unmistakable warmth of pumpkin spice.
Ingredients & Kitchen Tools
Gathering your mise en place before you begin is essential for a smooth baking experience. Here’s what you’ll need:
- 1 ½ cups all-purpose flour: The base of our bread, providing structure.
- 1 teaspoon baking soda: Our leavening agent for a tender crumb.
- ½ teaspoon salt: Enhances flavor and balances sweetness.
- 1 ½ teaspoons ground pumpkin spice: The heart of our flavor profile, offering warmth and complexity. (Alternatively, use a blend of cinnamon, nutmeg, ginger, and cloves.)
- ½ cup (1 stick) unsalted butter, softened: Adds richness and moisture.
- 1 ½ cups granulated sugar: Sweetness and contributes to a golden crust.
- 2 large eggs: Binds ingredients and adds moisture.
- 1 cup pumpkin puree: Not pumpkin pie filling! Provides moisture, flavor, and that signature orange hue. (Look for pure canned pumpkin.)
- ½ cup milk (dairy or non-dairy): Adjusts consistency for a perfect batter.
- Optional add-ins: ½ cup chopped pecans or walnuts for crunch, or ½ cup chocolate chips for a sweeter treat.
Kitchen Tools:
- 9×5 inch loaf pan: The ideal size for a standard loaf of bread.
- Large mixing bowls (2): One for dry ingredients, one for wet.
- Whisk: For combining dry ingredients and light mixing.
- Rubber spatula or wooden spoon: For folding batter and scraping bowls.
- Measuring cups and spoons: Accuracy is key in baking.
- Oven mitts: For safety when handling hot pans.
- Wire rack: For cooling the bread to prevent sogginess.
Prep Time & Cooking Schedule
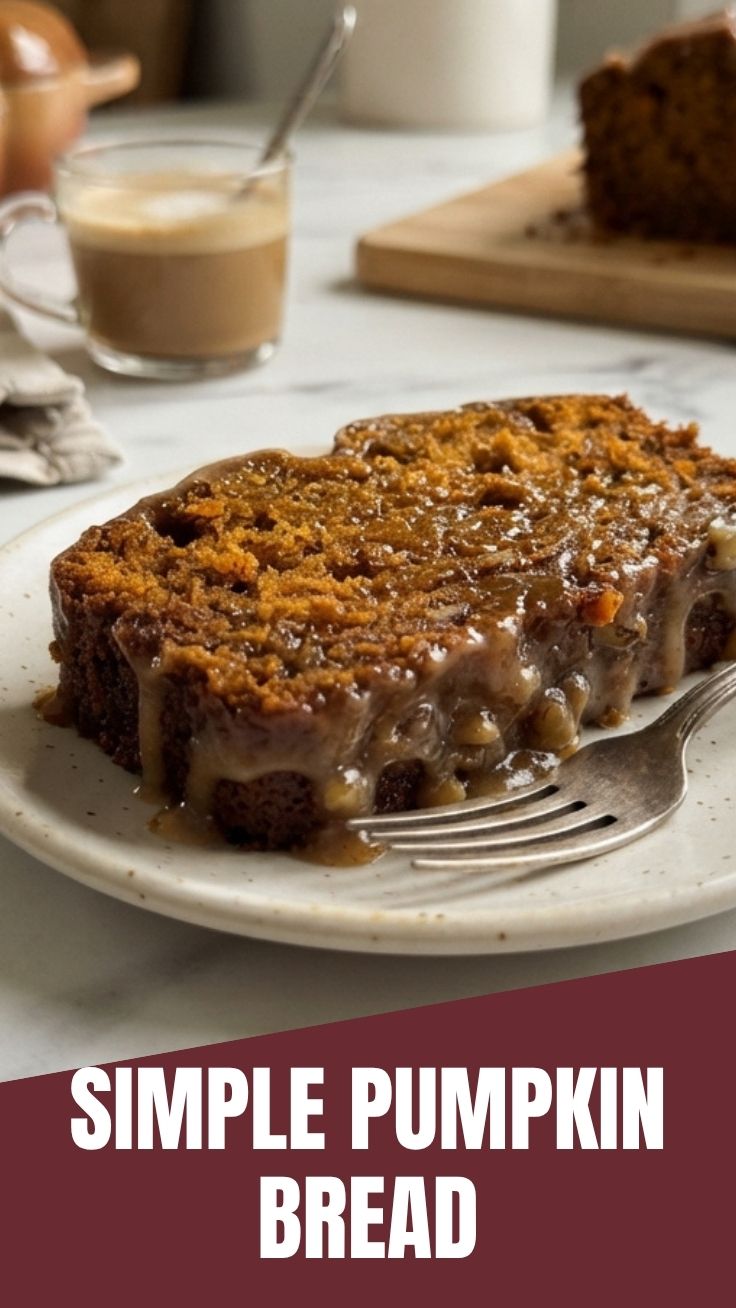
Planning ahead ensures a stress-free baking session. This recipe is straightforward, but allowing proper cooling time is crucial for the best texture.
- Prep Time: 15 minutes (This includes gathering ingredients, measuring, and preheating the oven.)
- Cook Time: 50-60 minutes (Will vary slightly depending on your oven.)
- Resting Time: 15-20 minutes in the pan, then at least 1 hour on a wire rack (Essential for the bread to set and prevent crumbling when sliced.)
Aim to start this recipe about 2 hours before you plan to serve it, allowing ample time for baking and cooling. The aroma alone is a reward!
Step-by-Step Instructions
Let’s get baking! Follow these steps closely for a truly delightful Pumpkin Bread.
1. Preheat & Prepare: Preheat your oven to 350°F (175°C). Grease and flour your 9×5 inch loaf pan thoroughly, or line it with parchment paper leaving an overhang for easy removal.
2. Combine Dry Ingredients: In a large bowl, whisk together the flour, baking soda, salt, and ground pumpkin spice. Set aside.
3. Cream Wet Ingredients: In another large bowl, cream together the softened butter and granulated sugar until light and fluffy. Beat in the eggs one at a time, ensuring each is fully incorporated before adding the next. Stir in the pumpkin puree until well combined.
4. Alternate Wet and Dry: Gradually add the dry ingredients to the wet ingredients, alternating with the milk. Begin and end with the dry ingredients. Mix until just combined – be careful not to overmix, as this can lead to a tough bread. If using, fold in any optional add-ins now.
5. Bake: Pour the batter evenly into the prepared loaf pan. Bake for 50-60 minutes, or until a wooden skewer inserted into the center comes out clean.
6. Cool: Let the bread cool in the pan for 15-20 minutes before carefully inverting it onto a wire rack to cool completely. Slicing too early can cause it to crumble.
Nutritional Benefits & Advantages
Beyond its comforting taste, homemade Pumpkin Bread offers surprising nutritional benefits. Pumpkin puree is rich in Vitamin A (beta-carotene), an antioxidant essential for vision, immune function, and skin health. It’s also a good source of Vitamin C, potassium, and fiber, contributing to digestive health and feelings of fullness. By making it yourself, you can control sugar levels and opt for whole-grain flour substitutions, further boosting its nutritional profile compared to store-bought versions.
Tips, Variations & Cooking Advice
- Moisture Control: For extra moist bread, ensure your pumpkin puree isn’t too watery. If using fresh pumpkin, drain any excess liquid.
- Spice It Up: Adjust the amount of pumpkin spice to your preference. You can also add a pinch of black pepper or a dash of vanilla extract for extra depth.
- Gluten-Free Option: Substitute regular flour with a 1:1 gluten-free baking flour blend. Make sure it contains xanthan gum for structure.
- Dairy-Free Option: Use a plant-based milk alternative and a dairy-free butter substitute.
- Smaller Loaves: This recipe can also make two smaller loaves. Adjust baking time accordingly (around 35-45 minutes).
- Cream Cheese Glaze: For an extra treat, whisk together 4 oz softened cream cheese, ¼ cup softened butter, 1 cup powdered sugar, and ½ teaspoon vanilla extract for a simple glaze.
Common Mistakes to Avoid
- Overmixing the Batter: This develops gluten too much, resulting in a dense, tough bread. Mix until just combined.
- Using Pumpkin Pie Filling: Pumpkin pie filling is sweetened and spiced, which will throw off the recipe’s balance. Always use plain pumpkin puree.
- Undercooking: An undercooked loaf will be gummy and raw in the center. Always test with a skewer.
- Slicing When Warm: While tempting, slicing a warm loaf can cause it to crumble and lose its structure. Patience is a virtue here!
- Forgetting to Grease the Pan: This is a classic mistake. Ensure your pan is well-greased and floured, or lined with parchment, to prevent sticking.
Storage & Meal Prep Tips
Proper storage ensures your homemade Pumpkin Bread stays fresh and delicious.
- Countertop: Once completely cooled, wrap the loaf tightly in plastic wrap or aluminum foil. It will stay fresh at room temperature for up to 3-4 days.
- Refrigeration: For longer storage (up to a week), keep the wrapped loaf in the refrigerator.
- Freezing: For long-term storage, wrap individual slices or the whole loaf tightly in plastic wrap, then an additional layer of aluminum foil. Freeze for up to 2-3 months. Thaw at room temperature or gently reheat in the oven or microwave.
- Meal Prep: Slice the entire loaf once cooled and store individual slices for quick grab-and-go breakfasts or snacks.
Conclusion
There’s nothing quite like the warmth and fragrance of homemade Pumpkin Bread to usher in the autumn season. This recipe offers a straightforward path to achieving a perfectly moist, flavorfully spiced loaf, highlighted by the comforting essence of pumpkin spice. By following these detailed instructions and tips, you’re not just baking; you’re creating a memorable experience and a delicious treat everyone will love. So go ahead, preheat your oven, gather your ingredients, and share your baking triumphs with us!
FAQs
Q1: Can I use fresh pumpkin instead of canned puree?
A1: Yes, you can! Just make sure to roast and puree your fresh pumpkin, then drain any excess liquid to avoid a soggy bread.
Q2: My bread is browning too quickly on top. What should I do?
A2: If the top browns too fast before the center is cooked, loosely tent the loaf pan with aluminum foil for the remainder of the baking time.
Q3: How can I tell if my Pumpkin Bread is done without a skewer?
A3: The top should be golden brown and spring back when lightly touched. You can also gently press the center; if it feels firm and doesn’t indent easily, it’s likely done.
Q4: Can I add other fruit to the bread, like cranberries or apples?
A4: Absolutely! Dried cranberries or finely diced apples (about ½ cup) would be delicious additions. Fold them in at the same time as nuts or chocolate chips.
Q5: My bread turned out a bit dry. What went wrong?
A5: Dryness is often a sign of overbaking or too much flour. Ensure you measure flour accurately (spooning into the cup then leveling) and remove the bread promptly once a skewer comes out clean.