Mastering the Art of Homemade Pumpkin Pie: Your Ultimate Guide
Ever wondered what makes a truly unforgettable dessert? The secret often lies in the warmth of a homemade classic, and few treats evoke such cozy comfort as a perfectly baked Pumpkin Pie. This cherished dessert, with its velvety smooth filling and fragrant blend of pumpkin pie spice, is more than just a sweet ending to a meal; it’s a nostalgic journey to autumn harvests and shared gatherings. Preparing this iconic pie from scratch isn’t just about baking; it’s about creating memories, filling your home with an irresistible aroma, and savoring the satisfaction of crafting something truly special. Forget store-bought shortcuts – this comprehensive guide will empower you to create a homemade Pumpkin Pie that will become a treasured family tradition.
Ingredients & Kitchen Tools
Crafting the perfect pumpkin pie requires a few essential ingredients and tools. Here’s what you’ll need:
- For the Crust:
* 1 ½ cups all-purpose flour: The base for a flaky, tender crust.
* ½ teaspoon salt: Enhances flavor and balances sweetness.
* ½ cup (1 stick) unsalted butter, very cold and cubed: Essential for flakiness; cold butter creates pockets of steam.
* ¼ cup ice water (or more, if needed): Helps bind the dough without overdeveloping gluten.
Substitution:* For a gluten-free option, use a pre-made gluten-free pie crust or a gluten-free flour blend.
- For the Filling:
* 1 (15-ounce) can pumpkin puree: Ensure it’s 100% pumpkin, not pumpkin pie filling. The star ingredient!
* 1 cup heavy cream: Adds richness and a silky texture.
* ½ cup granulated sugar: Sweetens the filling.
* ¼ cup packed brown sugar: Contributes depth and a hint of molasses flavor.
* 2 large eggs, lightly beaten: Acts as a binder and helps set the filling.
* 1 teaspoon ground cinnamon: A warming, aromatic spice.
* ½ teaspoon ground ginger: Adds a subtle zing.
* ¼ teaspoon ground nutmeg: Earthy and sweet, complementing the pumpkin.
* ⅛ teaspoon ground cloves: A powerful, warm spice; use sparingly.
* ½ teaspoon salt: Balances the sweetness and enhances spice flavors.
Substitution for spices:* If you have it, 2 teaspoons of pre-made pumpkin pie spice can be used instead of the individual cinnamon, ginger, nutmeg, and cloves, making the preparation even simpler.
- Kitchen Tools:
* 9-inch pie plate: The standard size for most pies.
* Large mixing bowls: For both crust and filling.
* Whisk: For blending the filling ingredients smoothly.
* Pastry blender or food processor (for crust): To cut cold butter into flour for flakiness.
* Rolling pin: For rolling out the pie crust.
* Measuring cups and spoons: For accurate ingredient quantities.
Prep Time & Cooking Schedule
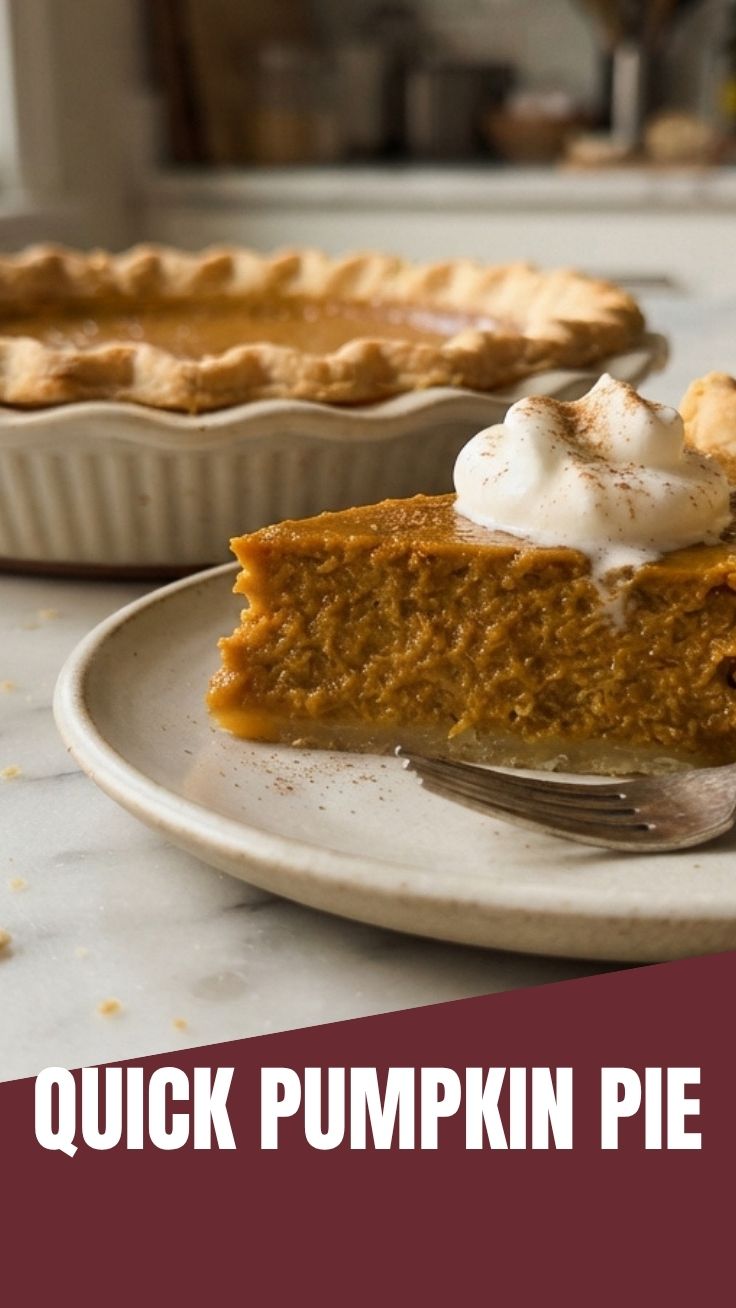
Planning is key to a perfectly baked pie!
- Prep Time: 30 minutes (includes making the crust)
- Chill Time (crust): 30 minutes
- Bake Time: 50-60 minutes
- Cooling Time: At least 2-3 hours (essential for the pie to set properly)
- Total Time: Approximately 3.5 – 4 hours
It’s highly recommended to prepare the pie crust in advance, even the day before, to save time on baking day. The extended cooling time is crucial; cutting into a warm pie will result in a runny filling.
Step-by-Step Instructions
Follow these detailed steps to achieve a flawless homemade Pumpkin Pie:
1. Prepare the Pie Crust: In a large bowl, whisk together flour and salt. Cut in the cold, cubed butter using a pastry blender or your fingertips until the mixture resembles coarse crumbs with some pea-sized butter pieces. Gradually add ice water, one tablespoon at a time, mixing until just combined and the dough comes together. Do not overmix. Gather the dough into a disc, wrap in plastic, and refrigerate for at least 30 minutes.
2. Preheat Oven & Roll Crust: Preheat your oven to 425°F (220°C). On a lightly floured surface, roll out the chilled dough into a 12-inch circle. Carefully transfer the dough to your 9-inch pie plate, trimming the edges and crimping them decoratively. For a truly crisp base, blind-bake the crust for 10 minutes at 425°F (220°C) with pie weights, then remove weights and bake for another 5 minutes, if desired, before filling. Reduce oven temperature to 375°F (190°C).
3. Mix the Filling: In a large bowl, combine the pumpkin puree, heavy cream, granulated sugar, brown sugar, and lightly beaten eggs. Whisk until smooth.
4. Add the Spices: Incorporate the ground cinnamon, ginger, nutmeg, cloves, and salt. For a robust and evenly distributed flavor, ensure your pumpkin pie spice blend is fresh. Whisk until all spices are fully distributed throughout the pumpkin mixture, creating a vibrant, aromatic batter.
5. Pour and Bake: Pour the pumpkin filling into the pre-baked (or unbaked, if skipping blind-baking) pie crust.
6. Bake: Bake for 15 minutes at 375°F (190°C), then reduce the oven temperature to 350°F (175°C) and continue baking for another 35-45 minutes, or until the edges are set but the center still has a slight jiggle.
7. Cool Completely: Transfer the pie to a wire rack and let it cool completely for at least 2-3 hours before slicing and serving. This allows the custard to properly set.
Nutritional Benefits & Advantages
Pumpkin pie offers more than just deliciousness! Pumpkin puree is a fantastic source of Vitamin A (in the form of beta-carotene), which is vital for vision and immune function. It also provides Vitamin C, potassium, and fiber, contributing to digestive health. While it’s a dessert, the natural ingredients and homemade aspect allow for control over sugar levels, making it a more wholesome treat compared to many processed options.
Tips, Variations & Cooking Advice
- Flavor Boost: For an extra layer of flavor, try adding a tablespoon of brandy or bourbon to the filling mixture.
- Crust Perfection: For an extra-flaky crust, make sure all your butter is very cold. You can even cube it and freeze it for 15 minutes before adding it to the flour.
- Blind Baking: Blind baking the crust (pre-baking it before adding the filling) helps prevent a soggy bottom crust, ensuring a crisp foundation for your pie.
- Dairy-Free: Substitute heavy cream with full-fat coconut milk (from a can, shaken well) for a dairy-free version. Ensure your pie crust is also dairy-free.
- Spice Adjustment: Feel free to adjust the spice levels to your preference. If you love a bolder flavor, increase the cinnamon or ginger slightly.
- Sweetness Control: You can slightly reduce the sugar by ¼ cup if you prefer a less sweet pie.
Common Mistakes to Avoid
- Overmixing the Crust: Leads to a tough, chewy crust instead of a flaky one. Mix just until the dough comes together.
- Not Chilling the Dough: Cold dough is easier to handle and results in a flakier crust. Don’t skip this step.
- Not Cooling Completely: The most common mistake! Slicing into a warm pie results in a runny, unset filling. Be patient.
- Overbaking: Causes cracks in the filling and a dry texture. The center should still jiggle slightly when gently nudged.
- Using Pumpkin Pie Filling: Make sure to use 100% pure pumpkin puree, not the pre-spiced pie filling, as it already contains sweeteners and spices.
Storage & Meal Prep Tips
Homemade pumpkin pie stores beautifully.
- Refrigeration: Cover loosely with plastic wrap or aluminum foil and refrigerate for up to 3-4 days. The flavors tend to meld beautifully overnight.
- Freezing: For longer storage, slice the cooled pie, wrap individual slices tightly in plastic wrap, then aluminum foil, and freeze for up to 1-2 months. Thaw in the refrigerator overnight before serving.
- Reheating: If desired, individual slices can be gently warmed in the oven at 300°F (150°C) for 10-15 minutes, or briefly in the microwave, though chilling is preferred for optimal texture.
Conclusion
Creating a homemade Pumpkin Pie from scratch is a rewarding experience that produces a dessert far superior to any store-bought version. With its creamy, spiced filling and flaky crust, this recipe is sure to become a beloved staple in your culinary repertoire. Mastering the subtle art of incorporating fresh pumpkin pie spice makes all the difference, transforming simple ingredients into an extraordinary treat. Don’t hesitate to embark on this delicious baking adventure. Try this recipe, share your creations, and let this classic pie bring warmth and joy to your table!
FAQs
1. Can I use a store-bought pie crust?
Yes, absolutely! A good quality store-bought crust will save you time and still result in a delicious homemade pie.
2. How do I prevent my pie crust from shrinking?
Ensure your dough is adequately chilled and don’t overwork it. You can also crimp the edges firmly or even use a pie crust shield during baking.
3. My pie filling cracked, what happened?
Cracks usually indicate overbaking. The pie was likely left in the oven for too long or baked at too high a temperature. Remember, a slight jiggle in the center is perfect.
4. What can I serve with pumpkin pie?
Pumpkin pie is wonderfully complemented by a dollop of fresh whipped cream, vanilla ice cream, or a dusting of cinnamon.
5. Can I make this pie ahead of time?
Yes, pumpkin pie is an excellent make-ahead dessert. It can be baked and refrigerated a day or two in advance. The flavors often deepen overnight.