Master the Art of Homemade Pizza: From Dough to Deliciousness
Tired of bland takeout pizza that leaves you feeling…underwhelmed? Imagine crafting a pizzeria-quality pie right in your own kitchen, one that bursts with fresh flavors and a perfectly crisp crust. This isn’t just a fantasy; it’s an achievable reality with a well-made Pizza Dough. Preparing this culinary cornerstone at home isn’t just about saving money; it’s about control, customization, and the immense satisfaction of creating something truly delicious from scratch. Today, we’re diving deep into the world of artisanal pizza, starting with the very foundation: a phenomenal homemade pizza dough that will elevate your pizza nights forever.
Ingredients & Kitchen Tools
Crafting the perfect pizza begins with the right components and equipment.
- All-Purpose Flour (3 cups): The backbone of your dough. Unbleached is often preferred for better texture.
- Warm Water (1 cup, 105-115°F / 40-46°C): Activates the yeast; too hot will kill it, too cold won’t activate it.
- Active Dry Yeast (1 packet or 2¼ teaspoons): The leavening agent that makes your dough rise and become airy.
- Granulated Sugar (1 teaspoon): Feeds the yeast, helping it activate faster.
- Salt (1 teaspoon): Enhances flavor and controls yeast activity.
- Olive Oil (2 tablespoons, plus more for greasing): Adds flavor, richness, and helps with dough elasticity.
- Large Mixing Bowl: For combining and kneading the dough.
- Measuring Cups & Spoons: For accurate ingredient proportions.
- Kitchen Scale (optional): For precise flour measurement, leading to more consistent results.
- Dough Scraper (optional): Helps handle sticky dough and clean surfaces.
- Plastic Wrap or Clean Kitchen Towel: For covering the dough during rising.
Prep Time & Cooking Schedule
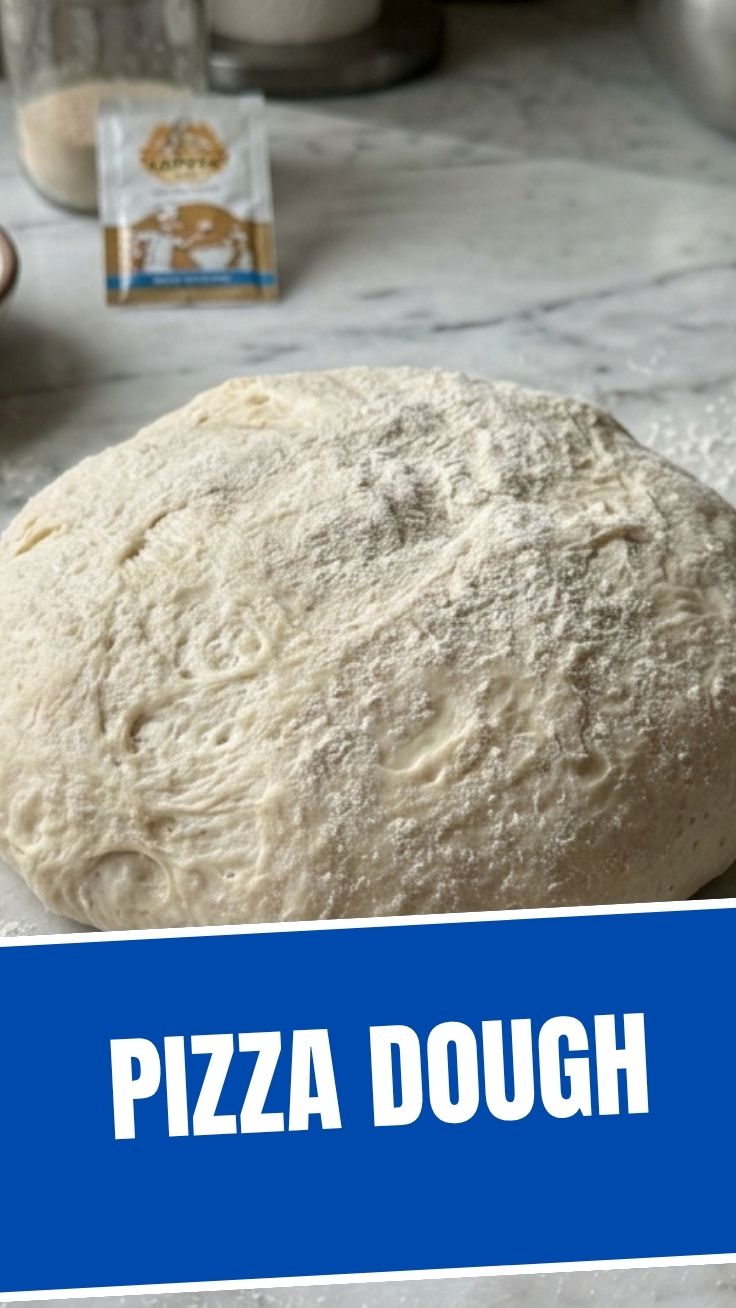
- Prep Time: 15 minutes (active working time)
- Rising Time: 1-1.5 hours (first rise), 30 minutes (second rise) – this is crucial for flavor development and texture.
- Cook Time: 10-15 minutes (per pizza, depending on toppings and oven)
Allow ample time for the dough to rise adequately. The first rise produces flavor, and the second rise helps develop a light, airy crumb. Planning ahead ensures you’re not rushing a critical step.
Step-by-Step Instructions
1. Activate the Yeast: In your large mixing bowl, combine the warm water, sugar, and yeast. Stir gently and let it sit for 5-10 minutes until foamy. This indicates the yeast is active and ready to work its magic.
2. Combine Ingredients: Add the olive oil and salt to the yeast mixture. Gradually add the flour, mixing with a wooden spoon or your hands until a shaggy dough forms.
3. Knead the Dough: Turn the dough onto a lightly floured surface. Knead for 8-10 minutes. The dough should become smooth, elastic, and pass the “windowpane test” (you can stretch a small piece until it’s thin enough to see light through it without tearing). This careful kneading is key for developing gluten structure in your Pizza Dough.
4. First Rise: Lightly grease the mixing bowl with olive oil. Place the dough in the bowl, turning it once to coat. Cover with plastic wrap or a clean kitchen towel and let it rise in a warm place for 1 to 1.5 hours, or until doubled in size.
5. Punch Down & Second Rise: Gently punch down the risen dough to release air. Divide it into desired portions (typically two medium pizzas). Form each portion into a smooth ball. For truly exceptional pizza, place each ball on a lightly floured surface, cover, and let it rest for another 30 minutes. This second rise allows the gluten to relax, making it easier to stretch. This is where your homemade pizza dough really shines.
6. Shape & Bake: Preheat your oven to its highest setting (usually 475-500°F / 245-260°C) with a pizza stone or baking steel if you have one. Gently stretch or roll out your dough to your desired thickness and shape. Add your favorite toppings and bake until the crust is golden brown and the cheese is bubbly.
Nutritional Benefits & Advantages
Crafting your own pizza dough offers more than just culinary delight. It provides control over ingredients, allowing you to choose whole-grain flours for added fiber or reduce sodium. Olive oil contributes healthy monounsaturated fats. Compared to many store-bought options, homemade dough often contains fewer preservatives and artificial additives, making it a healthier foundational choice for a balanced meal.
Tips, Variations & Cooking Advice
- Experiment with Flours: Try using a portion of whole wheat flour for a nuttier flavor and increased fiber. Semolina flour can add a pleasant chewiness and crispness.
- Flavor Infusions: Add garlic powder, dried herbs (oregano, basil) or a pinch of red pepper flakes to the dough for an extra layer of flavor.
- Cold Fermentation: For a deeper, more complex flavor, place the dough in the refrigerator for 24-48 hours after the first rise. This slow fermentation develops amazing taste.
- Gluten-Free Option: While this recipe is for traditional dough, many excellent gluten-free flour blends are available for substitution. Follow package instructions for liquid adjustments.
- Stretch, Don’t Roll: For an airy crust with good structure, try to stretch the dough by hand rather than rolling it with a pin. This preserves air bubbles.
Common Mistakes to Avoid
- Using cold water: Cold water won’t activate the yeast efficiently, leading to a flat dough.
- Skipping the knead: Insufficient kneading results in a dense, tough crust. Embrace the process!
- Not allowing enough rise time: Rushing the rise affects both texture and flavor. Patience is key.
- Over-flouring during kneading: Too much extra flour can make the dough dry and stiff. Use just enough to prevent sticking.
- Overloading toppings: Too many toppings can weigh down the dough, making it soggy. Less is often more.
Storage & Meal Prep Tips
Leftover Pizza Dough can be stored in an airtight container or a large, lightly oiled Ziploc bag in the refrigerator for up to 3 days. For longer storage, freeze dough balls for up to 2 months. Thaw overnight in the refrigerator, then let it come to room temperature for about an hour before using. You can also par-bake crusts, then freeze them, for quick weeknight pizzas.
Conclusion
Mastering a fantastic homemade Pizza Dough is a game-changer for any home cook. It’s a rewarding process that unlocks endless possibilities for creative culinary expression. From a classic Margherita to adventurous gourmet combinations, your kitchen will become the go-to spot for authentic flavor. Embrace the journey of creating your own homemade pizza dough, experiment with variations, and savor the unparalleled taste of a pizza truly made with love. Don’t be shy – dive in, get your hands a little floury, and share your delicious creations with us!
FAQs
Q1: My dough isn’t rising. What went wrong?
A1: This is usually due to inactive yeast. Ensure your water is the correct temperature (not too hot, not too cold) and that your yeast is fresh. Old yeast often loses its potency.
Q2: Can I make this dough ahead of time?
A2: Absolutely! You can refrigerate the dough after its first rise for up to 3 days. This slows down fermentation, often resulting in a more flavorful crust. Just bring it back to room temperature before shaping.
Q3: How do I get a crispy crust?
A3: Preheat your oven to its highest temperature with a pizza stone or steel for at least 30-60 minutes. This creates an intensely hot surface that crisps the crust quickly.
Q4: What’s the best way to stretch the dough?
A4: Gently work from the center outwards, using your knuckles and gravity to stretch the dough into a round. Avoid tearing the dough, and if it springs back, let it rest for 5-10 minutes before trying again.
Q5: Can I use different types of flour?
A5: Yes, you can substitute a portion of the all-purpose flour with bread flour for a chewier crust, or whole wheat flour for a heartier, nuttier flavor. Just be aware that different flours absorb water differently, so you might need slight adjustments.