Master the Art of Savory Quesadillas: Your Ultimate Guide to Homemade Perfection
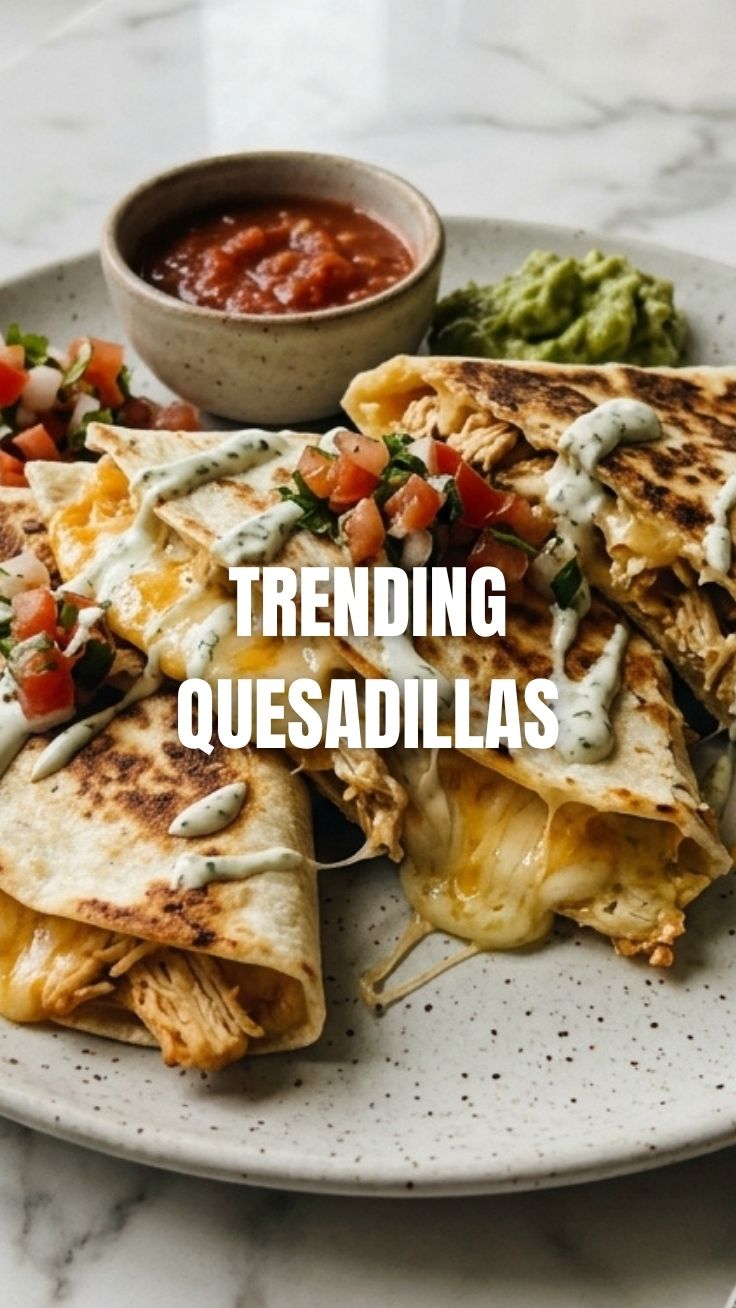
Ever wondered if you could recreate that perfectly gooey, flavor-packed Quesadilla experience right in your own kitchen? The answer is a resounding yes! Forget bland, store-bought versions – mastering the art of homemade Quesadillas not only guarantees a burst of fresh flavors but also allows you to tailor every aspect to your liking. From choosing the finest cheeses to experimenting with vibrant fillings, this guide will unlock the secrets to crafting truly unforgettable quesadillas. And let’s be honest, few culinary delights hit the spot quite like a well-made quesadilla, especially when you’re craving authentic Mexican food. Get ready to elevate your home cooking and impress your taste buds with this universally loved dish!
Ingredients & Kitchen Tools
To embark on your quesadilla journey, gather these essential items:
- Flour Tortillas (8-inch, 8 count): The foundation of our quesadillas. Opt for fresh, pliable tortillas for the best texture.
- Shredded Monterey Jack Cheese (2 cups): Melts beautifully and offers a creamy, mild flavor. Cheddar or a Mexican blend also works well.
- Cooked Chicken or Beef (1 cup, shredded or diced): Protein power! Leftover rotisserie chicken or seasoned ground beef are fantastic options. (Optional: sautéed veggies like bell peppers, onions, or mushrooms for a vegetarian twist).
- Onion (½ small, finely diced): Adds a subtle aromatic sweetness.
- Garlic (2 cloves, minced): Essential for a savory depth of flavor.
- Bell Pepper (½, any color, finely diced): Contributes color, crunch, and a hint of sweetness.
- Olive Oil or Vegetable Oil (2 tbsp): For sautéing and crisping the tortillas.
- Salt and Black Pepper (to taste): Basic seasoning to enhance all flavors.
- Optional Toppings: Salsa, guacamole, sour cream, pico de gallo, cilantro, jalapeños for a complete Mexican food experience.
Kitchen Tools:
- Large Skillet or Griddle: A non-stick pan is ideal for even cooking and easy flipping.
- Spatula: For turning and serving.
- Cutting Board and Knife: For prepping ingredients.
- Grater (if using block cheese): For freshly shredded cheese, which melts better.
Prep Time & Cooking Schedule
- Prep Time: 15 minutes (this includes chopping veggies and grating cheese). If using pre-cooked meat, this time will be even shorter.
- Cook Time: 20-25 minutes (about 3-5 minutes per quesadilla).
- Total Time: 35-40 minutes.
This swift cooking schedule makes Quesadillas an ideal choice for a quick weeknight dinner or a satisfying weekend lunch. The beauty of this dish lies in its efficiency; minimal waiting means maximum enjoyment!
Step-by-Step Instructions
1. Prepare Your Filling: In a medium skillet, heat 1 tablespoon of olive oil over medium heat. Add the diced onion and bell pepper, sautéing until softened, about 5-7 minutes. Stir in the minced garlic and cook for another minute until fragrant. Add your cooked chicken or beef, season with salt and pepper, and cook for 2-3 minutes, stirring to combine all the flavors. Remove from heat and set aside.
2. Assemble the First Quesadilla: Heat your large skillet or griddle over medium heat. Lightly brush one side of a tortilla with olive oil. Place the oiled side down on the hot skillet. Sprinkle about ¼ cup of shredded cheese evenly over half of the tortilla.
3. Add Filling and Fold: Spoon a generous portion of your prepared meat and veggie filling over the cheese on one half of the tortilla. Add another sprinkle of cheese on top of the filling. This extra cheese acts as “glue” when it melts. Carefully fold the other half of the tortilla over the filling, creating a crescent shape.
4. Cook to Golden Perfection: Cook for 2-3 minutes per side, or until the tortilla is golden brown and crispy, and the cheese has completely melted and is oozy. Gently press down with your spatula to ensure even contact with the heat. Repeat with the remaining tortillas and filling. This simple technique is quintessential for perfect Mexican food.
5. Serve & Enjoy: Transfer the cooked quesadilla to a cutting board, slice into wedges, and serve immediately with your favorite toppings.
Nutritional Benefits & Advantages
Quesadillas offer more than just deliciousness! They can be a well-rounded meal, providing protein from the meat and cheese, carbohydrates from the tortillas for energy, and essential vitamins and fiber from the vegetables. Using lean protein and opting for whole wheat tortillas can further enhance their nutritional profile. The calcium in cheese is vital for bone health, and the customizable nature of quesadillas allows for easy integration of various nutrient-dense ingredients.
Tips, Variations & Cooking Advice
- Vegetarian Delight: Omit the meat and pack your quesadillas with black beans, corn, grilled zucchini, or roasted sweet potatoes for a hearty vegetarian option.
- Spice It Up: Add a pinch of chili powder, cumin, or smoked paprika to your filling for an extra kick. A few diced jalapeños inside can also elevate the heat.
- Cheesy Choices: Experiment with different cheeses like Oaxaca, Asadero, or even a sharp cheddar for diverse flavor profiles.
- Crispy Edges: For extra crispy edges, brush a little butter on the outside of the tortilla before cooking.
- Batch Cooking: Cook multiple quesadillas simultaneously if you have a large griddle to feed a crowd more efficiently.
Common Mistakes to Avoid
- Overfilling: Don’t stuff your quesadillas too much, or they’ll be difficult to fold and the filling might spill out during cooking.
- High Heat: Cooking on heat that’s too high will burn the tortilla before the cheese has a chance to melt and the filling warms through. Medium heat is your friend.
- Cold Filling: Ensure your filling is at least lukewarm before assembling, as this helps the overall cooking process and prevents a cold center.
- Ignoring the Melt: Don’t rush the cheese-melting process. A perfectly gooey center is key to a great quesadilla.
Storage & Meal Prep Tips
Leftover quesadillas can be stored in an airtight container in the refrigerator for up to 3 days. To reheat, warm them in a dry skillet over medium-low heat until crispy, or in a toaster oven for best results. Microwaving is an option, but the tortillas may become a bit soft. For meal prep, you can prepare the filling in advance and store it in the fridge for up to 4 days, assembling fresh quesadillas as needed.
Conclusion
There you have it – your definitive guide to crafting spectacular homemade Quesadillas. From the perfectly melted cheese to the savory filling, every bite will transport you to a world of authentic flavors, proving that delicious Mexican food is entirely achievable in your own kitchen. Don’t hesitate to experiment with fillings and spices to make this recipe truly your own. We encourage you to try this recipe, share your culinary creations with us, and explore other exciting recipes on our blog!
FAQs
Q1: Can I make quesadillas gluten-free?
A1: Absolutely! Simply use your favorite gluten-free tortillas instead of traditional flour tortillas. The cooking process remains the same.
Q2: What’s the best cheese for quesadillas?
A2: Monterey Jack and Chihuahua cheese are excellent choices for their superior melting qualities and mild flavor. A blend of Monterey Jack and a little cheddar also works wonderfully.
Q3: How do I prevent my quesadillas from getting soggy?
A3: Ensure your filling isn’t too wet. If you’re using ingredients like tomatoes or mushrooms, sauté them first to reduce moisture. Also, don’t overcrowd the pan, as this can steam the tortillas instead of crisping them.
Q4: Can I freeze quesadillas?
A4: While you can freeze cooked quesadillas, the texture of the tortilla might change slightly upon reheating. For best results, freeze only the prepared filling and assemble fresh quesadillas when ready to eat.
Q5: What’s a good vegan alternative for cheese?
A5: There are many excellent vegan cheese shreds available that melt well, specifically designed for dishes like quesadillas. Look for dairy-free Monterey Jack or cheddar alternatives.