Mastering the Perfect Turkey Breast From Scratch: A Culinary Journey
Ever wondered if you could achieve that succulent, flavorful Turkey Breast you dream about, right in your own kitchen? The answer is a resounding yes! Ditch the dry, bland poultry of the past and embark on a culinary adventure that will transform your understanding of home cooking. Preparing a fantastic Turkey Breast at home isn’t just about saving money; it’s about crafting an unforgettable centerpiece, tailored to your exact preferences, that will impress family and friends alike. Forget complicated techniques – with our guidance, you’ll unlock the secrets to moist, tender, and incredibly delicious Turkey Breast. We’ll also dive into fantastic Turkey Breast Recipes that elevate this versatile cut beyond the ordinary. Let’s get cooking!
Ingredients & Kitchen Tools
Crafting the perfect Turkey Breast requires a blend of quality ingredients and essential kitchen gear. Here’s what you’ll need:
- 1 (3-4 pound) bone-in, skin-on Turkey Breast: Bone-in offers more flavor, and skin protects from drying out. You can opt for boneless, skinless for quicker cooking, but adjust times.
- 2 tablespoons unsalted butter, melted: Basting and browning for crispy skin.
- 1 tablespoon olive oil: Helps distribute seasoning and prevent sticking.
- 1 teaspoon sea salt: Essential seasoning for taste. Adjust to your preference.
- 1/2 teaspoon black pepper, freshly ground: Adds a pungent, aromatic kick.
- 1 teaspoon dried rosemary: Provides a warm, piney aroma and flavor. Fresh rosemary, finely chopped, also works beautifully (use 2 teaspoons).
- 1/2 teaspoon dried thyme: Earthy, slightly minty notes that complement poultry.
- 1/2 teaspoon garlic powder: A subtle, savory allium flavor. Garlic cloves, minced, can be used for a stronger taste.
- 1 cup chicken or vegetable broth: Adds moisture and creates a flavorful pan sauce.
- Optional Aromatics: 1 onion (quartered), 2 carrots (chopped), 2 celery stalks (chopped) for enhanced flavor in the roasting pan.
Kitchen Tools:
- Roasting pan with a rack: Elevates the meat for even cooking and allows air circulation.
- Meat thermometer (instant-read is best): Crucial for ensuring the internal temperature is safe and perfect.
- Basting brush: For applying butter/juices to keep the skin moist.
- Cutting board and sharp carving knife: For safe and efficient carving.
- Foil: For resting the meat and preventing drying.
- Small bowl: For mixing seasonings.
Prep Time & Cooking Schedule
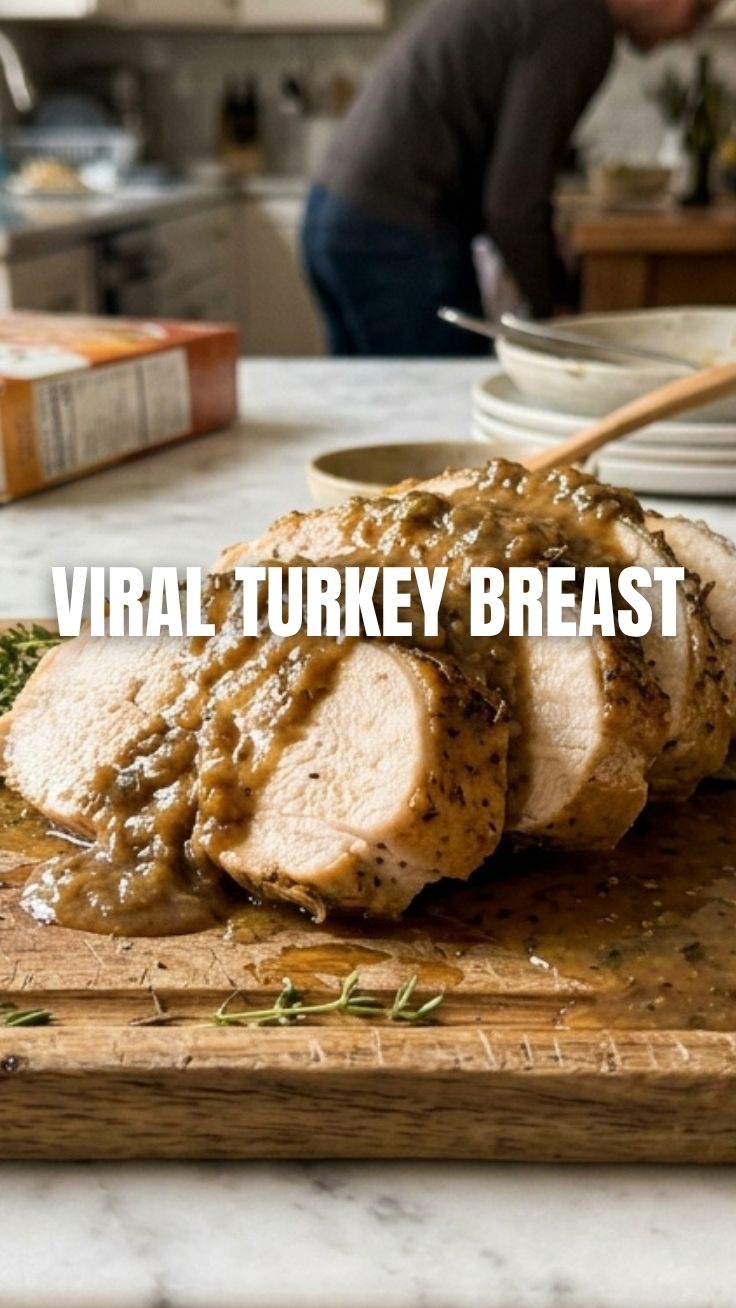
Planning is key for a stress-free cooking experience. This recipe is designed to fit into a busy schedule with manageable prep and cook times.
- Prep Time: 15 minutes
- Cook Time: 1 hour 30 minutes to 2 hours (depending on size and oven)
- Resting Time: 15-20 minutes
Planning Context: You’ll want to start about 2.5 to 3 hours before you plan to serve. This allows ample time for prep, cooking, and the crucial resting period, which ensures a juicy result. Remember to remove the Turkey Breast from the refrigerator about 30 minutes before roasting to allow it to come closer to room temperature, promoting more even cooking.
Step-by-Step Instructions
Achieving a perfectly roasted Turkey Breast is simpler than you think. Follow these steps for tender, succulent results every time.
1. Preheat Oven & Prep Turkey: Preheat your oven to 375°F (190°C). Remove the Turkey Breast from its packaging, pat it thoroughly dry with paper towels (this is crucial for crispy skin!), and place it on a rack in your roasting pan.
2. Prepare Herb Butter: In a small bowl, combine the melted butter, olive oil, salt, pepper, dried rosemary, dried thyme, and garlic powder. Mix well.
3. Season the Turkey: Generously brush the herb butter mixture all over the Turkey Breast, ensuring the skin is fully coated. If using, place the optional aromatics (onion, carrots, celery) in the bottom of the roasting pan, around the turkey. Pour 1 cup of chicken broth into the bottom of the pan. This will create steam and a flavorful base for gravy.
4. Roast: Place the roasting pan in the preheated oven.
* Initial Roast: Roast for 30 minutes to allow the skin to crisp and brown.
* Lower Temperature & Continue: Reduce the oven temperature to 350°F (175°C). Continue roasting for another 60-90 minutes, or until an instant-read meat thermometer inserted into the thickest part of the breast (without touching the bone) reads 165°F (74°C). If the skin is browning too quickly, you can loosely tent it with aluminum foil.
5. Rest: Once the internal temperature reaches 165°F (74°C), remove the Turkey Breast from the oven, transfer it to a cutting board, and tent it loosely with foil. Let it rest for at least 15-20 minutes. This resting period is critical as it allows the juices to redistribute throughout the meat, ensuring a moist and tender result. While resting, you can prepare delightful Turkey Breast Recipes from the pan drippings, such as a quick gravy.
6. Carve & Serve: Carve the Turkey Breast against the grain into thick slices. Serve immediately with your favorite sides.
Nutritional Benefits & Advantages
Choosing Turkey Breast is a smart move for health-conscious eaters. It’s an excellent source of lean protein, essential for muscle repair and growth, and helps keep you feeling full and satisfied. Turkey Breast is also low in fat (especially when skin is removed) and rich in B vitamins (niacin, B6, B12) which are vital for energy metabolism. It provides important minerals like selenium (an antioxidant), phosphorus (for bone health), and zinc (for immune function). Incorporating Turkey Breast into your diet can support weight management, promote heart health, and contribute to overall well-being.
Tips Variations & Cooking Advice
- Brining for Juiciness: For an ultra-moist Turkey Breast, consider a simple brine. Dissolve 1/2 cup salt and 1/4 cup sugar in 8 cups of water. Submerge the turkey breast for 4-6 hours in the refrigerator, then rinse thoroughly and pat dry before roasting.
- Flavor Boosts: Add a few sprigs of fresh sage, thyme, or rosemary directly under the skin for infused flavor. For an aromatic twist, stuff the cavity (if bone-in) with lemon halves and garlic cloves.
- Glaze It! Towards the last 30 minutes of cooking, brush the Turkey Breast with a glaze for extra flavor and shine. A simple mixture of honey and Dijon mustard, or melted apricot preserves, works wonderfully. These glazes are a staple in many exquisite Turkey Breast Recipes.
- Spicy Kick: For a bit of heat, add a pinch of cayenne pepper or smoked paprika to your herb rub.
- Dairy-Free: This recipe is naturally dairy-free if you use a dairy-free butter alternative or simply omit the butter in favor of more olive oil.
- Gluten-Free: This recipe is naturally gluten-free. Just ensure any broth you use is certified gluten-free if strict dietary requirements are in place.
Common Mistakes to Avoid
- Not Patting Dry: A moist skin won’t crisp up, leading to rubbery results. Always pat the turkey breast thoroughly dry with paper towels before seasoning.
- Overcooking: The biggest culprit of dry turkey! Always use a meat thermometer and pull the turkey when it reaches 165°F (74°C). Remember, carryover cooking will increase the temperature a few more degrees during resting.
- Not Resting: Skipping the resting period is a critical error. Resting allows the muscle fibers to relax and reabsorb juices, resulting in a significantly more tender and moist Turkey Breast.
- Forgetting the Pan Liquids: Adding broth to the pan not only provides moisture during cooking but also creates those flavorful drippings essential for gravy.
- Crowding the Pan: If adding aromatics, ensure there’s still good space for air to circulate around the Turkey Breast for even roasting.
Storage & Meal Prep Tips
Cooked Turkey Breast is fantastic for meal prep!
- Refrigeration: Store leftover carved Turkey Breast in an airtight container in the refrigerator for up to 3-4 days.
- Freezing: For longer storage, slice the cooled Turkey Breast and place it in a freezer-safe bag or container with a little gravy or broth to prevent drying. It can be frozen for up to 3 months. Thaw overnight in the refrigerator before reheating.
- Reheating: To maintain moisture, reheat slices of turkey gently in the microwave with a splash of broth, or in a covered dish in a 300°F (150°C) oven until just warmed through. Avoid high heat, which can dry it out.
- Versatile Leftovers: Repurpose leftover Turkey Breast into sandwiches, wraps, salads, stir-fries, quesadillas, or even a hearty turkey soup. The possibilities for creative, delicious Turkey Breast Recipes are endless!
Conclusion
Mastering the perfect Turkey Breast at home is a truly rewarding culinary experience. By following these straightforward steps, from proper seasoning to crucial resting, you can achieve exceptional results every single time. Bid farewell to dry, uninspiring poultry and welcome a juicy, flavorful centerpiece that will delight everyone at your table. Don’t be shy – dive in and try this recipe for yourself. Who knows, perhaps you’ll even discover some new favorite Turkey Breast Recipes to add to your repertoire. Happy cooking!
FAQs
Q1: Can I use a boneless, skinless turkey breast for this recipe?
A1: Yes, you can! Boneless, skinless turkey breast will cook faster, so keep a close eye on the internal temperature with your meat thermometer, checking it earlier than suggested. It might also be slightly less flavorful than bone-in, but brining can compensate.
Q2: What if my turkey breast is browning too quickly on the outside but isn’t cooked through?
A2: If the skin is browning too much before the internal temperature reaches 165°F, simply tent the turkey loosely with aluminum foil. This will protect the skin from further browning while allowing the meat to continue cooking.
Q3: How can I make a gravy from the pan drippings?
A3: After removing the turkey, set the roasting pan directly on the stovetop over medium heat (if oven-safe, or transfer drippings to a saucepan). Whisk in 2 tablespoons of flour or cornstarch, scraping up any browned bits. Cook for 1-2 minutes, then gradually whisk in an additional 1-2 cups of chicken broth. Simmer, stirring constantly, until thickened. Season to taste with salt and pepper.
Q4: Can I add vegetables to the roasting pan with the turkey?
A4: Absolutely! Adding chopped vegetables like carrots, celery, onions, and potatoes directly to the roasting pan with the turkey will infuse them with delicious turkey drippings and create a wonderful side dish. Ensure they are cut into similar-sized pieces for even cooking.
Q5: What are some good flavor alternatives if I don’t like rosemary or thyme?
A5: You can experiment with various herb combinations! Sage and marjoram are excellent poultry-friendly alternatives. For a citrusy twist, use lemon zest and a pinch of dried oregano. Smoked paprika can also add a delightful smoky depth.