The Ultimate Homemade Pumpkin Pie: A Seasonal Delight
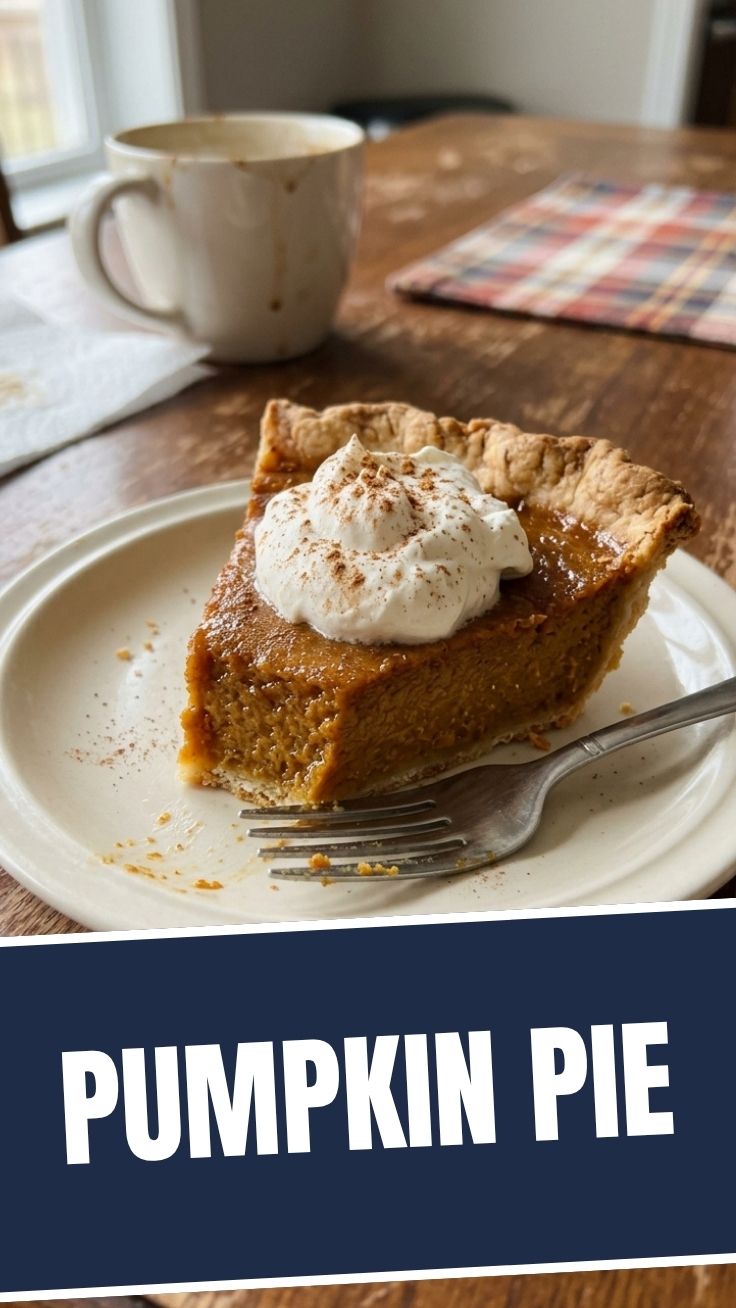
Are you ready to transform your kitchen into an aromatic haven of autumnal bliss? There’s nothing quite like the comforting embrace of a homemade Pumpkin Pie, a true staple for any gathering, especially during the holidays. Beyond its irresistible flavor, crafting this classic from scratch offers an unparalleled sense of accomplishment and ensures you’re serving up the freshest, most wholesome ingredients to your loved ones. Forget store-bought shortcuts – our detailed guide will help you create a show-stopping Pumpkin Pie that will be the star of your Thanksgiving Desserts spread, making memories one delicious slice at a time. This recipe is not just about baking; it’s about connecting with tradition and savoring the season.
Ingredients & Kitchen Tools
Crafting the perfect pie requires the right elements and equipment. Here’s what you’ll need:
- For the Crust:
* 2 ¼ cups all-purpose flour: The base for a flaky, tender crust.
* 1 teaspoon salt: Enhances flavor and helps with gluten development.
* 1 cup (2 sticks) unsalted butter, very cold and cubed: Essential for flakiness; substitutes like shortening or a mix can also work.
* ½ cup ice water: To bring the dough together without overworking the gluten.
- For the Filling:
* 1 (15-ounce) can pumpkin puree: Ensure it’s 100% pumpkin, not pumpkin pie filling.
* 1 cup heavy cream: Adds richness and a silky texture.
* ½ cup milk (whole or 2%): Balances the creaminess.
* ¾ cup packed light brown sugar: Provides deep, molasses-like sweetness.
* ¼ cup granulated sugar: For additional sweetness and structure.
* 2 large eggs, lightly beaten: Binds the filling and adds richness.
* 1 teaspoon ground cinnamon: The quintessential pumpkin spice.
* ½ teaspoon ground ginger: Adds a warm, slightly spicy note.
* ¼ teaspoon ground cloves: A pungent, aromatic spice.
* ⅛ teaspoon ground nutmeg: Rounds out the spice blend.
* ½ teaspoon salt: Balances sweetness and enhances other flavors.
* 1 teaspoon vanilla extract: A flavor enhancer.
- Kitchen Tools:
* 9-inch pie plate: The standard size for this recipe.
* Large mixing bowls: For both dough and filling.
* Whisk: To combine ingredients smoothly.
* Rolling pin: For rolling out the pie crust.
* Measuring cups and spoons: For precise ingredient amounts.
* Pastry blender or food processor: Optional, for cutting butter into flour.
* Plastic wrap: For chilling dough.
* Aluminum foil: For protecting crust edges.
Prep Time & Cooking Schedule
- Prep Time: 30 minutes (active), plus 1 hour chill time for the crust.
- Bake Time: 50-60 minutes.
- Cooling Time: At least 2-3 hours, or preferably overnight.
This timeline allows for the crust to properly chill and the pie to set completely. For best results, consider making the pie crust dough a day ahead and storing it in the refrigerator. This gives you ample time to get other Thanksgiving Desserts ready without feeling rushed on turkey day.
Step-by-Step Instructions
1. Prepare the Pie Crust: In a large bowl, whisk together flour and salt. Cut in the very cold butter using a pastry blender or your fingertips until the mixture resembles coarse crumbs with some pea-sized butter pieces. Gradually add ice water, one tablespoon at a time, mixing until just combined. Form the dough into a disc, wrap in plastic, and refrigerate for at least 30 minutes, or up to 2 days. This chilling step is crucial for a flaky crust.
2. Blind Bake the Crust (Optional, but recommended for a crispier bottom): Preheat oven to 375°F (190°C). On a lightly floured surface, roll out the chilled dough into a 12-inch circle. Carefully transfer to a 9-inch pie plate. Trim edges and crimp decoratively. Line with parchment paper and fill with pie weights or dried beans. Bake for 15 minutes, remove weights and parchment, then bake for another 5-7 minutes, until lightly golden. If not blind baking, proceed directly to filling once crust is formed.
3. Prepare the Filling: In a large bowl, whisk together pumpkin puree, heavy cream, milk, brown sugar, granulated sugar, beaten eggs, cinnamon, ginger, cloves, nutmeg, vanilla extract, and salt until smooth and well combined. This is where the magic of the Pumpkin Pie truly begins to take shape.
4. Assemble and Bake: Pour the pumpkin filling into the prepared pie crust.
5. Bake: Reduce oven temperature to 350°F (175°C). Bake for 50-60 minutes, or until the edges are set but the center still has a slight jiggle. If the crust edges start to brown too quickly, loosely tent with aluminum foil.
6. Cool: Allow the pie to cool completely on a wire rack for at least 2-3 hours, or even better, overnight. This allows the filling to fully set, preventing cracks and ensuring a perfect slice.
Nutritional Benefits & Advantages
Pumpkin is a nutritional powerhouse! It’s rich in Vitamin A, an essential nutrient for vision and immune function, and packed with antioxidants that help fight inflammation. It’s also a good source of fiber, promoting digestive health. While this recipe includes some sugar and fat, the inherent goodness of the pumpkin, coupled with the cream and eggs providing protein and healthy fats, makes this a surprisingly wholesome choice among Thanksgiving Desserts.
Tips, Variations, & Cooking Advice
- Spice It Up: For a bolder flavor, toast whole spices (cinnamon sticks, cloves, nutmeg) and grind them fresh right before use.
- Dairy-Free: Substitute heavy cream and milk with full-fat coconut milk or a plant-based alternative. Ensure your butter alternative is also dairy-free.
- Gluten-Free: Use a good quality gluten-free all-purpose flour blend for the crust, or opt for a pre-made gluten-free pie crust.
- Sweetness Adjustment: Feel free to adjust the sugar levels down by a quarter cup if you prefer a less sweet pie.
- Crust Edge Protector: To prevent over-browning of the crust edges, you can use a pie crust shield or create one with aluminum foil.
Common Mistakes to Avoid
- Overworking the Dough: This leads to a tough, un-flaky crust. Mix just until combined.
- Warm Butter: Using warm butter will result in a less flaky crust. Keep that butter very cold!
- Under-baking: An under-baked pie will have a wobbly, unset center and can be runny. Trust the jiggle test—it should only jiggle slightly in the very center.
- Cooling Too Quickly: Moving the pie before it’s fully cooled can cause cracks in the filling. Patience is key!
Storage & Meal Prep Tips
Leftover pumpkin pie should be stored in the refrigerator, loosely covered with plastic wrap or aluminum foil, for up to 3-4 days. It can also be frozen, wrapped tightly in plastic wrap and then foil, for up to 1 month. Thaw overnight in the refrigerator before serving. For meal prep, you can make the pie crust dough a day or two in advance. You can also bake the pie entirely a day ahead of serving, as it perfectly sets overnight in the fridge.
Conclusion
There you have it – a comprehensive guide to baking the most delightful homemade Pumpkin Pie. From the perfectly flaky crust to the lusciously spiced filling, every bite of this classic dessert is a testament to the joy of home baking. We encourage you to try this recipe and experience the warmth and satisfaction it brings, especially as a standout among your festive Thanksgiving Desserts. Share your creations with us in the comments below, and let’s spread the autumn cheer!
FAQs
1. Can I use fresh pumpkin instead of canned?
Yes, absolutely! Just make sure to roast and puree your fresh pumpkin, then drain any excess liquid to prevent a watery filling.
2. Why did my pie crack?
Cracks often occur if the pie bakes too quickly at too high a temperature, or if it cools down too rapidly. Ensuring slow cooling can help prevent this.
3. How do I know when the pie is done?
The edges should be set, and the center should have a slight jiggle, similar to gelatin. An inserted knife should come out clean when pushed into the center.
4. Can I make the filling ahead of time?
You can prepare the filling a day in advance and store it in the refrigerator. Just give it a good whisk before pouring into the crust.
5. What’s the best way to reheat pumpkin pie?
Pumpkin pie is best served at room temperature or slightly chilled. Reheating in the oven can alter the texture of the filling, but warming a slice for a few seconds in the microwave is acceptable if desired.