Master the Ultimate Homemade Cheeseburger: A Juiciy Guide to Backyard Bliss
Are you ready to elevate your backyard barbecue game from good to legendary? Forget dry, bland patties and embrace the art of crafting the perfect homemade Cheeseburger. There’s something undeniably satisfying about sinking your teeth into a juicy, flavorful Hamburger, and preparing it yourself guarantees freshness, quality, and a personalized touch that store-bought versions simply can’t match. This comprehensive guide will walk you through every step, from selecting premium ingredients to mastering grilling techniques, ensuring your homemade Cheeseburger becomes the star of your next culinary creation.
Ingredients & Kitchen Tools
- Ground Beef (80/20 Chuck Blend): 1.5 lbs (yields 4 generous patties). The 80/20 fat content ensures juicy, flavorful burgers.
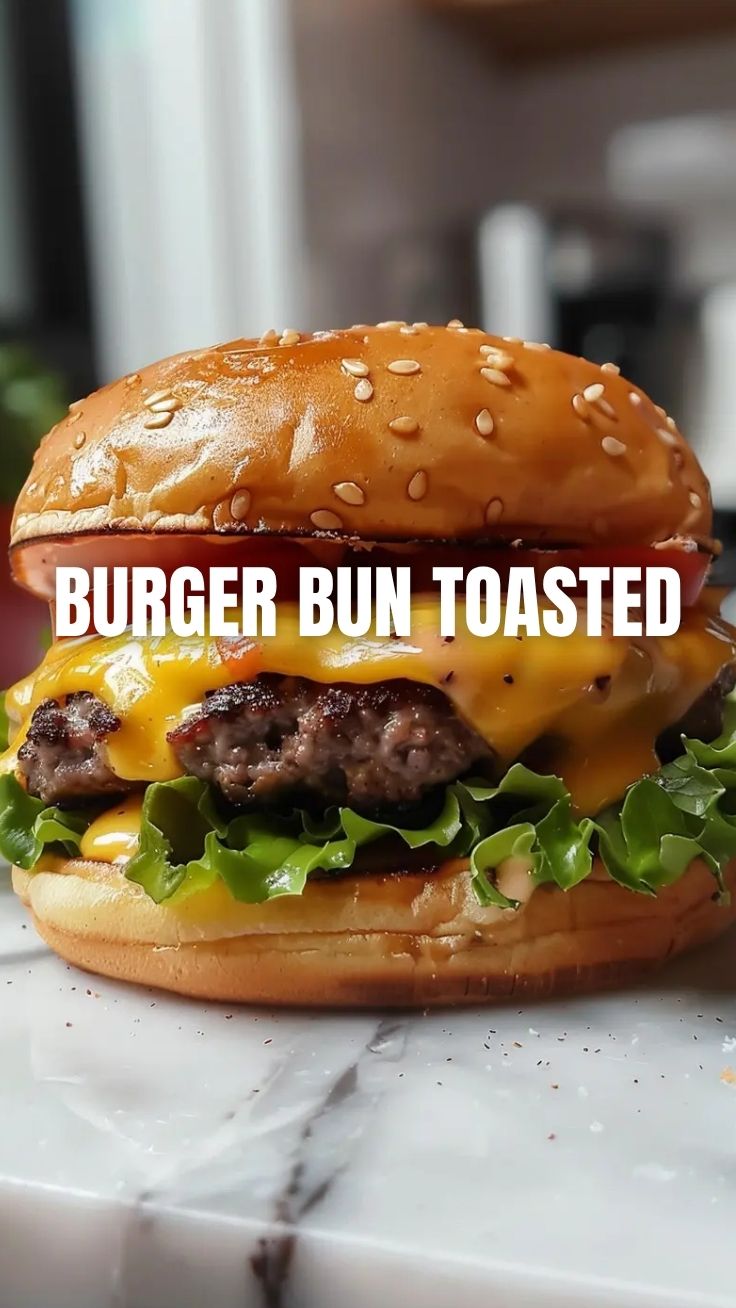
- Brioche Buns: 4, preferably toasted. Their slightly sweet, rich flavor complements the savory patty.
- Cheddar Cheese Slices: 4 (sharp or mild, depending on preference). Essential for that classic Cheeseburger melt. American cheese also works beautifully for ultimate meltiness.
- Red Onion: 1/2, thinly sliced (for a crisp, sharp bite). Can be caramelized for a sweeter alternative.
- Tomato: 1, ripe, sliced (adds freshness and acidity).
- Lettuce: 4 leaves (e.g., romaine or butter lettuce). Provides crunch and freshness.
- Pickles: Dill slices, to taste (tangy contrast).
- Salt & Black Pepper: To taste (for seasoning the patties generously).
- Butter (Unsalted): 1 tbsp (for toasting buns).
- Your Favorite Condiments: Ketchup, mustard, mayonnaise, special sauce (personalize it!).
Kitchen Tools:
- Large Mixing Bowl: For combining ground beef.
- Grill or Cast-Iron Skillet: Essential for cooking the patties.
- Spatula: For flipping burgers and transferring.
- Burger Press (Optional): For perfectly uniform patties.
- Digital Meat Thermometer: Ensures patties are cooked to desired doneness.
- Cutting Board & Knife: For prepping vegetables.
- Small Bowl: For mixing seasonings.
Prep Time & Cooking Schedule
- Prep Time: 15 minutes
* This includes slicing vegetables, shaping patties, and preparing buns.
- Cooking Time: 10-15 minutes
* This is the time spent actively grilling or pan-frying the burgers.
- Resting Time (Patties): 5 minutes
* Crucial for juicy results; allows the juices to redistribute.
Planning ahead is key! Have all your toppings chopped and condiments ready before you even put the patties on the heat. This way, assembly is swift, and your Cheeseburger will be served hot and fresh.
Step-by-Step Instructions
1. Prepare the Patties: In a large bowl, gently combine the ground beef with a generous pinch of salt and freshly ground black pepper. Avoid overmixing, as this can lead to tough burgers. Divide the mixture into four equal portions and gently form them into patties about 3/4 inch thick. Make a slight indentation in the center of each patty with your thumb – this prevents the burger from puffing up into a ball while cooking.
2. Preheat Your Cooking Surface: If using a grill, preheat to medium-high heat (375-400°F). If using a cast-iron skillet, heat it over medium-high heat until just smoking. A well-heated surface is crucial for a good sear on your perfectly seasoned Cheeseburger or juicy Hamburger.
3. Toast the Buns: While the grill/skillet heats, melt butter in a separate pan or directly on the cooler part of the grill. Place the opened brioche buns cut-side down and toast until golden brown, about 1-2 minutes. This adds texture and prevents the buns from getting soggy.
4. Cook the Burgers: Place the patties on the hot grill or skillet. For medium-rare (130-135°F), cook for 3-4 minutes per side. For medium (140-145°F), cook for 4-5 minutes per side. For medium-well (150-155°F), cook for 5-6 minutes per side. Use a digital meat thermometer to check for accuracy. Do not press down on the patties with your spatula, as this squeezes out valuable juices.
5. Add the Cheese: During the last minute of cooking, place a slice of cheddar cheese on top of each patty. If using a lid or dome, cover for 30 seconds to help the cheese melt perfectly.
6. Rest the Patties: Once cooked to your desired doneness, remove the patties from the heat and let them rest on a cutting board for 5 minutes. This allows the juices to redistribute throughout the meat, resulting in a more succulent burger.
7. Assemble Your Masterpiece: Place a toasted bun bottom on a plate. Layer with lettuce, tomato, red onion, pickle slices, the rested Cheeseburger patty, and your favorite condiments. Top with the other half of the bun and serve immediately!
Nutritional Benefits & Advantages
Crafting your Cheeseburger at home offers significant nutritional advantages. You control the quality of the beef, opting for leaner cuts if preferred, and the type of cheese, allowing for lower-fat or dairy-free options. High-quality ground beef provides essential protein, iron, and B vitamins necessary for energy and muscle health. By loading up on fresh vegetables like lettuce, tomato, and onion, you add vital fiber, vitamins, and antioxidants. Choosing whole-wheat buns can further boost fiber intake, making your burger a more balanced meal compared to many fast-food alternatives.
Tips Variations & Cooking Advice
- Flavor Boosts: Mix in finely chopped garlic, Worcestershire sauce, or a dash of smoked paprika into the ground beef before forming patties for an extra flavor dimension.
- Cheese Varieties: Experiment with provolone, Swiss, blue cheese, or pepper jack for different flavor profiles.
- Bun Alternatives: Try pretzel buns, ciabatta rolls, or even serve your burger “naked” on a bed of greens for a low-carb option.
- Veggie Burgers: Substitute the beef patty with a homemade black bean, mushroom, or quinoa burger for a delicious vegetarian version.
- Grilling vs. Pan-Frying: Grilling offers a smoky flavor and those appealing grill marks, while pan-frying in a cast-iron skillet creates a beautiful, even crust (the “smash burger” technique).
Common Mistakes to Avoid
- Overmixing the Meat: This leads to dense, tough patties. Be gentle when seasoning and forming.
- Not Seasoning Enough: Salt and pepper are crucial for bringing out the beef’s flavor. Don’t be shy!
- Pressing Down on Patties: This forces out juices, resulting in a dry, flavorless burger. Let the heat do its work.
- Flipping Too Often: Flip only once or twice to allow a good crust to form.
- Skipping the Rest: Resting allows the meat’s juices to redistribute, leading to a much juicier Cheeseburger.
Storage & Meal Prep Tips
While best enjoyed fresh, leftover Cheeseburger patties can be stored. Allow cooked patties to cool completely, then store them in an airtight container in the refrigerator for up to 3-4 days. You can reheat them gently in a microwave, oven, or a skillet (preferable for better texture). For meal prep, you can form patties ahead of time and store them raw, separated by parchment paper, in the refrigerator for up to 2 days, or freeze for up to 3 months. Thaw frozen patties in the refrigerator overnight before cooking. Store toppings separately to maintain freshness.
Conclusion
Mastering the homemade Cheeseburger is a rewarding culinary endeavor that brings unparalleled satisfaction. From the perfectly seasoned patty to the melty cheese and fresh toppings, every element contributes to an unforgettable dining experience. Whether you’re a seasoned grill master or a novice in the kitchen, this guide provides all the tools you need to create a juicy, flavorful Cheeseburger that rivals any restaurant offering. So, gather your ingredients, fire up the grill, and prepare to impress your taste buds and your guests with your homemade Hamburger masterpiece. Give this recipe a try and share your results – we’d love to hear how you customized your ultimate burger creation!
FAQs
Q1: How do I know if my burger is cooked to the right temperature?
A1: A digital meat thermometer is your best friend! Insert it into the thickest part of the patty. Aim for 130-135°F for medium-rare, 140-145°F for medium, and 150-155°F for medium-well.
Q2: Can I use leaner ground beef for my burgers?
A2: While 80/20 chuck provides the best flavor and juiciness, you can use leaner ground beef (e.g., 90/10). However, be mindful that leaner patties can dry out more easily, so cook them for slightly less time. Adding a tablespoon of grated onion or a dash of olive oil to leaner mixes can help retain moisture.
Q3: What’s the secret to getting a good sear on the patty?
A3: High heat and a dry cooking surface are key. Ensure your grill or pan is thoroughly preheated before adding the patties. Avoid overcrowding the cooking surface, as this can lower the temperature and steam the burgers instead of searing them.
Q4: How can I prevent my buns from getting soggy?
A4: Toasting your buns is crucial! This creates a barrier against the burger juices and condiments. You can also lightly spread a thin layer of mayonnaise or butter on the inside of the buns before adding the patty.
Q5: What are some fun alternative toppings for a Cheeseburger?
A5: The possibilities are endless! Consider sautéed mushrooms and onions, crispy bacon, a fried egg, avocado slices, pickled jalapeños, BBQ sauce, or even a dollop of guacamole.